An activation puts real customers into your marketing platform. A few checks before you select Activate make sure the right people get there, with the details your campaign needs.
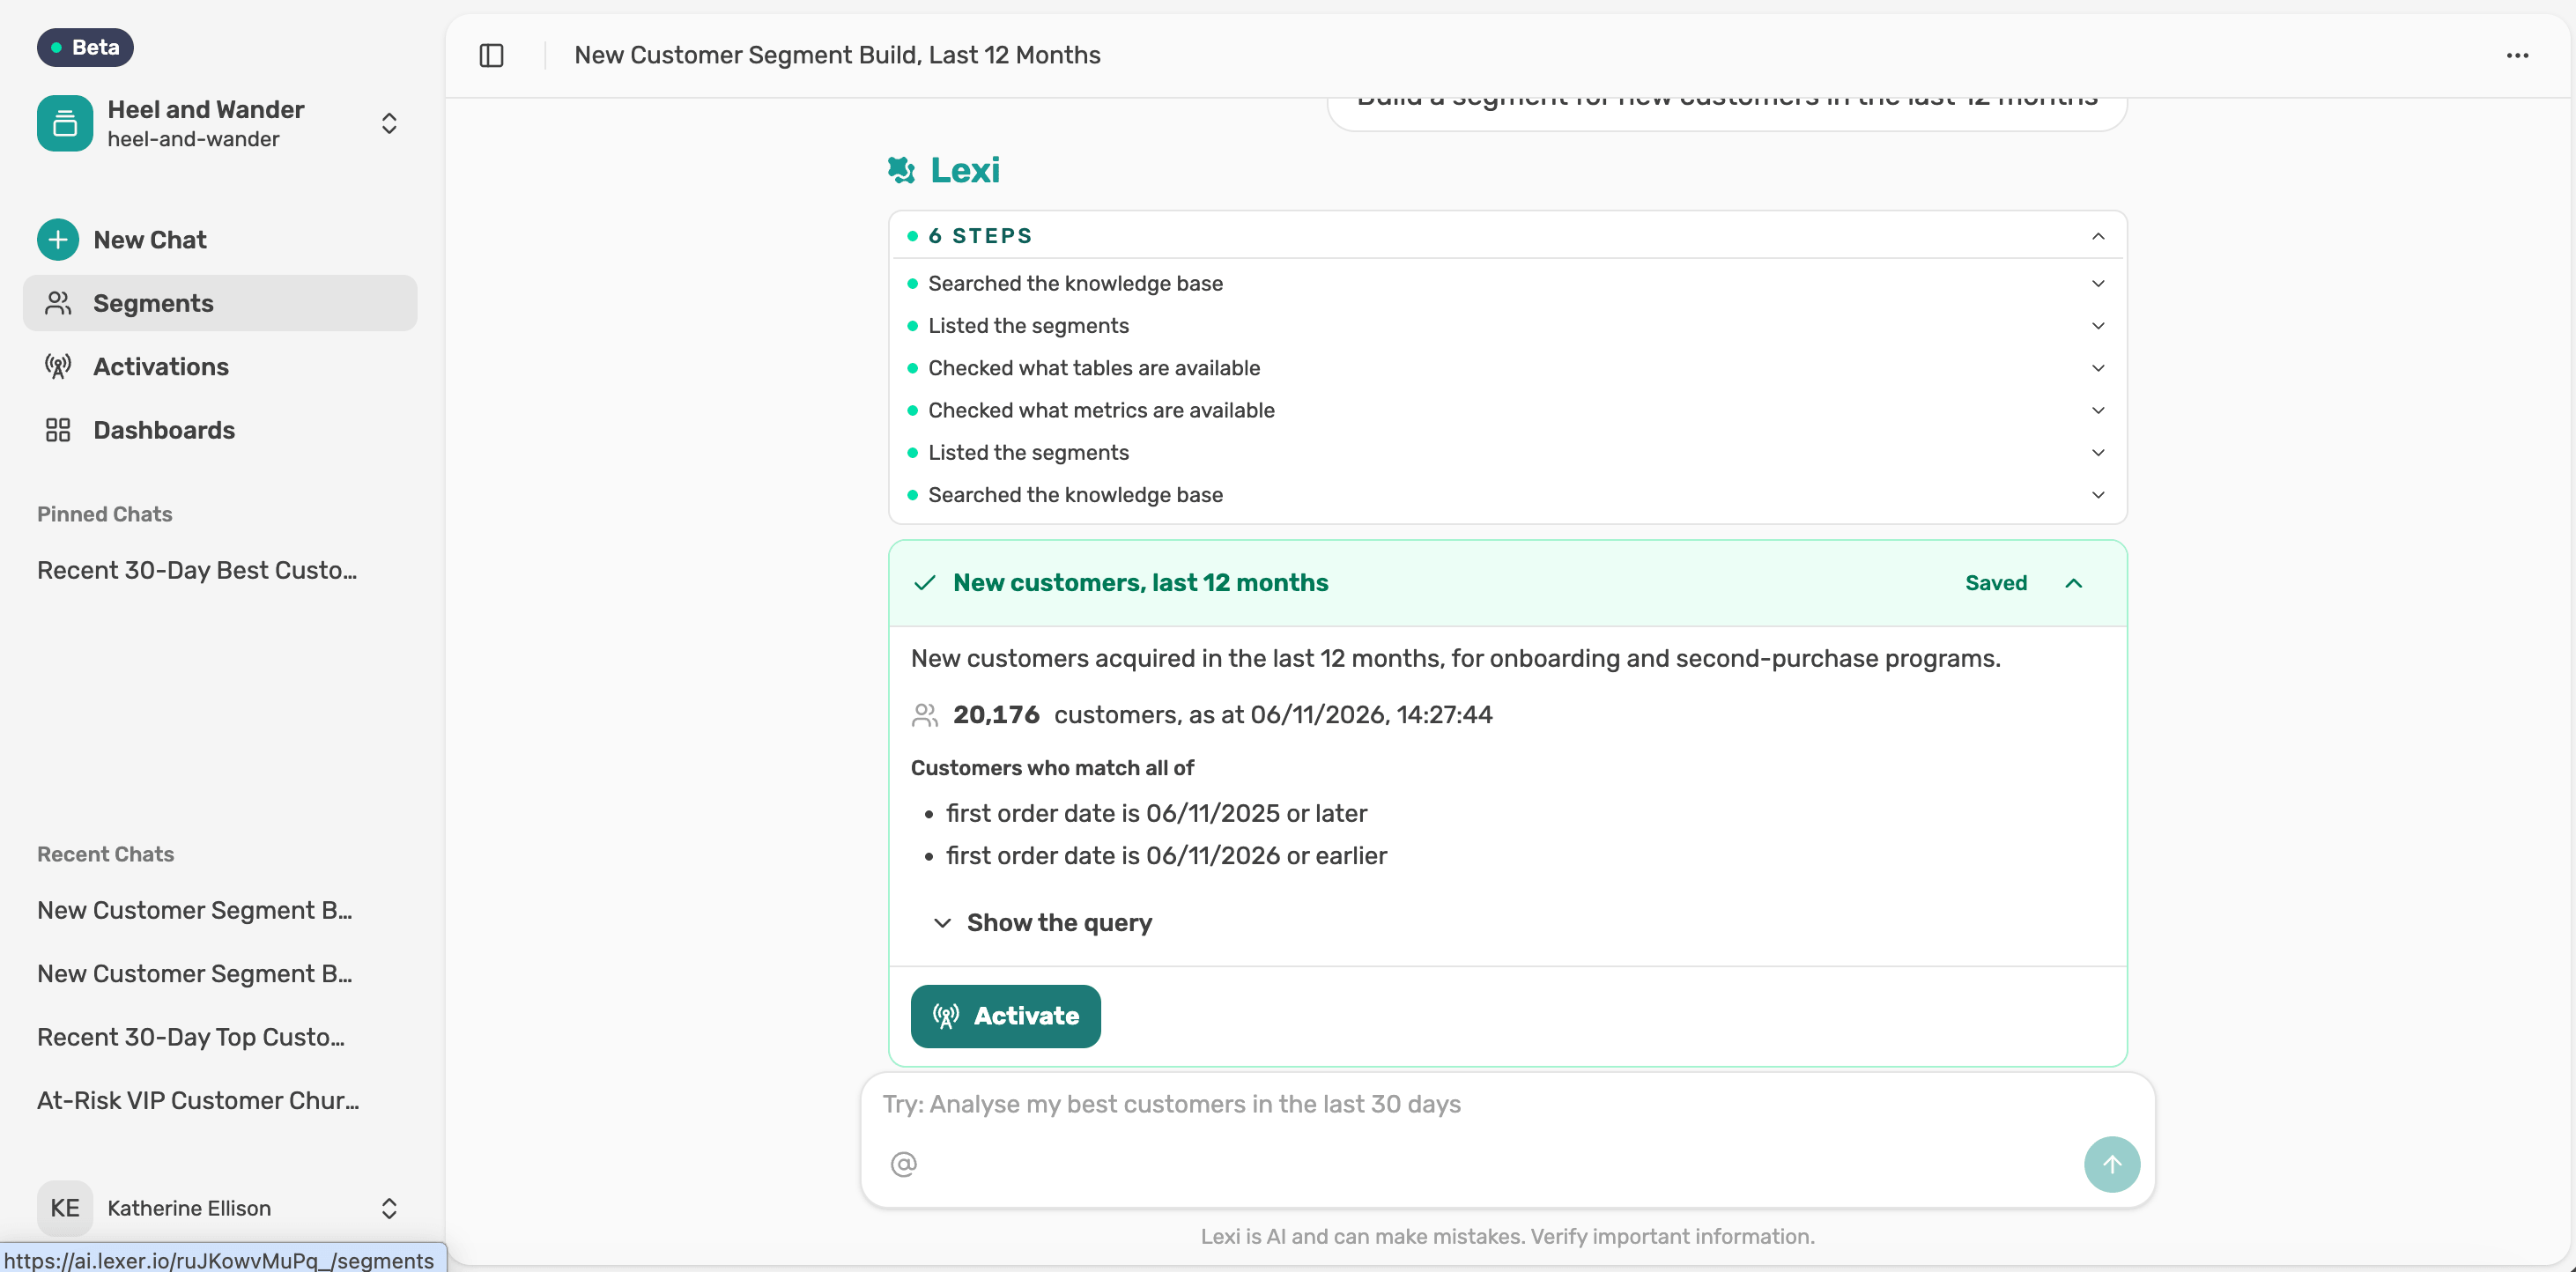
Every activation starts from a saved segment, so the checks start there too. Before you save, select Show the query on the segment card to see the exact logic, and read Lexi's summary under the card. That's where Lexi tells you how it read words like "new", "lapsed" or "VIP", and whether it made any assumptions you should confirm.
Ask yourself whether you could explain the segment to your team in one sentence. If the rules surprise you, change them in chat before you save.
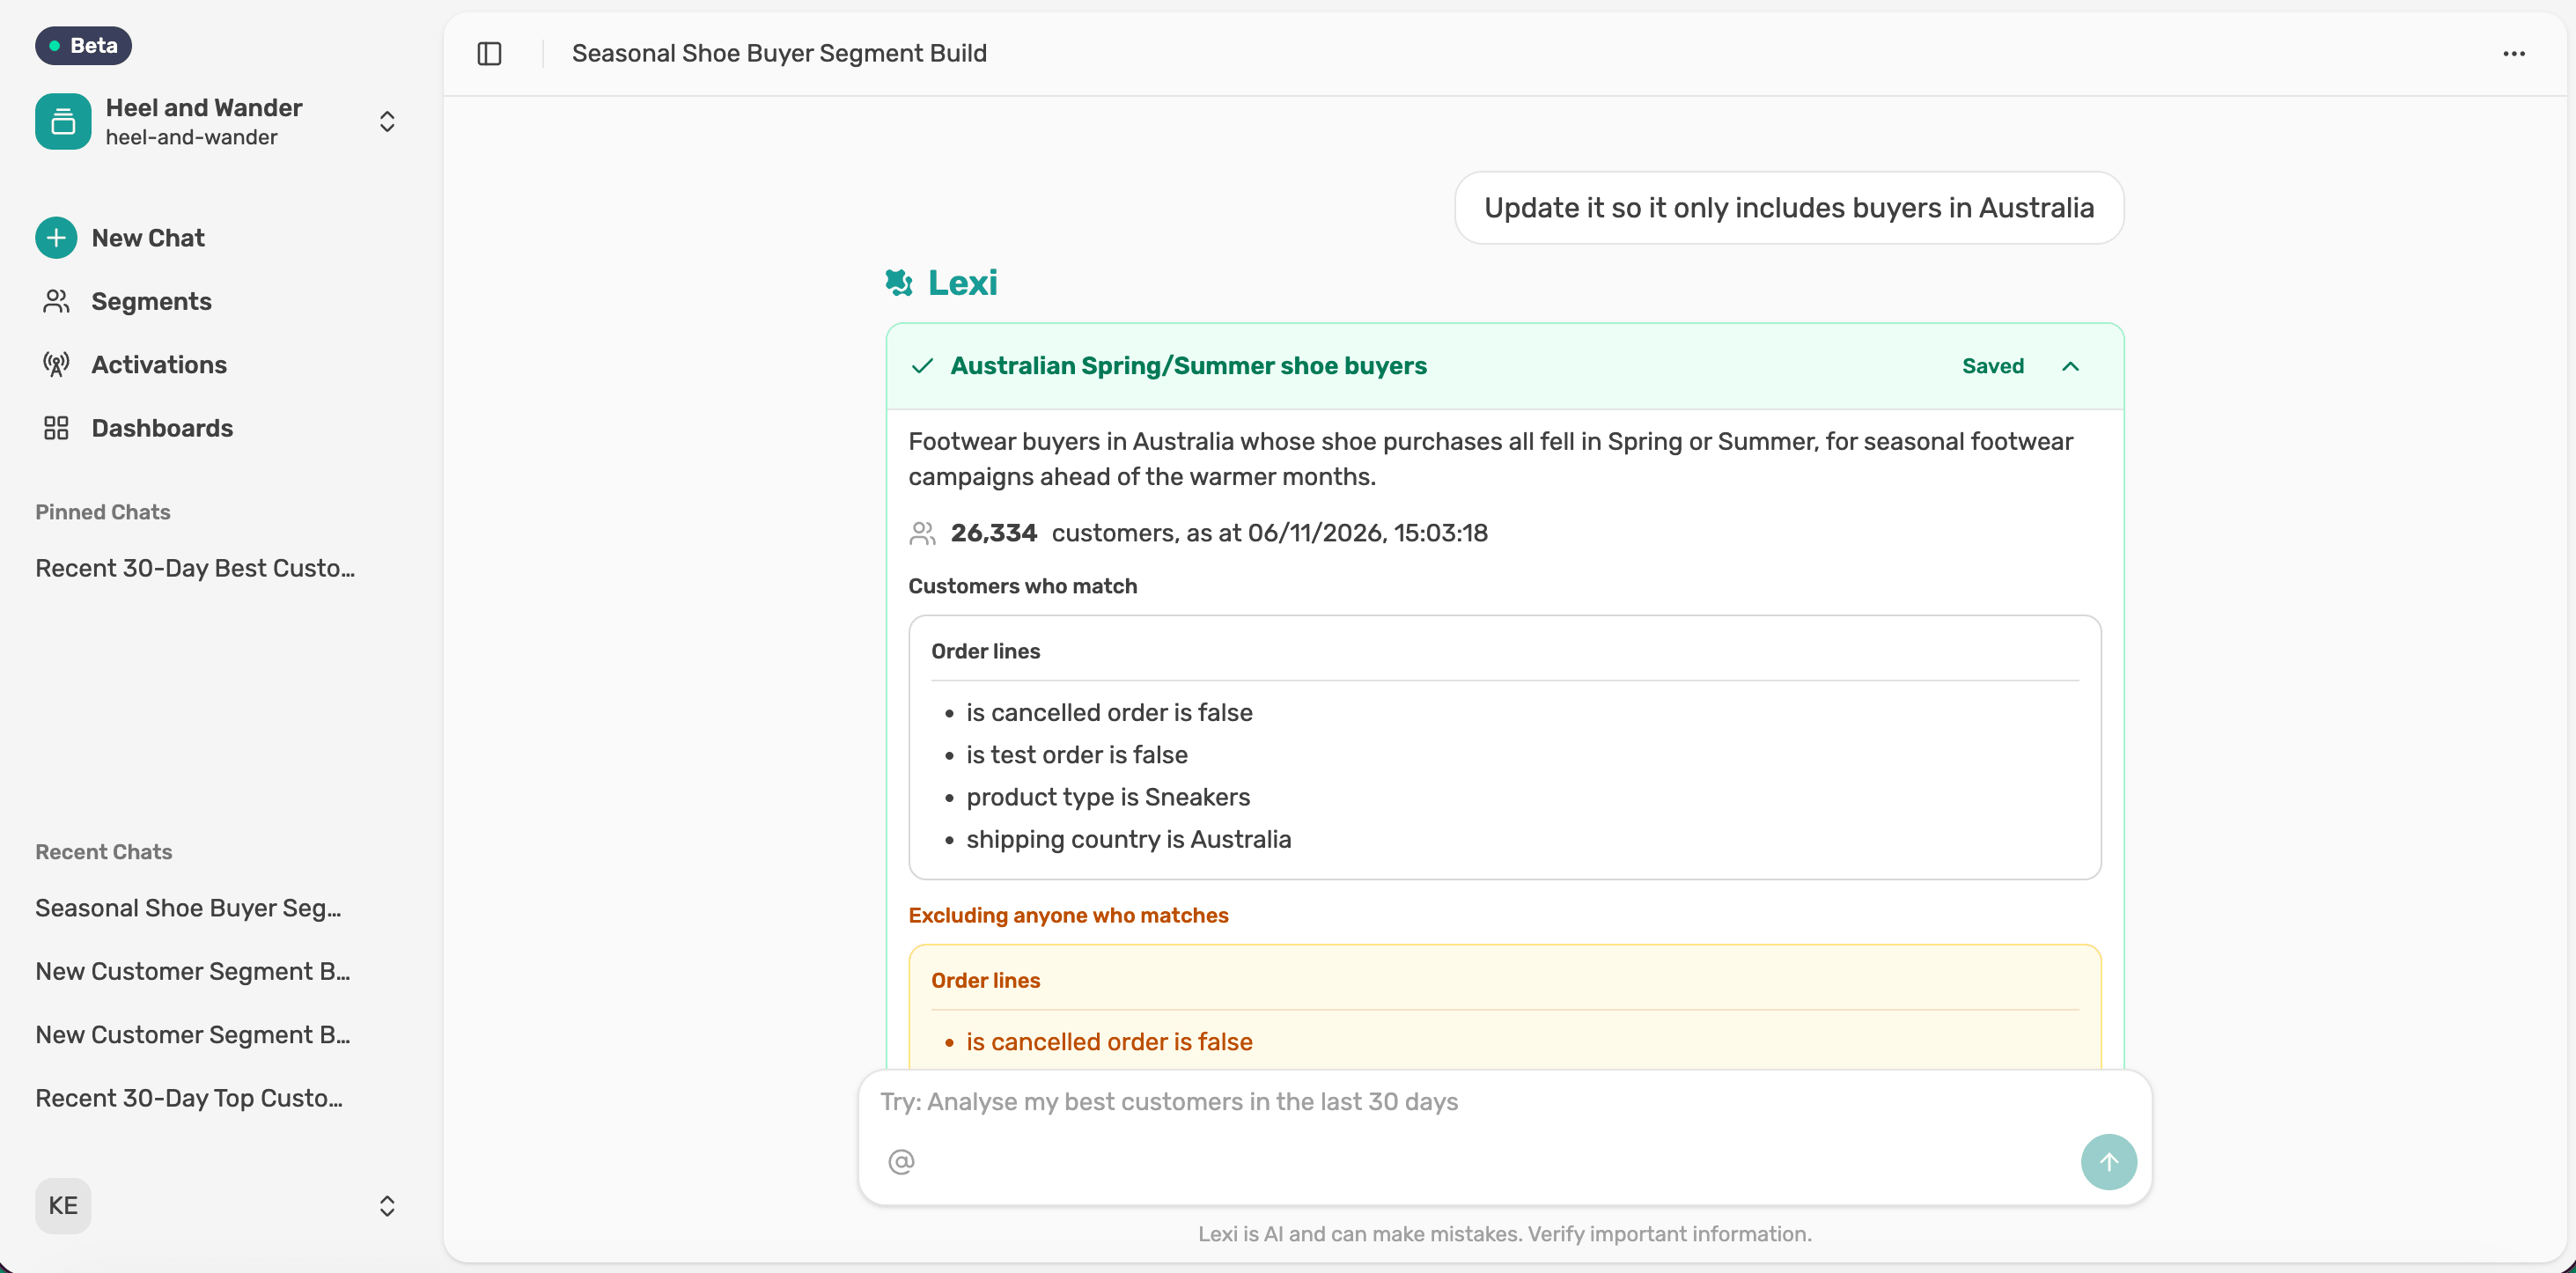
A saved segment shows its size from the day it was saved. If you saved it a few weeks ago, customers will have moved in and out since. Bring it into a chat with @ and ask Lexi for live numbers, so you know how many people you're working with before you send.
When you activate, Lexi asks who to include: Everyone with an email address or Opted-in profiles only. The count beside each option shows how many people would be sent.
Most marketing sends should use Opted-in profiles only. Opt-in status comes from your destination platform and follows its rules. If you choose everyone, Lexi warns you that the send includes people who haven't agreed to email marketing, including people who have unsubscribed. Only choose it when you're sure the audience is permitted for how you plan to use it, such as a service message.
Either way, expect the number sent to be lower than the segment size. Not everyone has an email address, and not everyone has opted in.
Lexi matches your Lexer fields to fields in your destination, such as Customer email to Email. One field is the primary key, marked Matches people on this, which is how the destination matches each person to a profile.
Before you approve, think about what the campaign will use. If the email opens with a first name, check that first name is in the mapping. If the content changes by store or region, check those fields too. A field that's missing from the mapping can't be used in the destination.
Select each region you want to send to. You can pick more than one, so a campaign running in Australia and New Zealand doesn't need two activations.
The activation card shows the name, destination, field mapping, frequency and who will be sent, all in one place. Nothing goes out until you select Approve and Send.
Read it as if someone else built it. Is the name clear enough to find in Klaviyo later? Is the count roughly what you expected? If anything needs to change, ask Lexi in chat and it updates the card.
The card changes to Sending. Select View details to follow the activation, or find it any time under Activations in the left menu. Once the status shows Sent, check the profile count in your destination before you schedule the campaign.