Cheetah Digital

This integration is in beta

The‍
Cheetah Digital
integration is currently in beta.
As with all beta tests, not everything will be perfect. If you run into any issues, please submit a support ticket.

Connecting your Cheetah Digital account with Lexer

Cheetah Digital is a cross-channel customer engagement platform providing data, marketing, and loyalty solutions for modern marketer. In this article, we'll show you how to connect your Cheetah Digital account with Lexer to sync contacts and engagement data, as well as send back Lexer Segments into customer and segment tables in Cheetah Digital.

Benefits of a Cheetah Digital integration

Integrating your Cheetah Digital account with Lexer provides a number of benefits, including:

  • Sending customer data and segments for marketing activation.
  • Understanding your customers' email campaign behavior.

Integration in a nutshell

Here's a summary of how Cheetah Digital integrates with Lexer: 

Direction

What direction does the data flow?

✅ Data in: import your contacts as enriched profiles

✅ Data out: send customer email lists for marketing campaigns

Type

Lexer’s integration with this product allows you to pull data into the hub from these sources.

✅ Email (ESP)

Source method

How the system connects with Lexer.

✅ File (SFTP)

Destination method

How Lexer connects with the system.

✅ File (SFTP)

Status

Is this integration live and working?

Full Release

Lexer product compatibility

What Lexer products is the integration compatible with?

✅ Activate

✅ Compare

✅ Segment

✅ Track

⬜️ Listen

⬜️ Respond

⬜️ Serve

Attributes

No attributes will be created as part of this integration.

Attributes

This integration allows for some flexibility, the output of the integration depends on your available data and what you send through to Lexer. In addition, your attributes could be named in a different way to other clients. If you would like a list of attributes related to this integration, please email your Success Manager.

Attributes

What attributes are created when integrated with Lexer?

Cheetah Digital Relationship

✅ Cheetah Digital Record

Cheetah Digital Email Engagement

✅ Email Open Rate

✅ Email Click Rate

✅ Number of Emails Sent

✅ Campaigns Sent

✅ Email Engagement Category

✅ Last Email Open

✅ Open Date

✅ Campaigns Opened

✅ Last Email Click

✅ Campaigns Clicked

✅ Click Dates

✅ Email Opt-In Status

✅ Email Source

✅ Email Subscribe Date

Attributes

These are the standard attributes Lexer can create when you connect this integration, however, this will depend on the data available and what you're sending through to Lexer. Also note, your attributes may be named differently.
If you have any questions, or would like to discuss any custom options, please reach out to your Success Manager.

How do I connect my accounts?

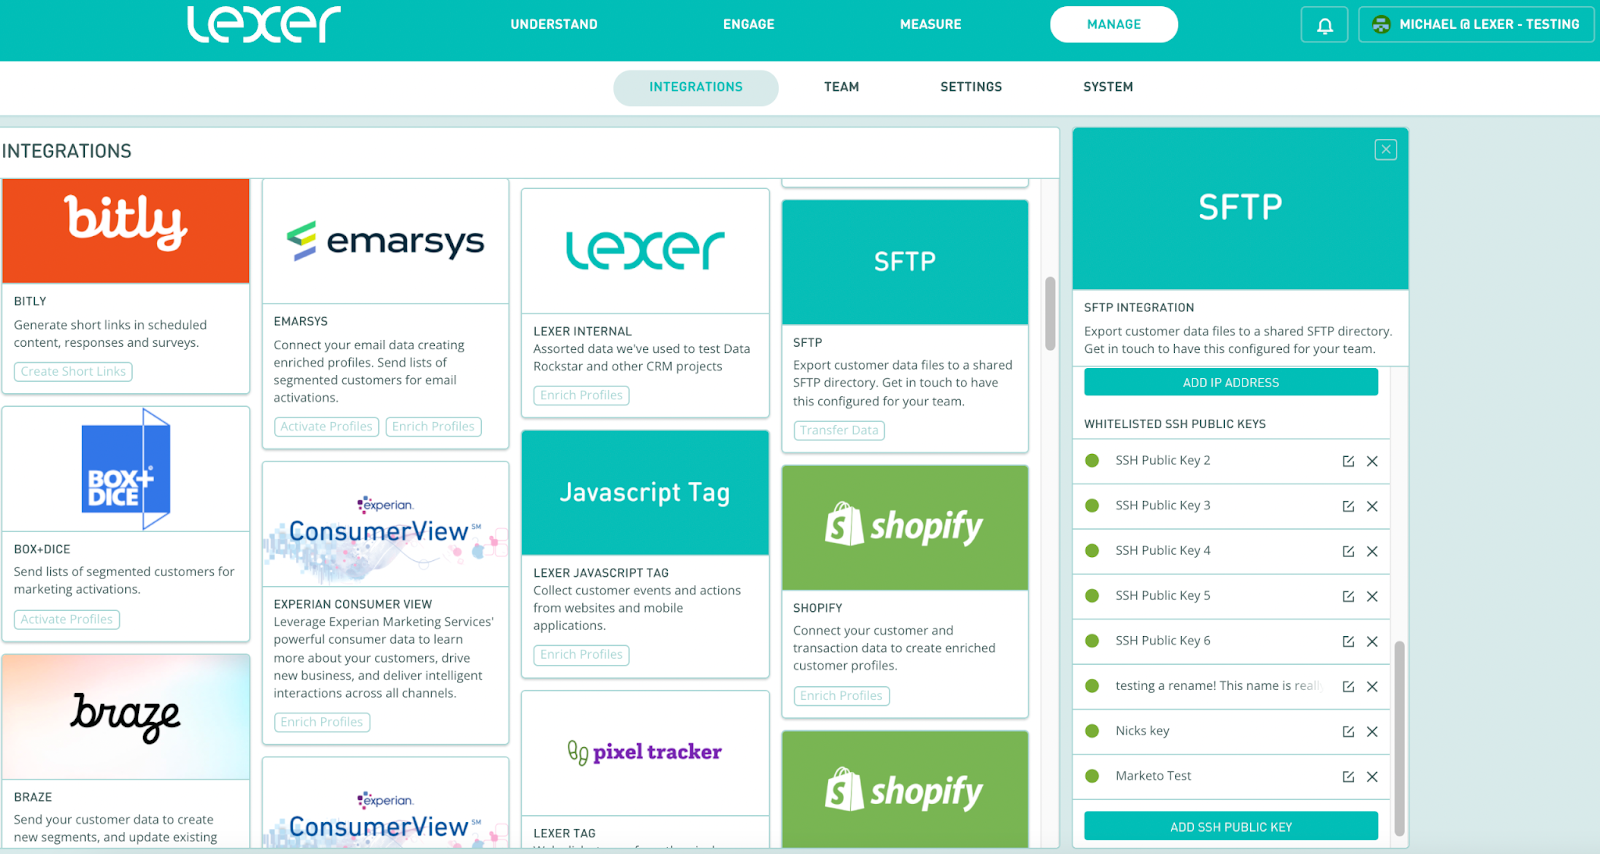
Connection between Cheetah Digital and Lexer is maintained with an SFTP, which is hosted by Lexer. To connect to your Lexer SFTP you will need to first make a public and private SSH key pair. Read this guide if you're unsure how to make a pair.

Once you have your key pair, you will need to set up the Lexer SFTP within Cheetah Digital. You can follow their guide here. Cheetah refers to SFTP as FTP, but they are one and the same in this context.

Configuring your Cheetah FTP

When setting up in Cheetah you will need to enter an FTP URL, user name, and your newly created Private Key file.

  • FTP URL: sftp://au.transfer.lexer.io
  • User name: Your Lexer hub name - contact Lexer Support if unsure

Configuring your Lexer SFTP

Once you've finished setup in Cheetah, navigate back to your Lexer Hub to complete the connection.

  1. Navigate to MANAGE > INTEGRATIONS
  2. Find the SFTP tile, and click on it
  3. Click ADD IP ADDRESS. A popup will appear, please enter:
    1. Name: Cheetah Digital (Messaging CMS)
    2. IP address: 63.148.46.2
  4. Click SAVE IP ADDRESS
  5. Now click ADD SSH PUBLIC KEY. A popup will appear, please enter:
    1. Name: Cheetah Digital (Messaging CMS)
    2. Paste in your public key created earlier
  6. Click SAVE SSH PUBLIC KEY

You have now successfully connected your Cheetah Messaging hub to your Lexer SFTP!

1600
Manage > Integrations > SFTP tile > Add IP address > Save IP address > Add SSH Public Key > Save SSH public key

If you have any issues setting up SFTP on the Hub, please contact Lexer support.

Integrate Cheetah Digital with Lexer

Once the SFTP connection setup is complete, we can integrate Cheetah Digital with Lexer so you can create segments or create activations on the Lexer Hub. To do this, our team needs to first set up the activation configurations.

  1. As a one-off, contact Lexer requesting a Cheetah Digital integration.
  2. By default, we will connect Cheetah Digital using the EMAIL, CUSTOMER ID, and FIRST NAME fields. These are the fields that will be exported between Lexer and Cheetah Digital. If there are any additional fields you want to export to Cheetah Digital, you will also need to contact the Cheetah Digital team with your request.
  3. We will contact you as soon as the setup is complete.

Our team will have created two configurations: SEGMENT SYNC and CREATE A SEGMENT.

  1. SEGMENT SYNC reconciles the data between Lexer and Cheetah Digital, and runs twice a day.
  2. CREATE A SEGMENT will allow you to create segments in ENGAGE > ACTIVATE.

You will be able to see these configurations on the Lexer Hub if you navigate through the Cheetah Digital integration box: MANAGE > INTEGRATIONS > CHEETAH DIGITAL > CURRENT INTEGRATIONS > YOUR INTEGRATION > ACTIVATION CONFIGURATIONS. However, you will not need to manually configure these yourself.

The final step!
Once you've added your Cheetah Digital account credentials to the Cheetah Digital tile in the Hub, please contact your Success Manager, or Lexer Support (support@lexer.io) to complete your Cheetah Digital set up and configuration.

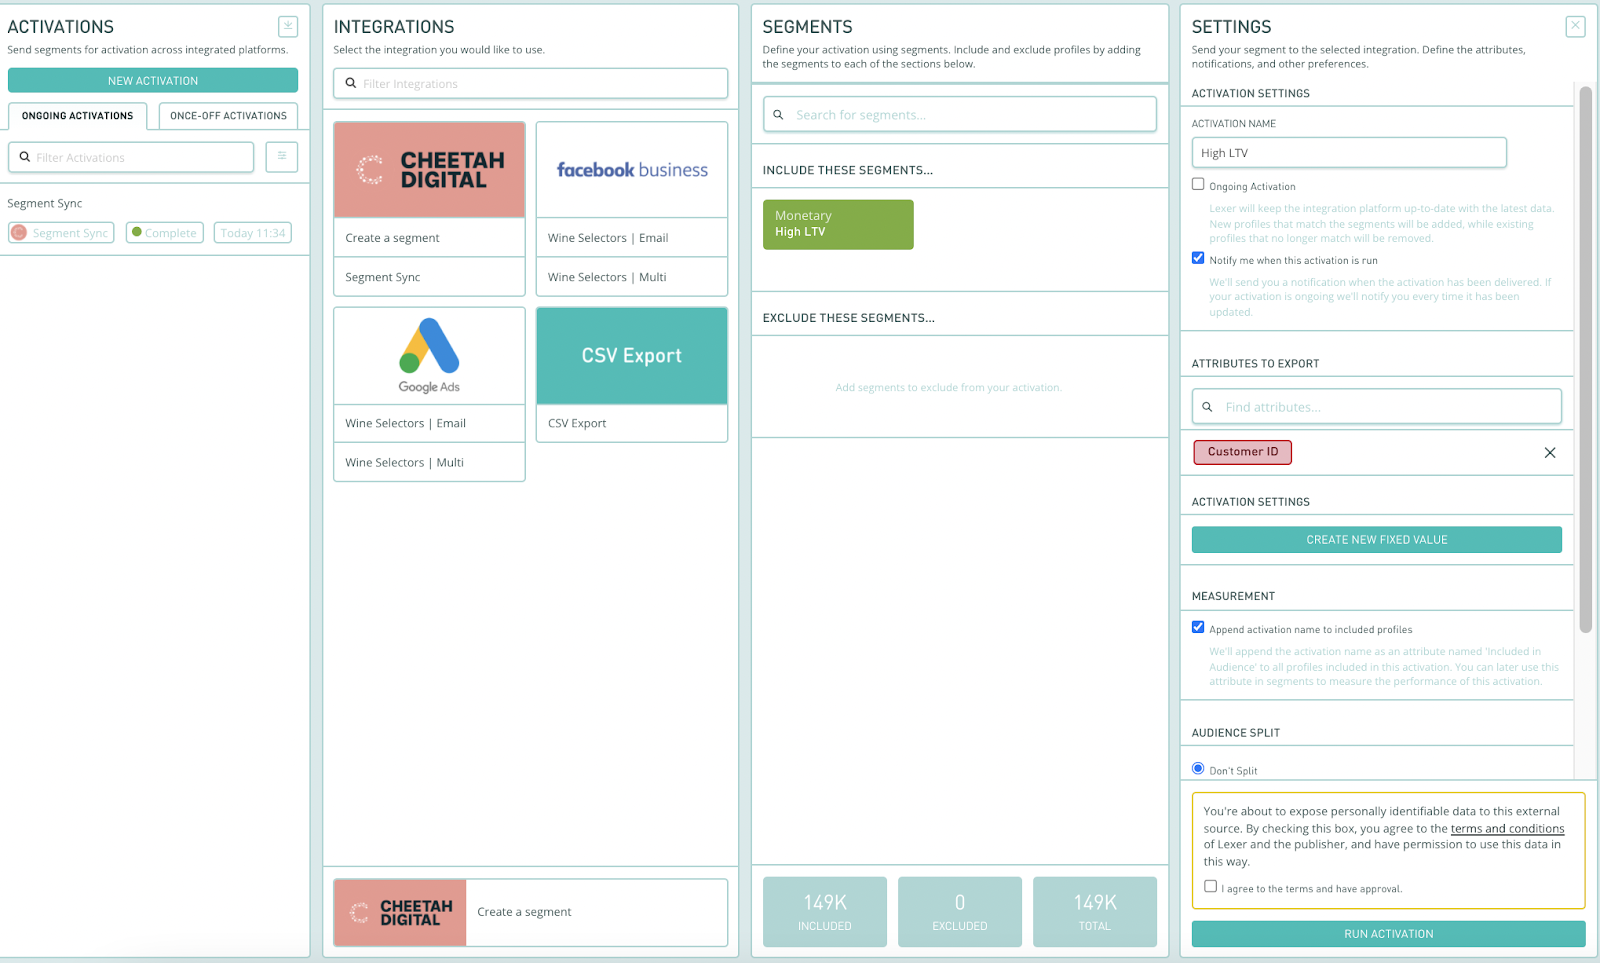
Activating audiences into Cheetah Digital

After our team has worked their magic, you can create activations to send Lexer segments for your campaigns on Cheetah Digital!

1600
Engage > Activate > New activation > Create a segment > Select segment > Fill in activation settings > Check Ts & Cs > Run activation
  1. Navigate to ENGAGE > ACTIVATE.
  2. Click NEW ACTIVATION.
    1. Under ONGOING ACTIVATIONS, you will see the SEGMENT SYNC activation which our team has set up. Please do not stop this activation!
  3. Under Cheetah Digital, click CREATE A SEGMENT.
  4. Select the segment you wish to activate. To learn how to create segments, refer to this article here.
  5. Fill in the activation settings.
    1. Name your activation. Whatever you enter here will be sync'd to Cheetah Digital.
    2. Optionally, you can set this activation to ONGOING. This will ensure Lexer maintains the Segment in Cheetah Digital.
    3. You do not need to CREATE A NEW FIXED VALUE, our team will help configure this if necessary.
      4. Please leave the APPEND ACTIVATION checkbox checked.
    4. Optionally, you can choose to do an Audience Split for testing. In Cheetah Digital, these two segments will show up as Segment Name (A) and Segment Name (B), where Segment Name is the name of the segment you defined above.
  6. Check the Ts & Cs and click RUN ACTIVATION.

You're done

Congratulations, your account should now be integrated in Lexer. We've gone through what Cheetah Digital is, the type of integration it is, its benefits, and how to integrate and activate it. There's a lot of steps to follow here and if you feel stuck or confused please don't hesitate to reach out to Lexer Support (support@lexer.io) if you need any help.

Updated:
December 1, 2022
Did this page help you?
Thank you! Your feedback has been received!
Oops! Something went wrong while submitting the form, for assistance please contact support@lexer.io
Welcome to Lexer!
Fundamentals
Getting started
Our glossary
Fundamentals
Getting started
Integrations
Fundamentals
Setup
My account
Fundamentals
Setup
Manage team
Fundamentals
Setup
Group permissions
Fundamentals
Setup
Classifications
Fundamentals
Setup
Out of the box segments
Fundamentals
Setup
Lexi your AI companion
Fundamentals
Lexi
Browser guide
Fundamentals
Security
Corporate networks
Fundamentals
Security
Emergency contact
Fundamentals
Security
Multi-factor authentication
Fundamentals
Security
Single sign-on
Fundamentals
Security
Trust and compliance
Fundamentals
Security
Lexer's Identity Resolution
Fundamentals
Identity Resolution
Lexer's ultimate troubleshooting guide
Fundamentals
Troubleshooting
Troubleshooting tech issues
Fundamentals
Troubleshooting
Troubleshooting integrations
Fundamentals
Troubleshooting
Troubleshooting Activate
Fundamentals
Troubleshooting
Troubleshooting Respond
Fundamentals
Troubleshooting
Help! My data is missing from the Hub
Fundamentals
Troubleshooting
How data is ingested into the CDP
Data
Self Serve Onboarding
Getting started onboarding data
Data
Self Serve Onboarding
Understanding APIs at Lexer
Data
Self Serve Onboarding
Providing JSON data to Lexer
Data
Self Serve Onboarding
Providing CSV data to Lexer
Data
Self Serve Onboarding
Upload using SFTP
Data
Self Serve Onboarding
Upload using S3
Data
Self Serve Onboarding
Lexer data specification
Data
Data Specification
Customer data specification
Data
Data Specification
Commerce data specification
Data
Data Specification
Marketing data specification
Data
Data Specification
Compliance data specification
Data
Data Specification
Rate limits
Data
Formatting
Product imagery
Data
Formatting
Currency conversion
Data
Formatting
Dataset management
Data
Datasets
Activity API
Data
APIs
Visualize API
Hidden from nav
Lexer Javascript Tag basics
Data
Javascript Tag
Export to CSV
Measure
Listen
Data in Lexer's CDXP
Data
Customer Data
Lexer's attributes
Data
Customer Data
Attribute value types
Data
Customer Data
Data source - CRM
Data
Customer Data
Data source - Email
Data
Customer Data
Experian
Data
Partner data
Secure file upload
Data
Customer Data
Segment overview
Understand
Segment
Creating segments
Understand
Segment
Smart Search
Understand
Segment
Export attribute results
Understand
Segment
Contact a customer
Understand
Segment
Fixing a disabled segment
Understand
Segment
Profile tab
Understand
Segment
Compare segments
Understand
Compare
Compare attributes
Understand
Compare
Activate overview
Engage
Activate
Ongoing activations
Engage
Activate
Audience splits
Engage
Activate
A/B splits
Engage
Activate
Control group splits
Engage
Activate
Inbox filtering
Engage
Respond
Ignored Senders
Engage
Respond
Forms for service
Engage
Respond
Workflow states
Engage
Respond
Bulk changes
Engage
Respond
Scheduled replies
Engage
Respond
Message templates
Engage
Respond
Customer profiles
Engage
Respond
Grouped messages
Engage
Respond
Automation rules
Engage
Respond
Redact messages
Engage
Respond
Where do your best customers live? Use geographic insights to maximize media spend and conversion
Grow
Where do your best customers live? Use geographic insights to maximize media spend and conversion
Suppression audiences: How to use them and maximize your media effectiveness
Enrich
Suppression audiences: How to use them and maximize your media effectiveness
Measure campaign effectiveness: Track your KPIs and report on campaign performance
Enrich
Measure campaign effectiveness: Track your KPIs and report on campaign performance
Converting prospects: Acquire customers from your current, engaged prospect base (and save your ad spend!)
Acquire
Converting prospects: Acquire customers from your current, engaged prospect base (and save your ad spend!)
Understanding customer intent: Effective message personalization for buyers who shop outside their gender
Grow
Understanding customer intent: Effective message personalization for buyers who shop outside their gender
Deepen customer understanding: Use third-party data to identify insights for personalized messaging and increased engagement
Grow
Deepen customer understanding: Use third-party data to identify insights for personalized messaging and increased engagement
Basket analysis: Increasing customer lifetime value through targeted product bundling
Grow
Basket analysis: Increasing customer lifetime value through targeted product bundling
Persona building: Personalize your messaging for maximum return on your campaign investments
Grow
Persona building: Personalize your messaging for maximum return on your campaign investments
Driving customer loyalty: Identify, keep, and grow your most loyal customers
Retain
Driving customer loyalty: Identify, keep, and grow your most loyal customers
Increasing customer lifetime value: Upselling strategies
Grow
Increasing customer lifetime value: Upselling strategies
Reactivating lapsed customers for retention and growth
Retain
Reactivating lapsed customers for retention and growth
Welcome offer strategies: Using the Hub for analysis
Acquire
Welcome offer strategies: Using the Hub for analysis
Creating customer forms: Best practices
Enrich
Creating customer forms: Best practices
Connecting your MarTech stack with Lexer!
Enrich
Connecting your MarTech stack with Lexer!
Identifying win-back customers using the Second Last Order: Date attribute
Retain
Identifying win-back customers using the Second Last Order: Date attribute
Understanding your customers' purchasing habits with the Order Sequence filter
Grow
Understanding your customers' purchasing habits with the Order Sequence filter
Maximizing customer communications in Respond
Retain
Maximizing customer communications in Respond
Using Product Recommendation in the Hub to encourage repeat purchases
Grow
Using Product Recommendation in the Hub to encourage repeat purchases
Encouraging customer loyalty using birthday campaigns
Retain
Encouraging customer loyalty using birthday campaigns
Increasing customer lifetime value: Converting your one-time buyers into two-time buyers
Grow
Increasing customer lifetime value: Converting your one-time buyers into two-time buyers
Collecting zero-party data using Lexer Forms
Enrich
Collecting zero-party data using Lexer Forms
Measuring your data over time with Track
Enrich
Measuring your data over time with Track
UTM Creation Guidelines
Brand Assets
Brand Assets
Brand Assets
GTM guide to creating marketing materials with Lexer
How to use the Lexer Form Builder
Explore our standard integrations
Operating a CDP Practice LP
LP Sales Enablement
LP Sales Enablement
LP Sales Enablement
Video Training Courses LP
Purpose and Mission
Purpose and Mission
Purpose and Mission
Brand & Marketing LP
Stage 3 - QBRs and Customer insights
Client Onboarding Journey
Start your CDP Practice
Lexer Messaging
Lexer Messaging
Lexer Messaging
Pain point conversations
Lexer Ideal Customer Profile & Positioning
Referral Partner Program Overview
Demo Hub Guide
Demo Hub Guide
Demo Hub Guide