Respond overview
An introduction to your service workflow tool
Respond is your data driven service tool that consolidates all of your social channels into a single workflow.
In this article, we'll take a tour of our Respond tool, looking at our Deep Dive, Inbox, and Message features, and show you how to use them to prioritize, classify, and respond to customers at speed using custom queues, filters, approval workflows, and branded forms. Once your team is deployed with Respond you can analyze volume, team performance, and customer feedback in Activity.
Tour of Respond
Respond is divided into three main sections:
- Deep Dive, on the left, is how you define your search for conversations.
- Inbox, in the middle, is where you find your conversations and click them to claim and open.
- Message, on the right, is where you read the conversations and engage with your customers.
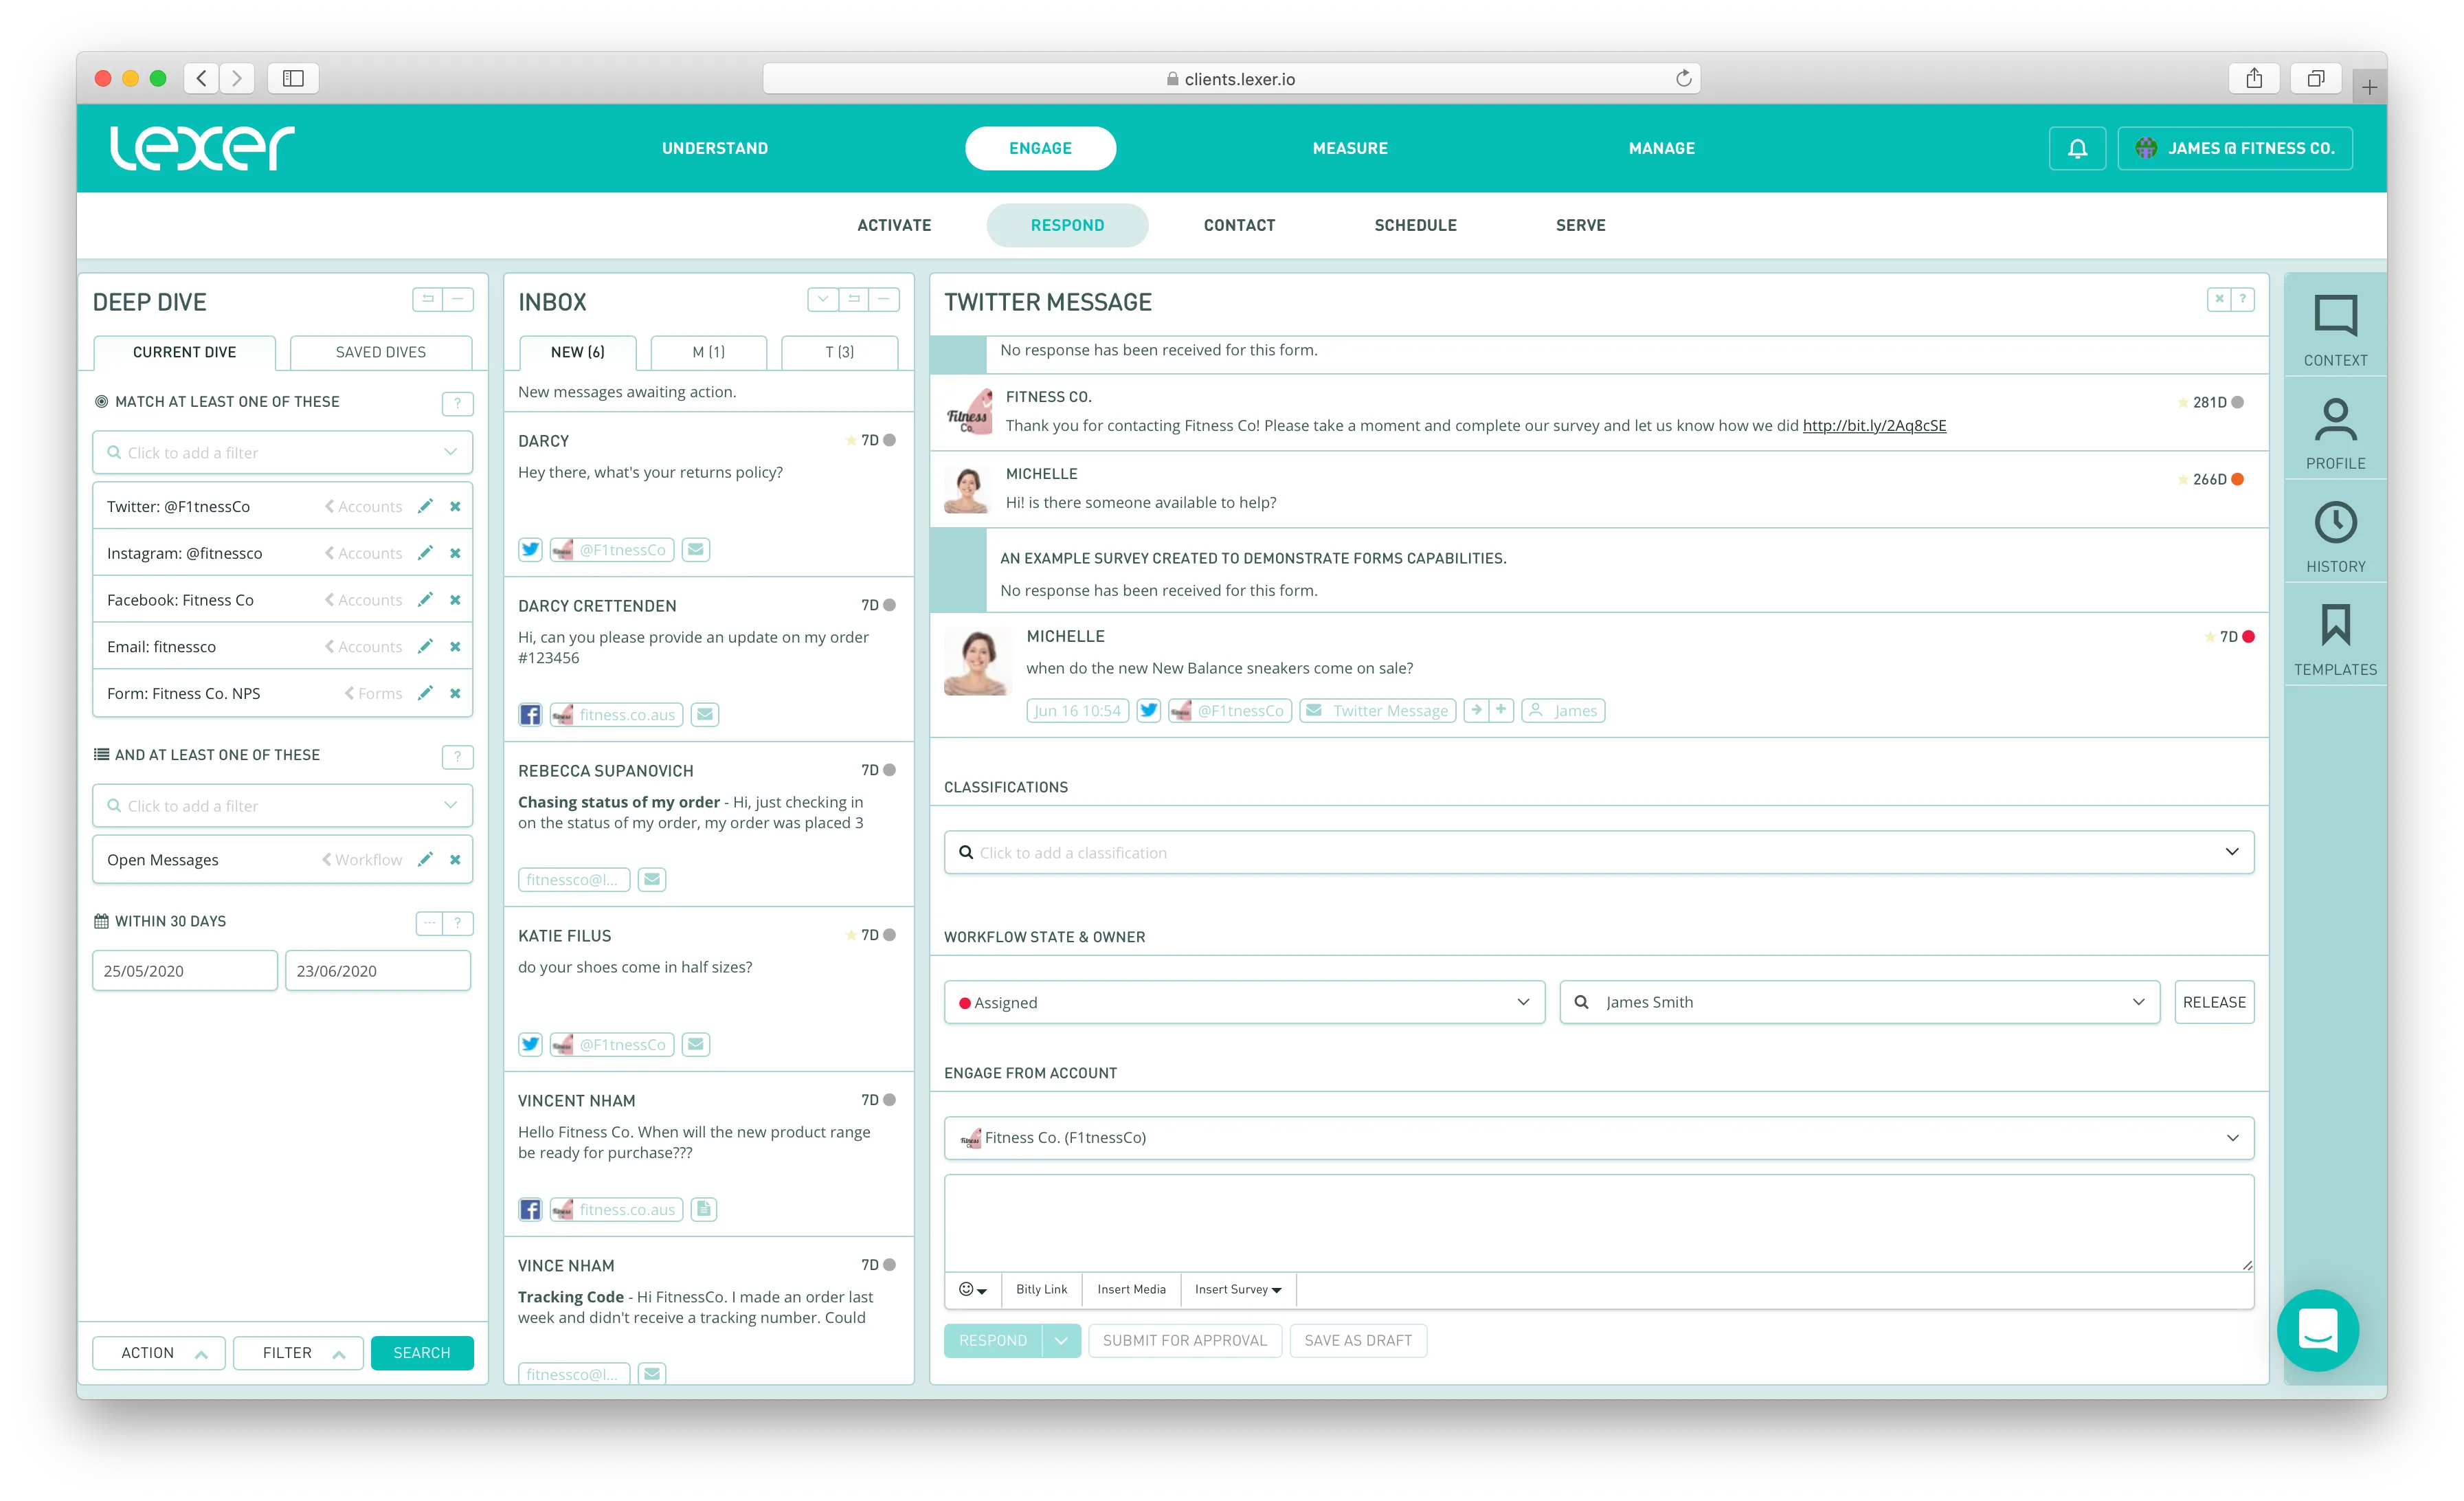
Deep Dive
Deep Dive defines the messages that appear in your inbox. Your typical setup will have your integrated accounts (i.e. Facebook Pages and Twitter Accounts) specified in your tier 1 filters and workflow states in your tier 2 filters. The default date range is set to retrieve messages in the last 30 days.
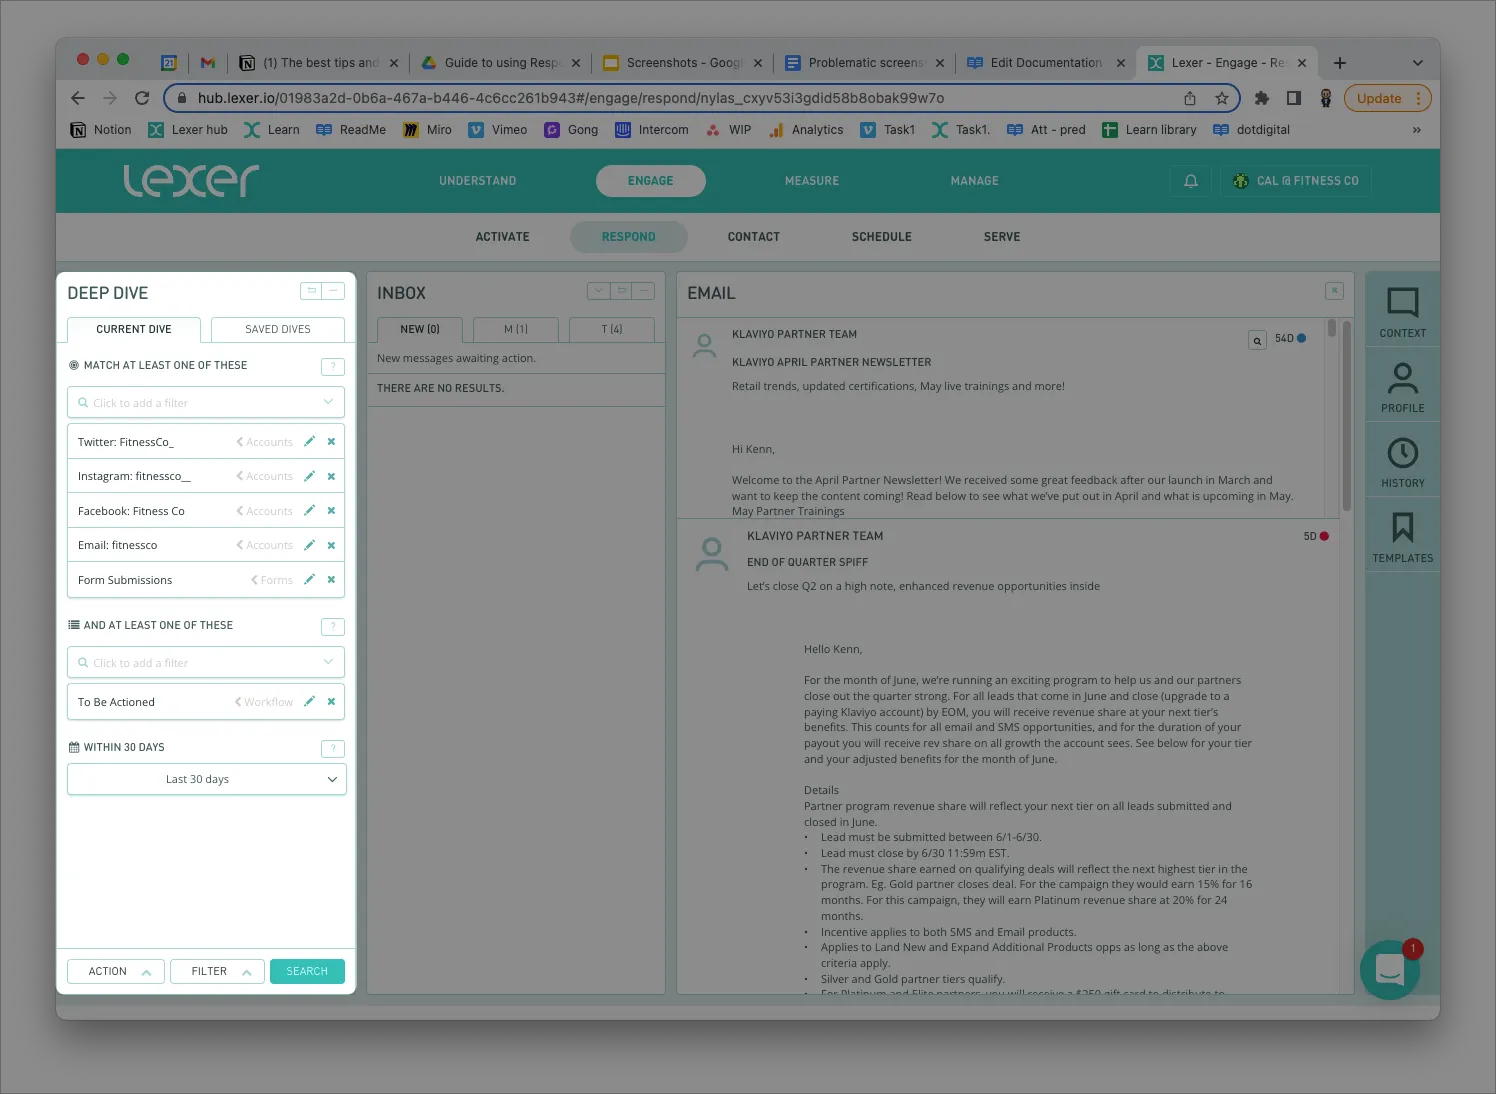
Saved Dives
You can configure a variety of queues by saving those dives. Saved Dives are visible to everyone in your team and are a great way to bookmark searches that you use regularly.
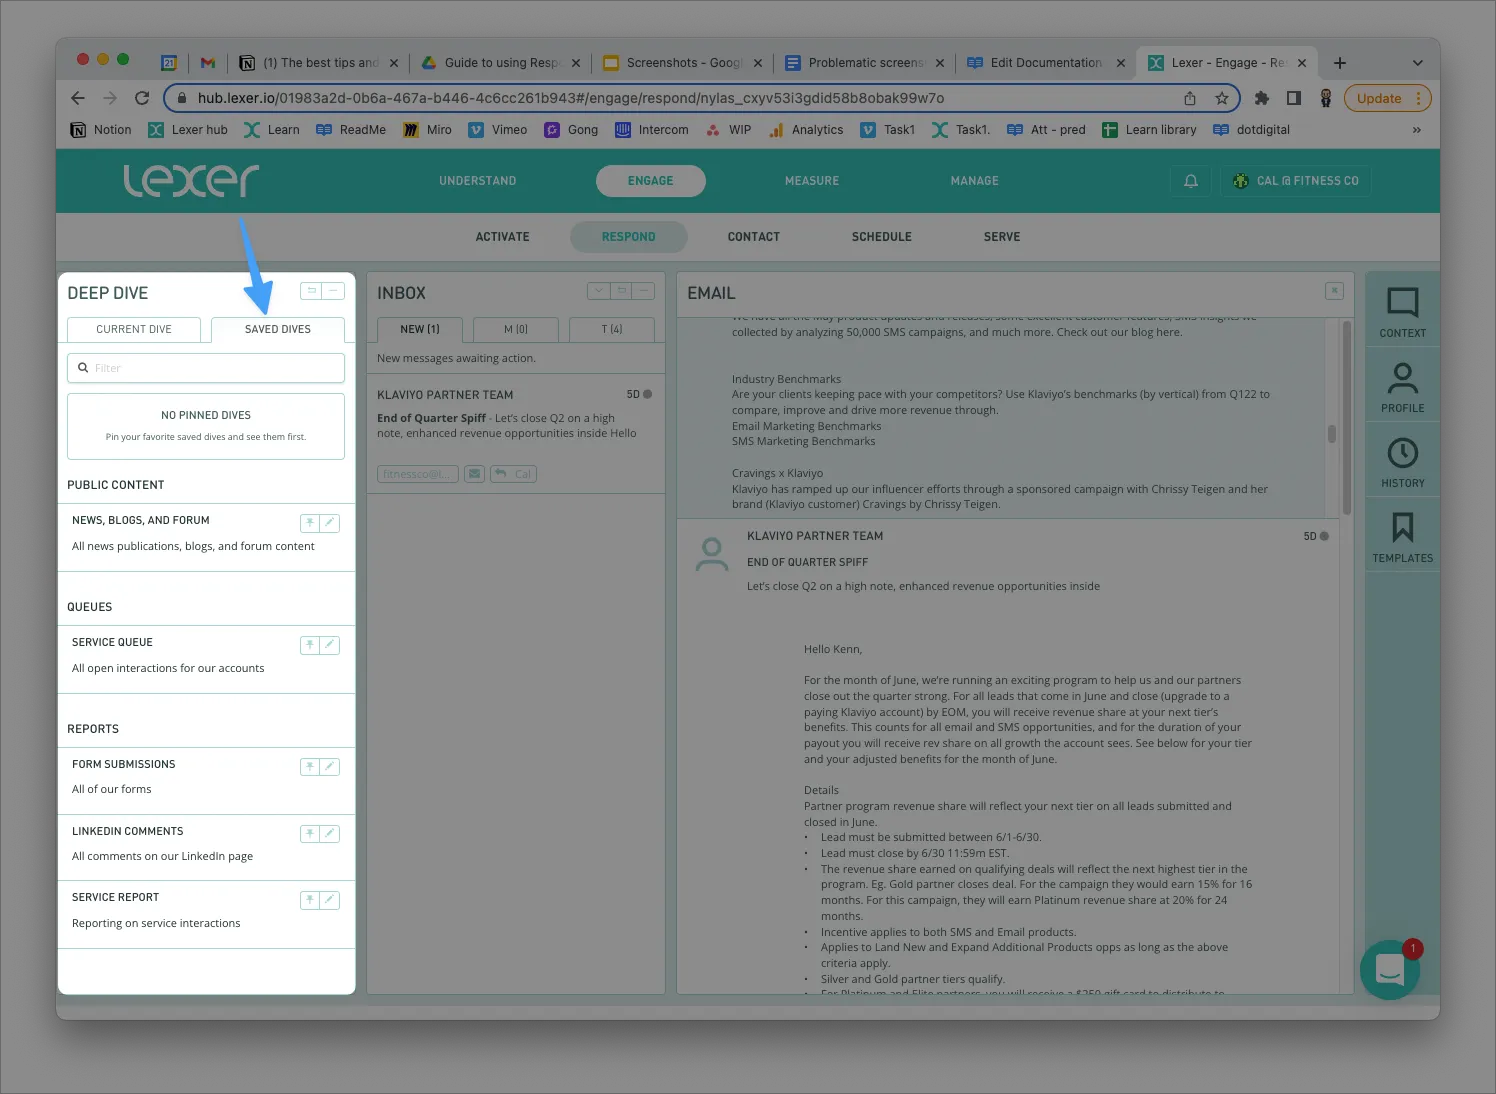
Bulk Change
We know that your inbox can become overwhelming when you receive a lot of messages at once. If you wish to classify and close these in bulk, you can simply open the Bulk Change window and quickly apply a bulk change.
Inbox
Inbox displays all messages matching your Deep Dive and will automatically update to show you new messages. Specifying a sorting option will only apply to your view of the inbox and does not impact your team. Here you can see messages that are New, Mine (assigned to you) or Team (assign to others in your team). Clicking on a message from the New column will automatically claim ownership.
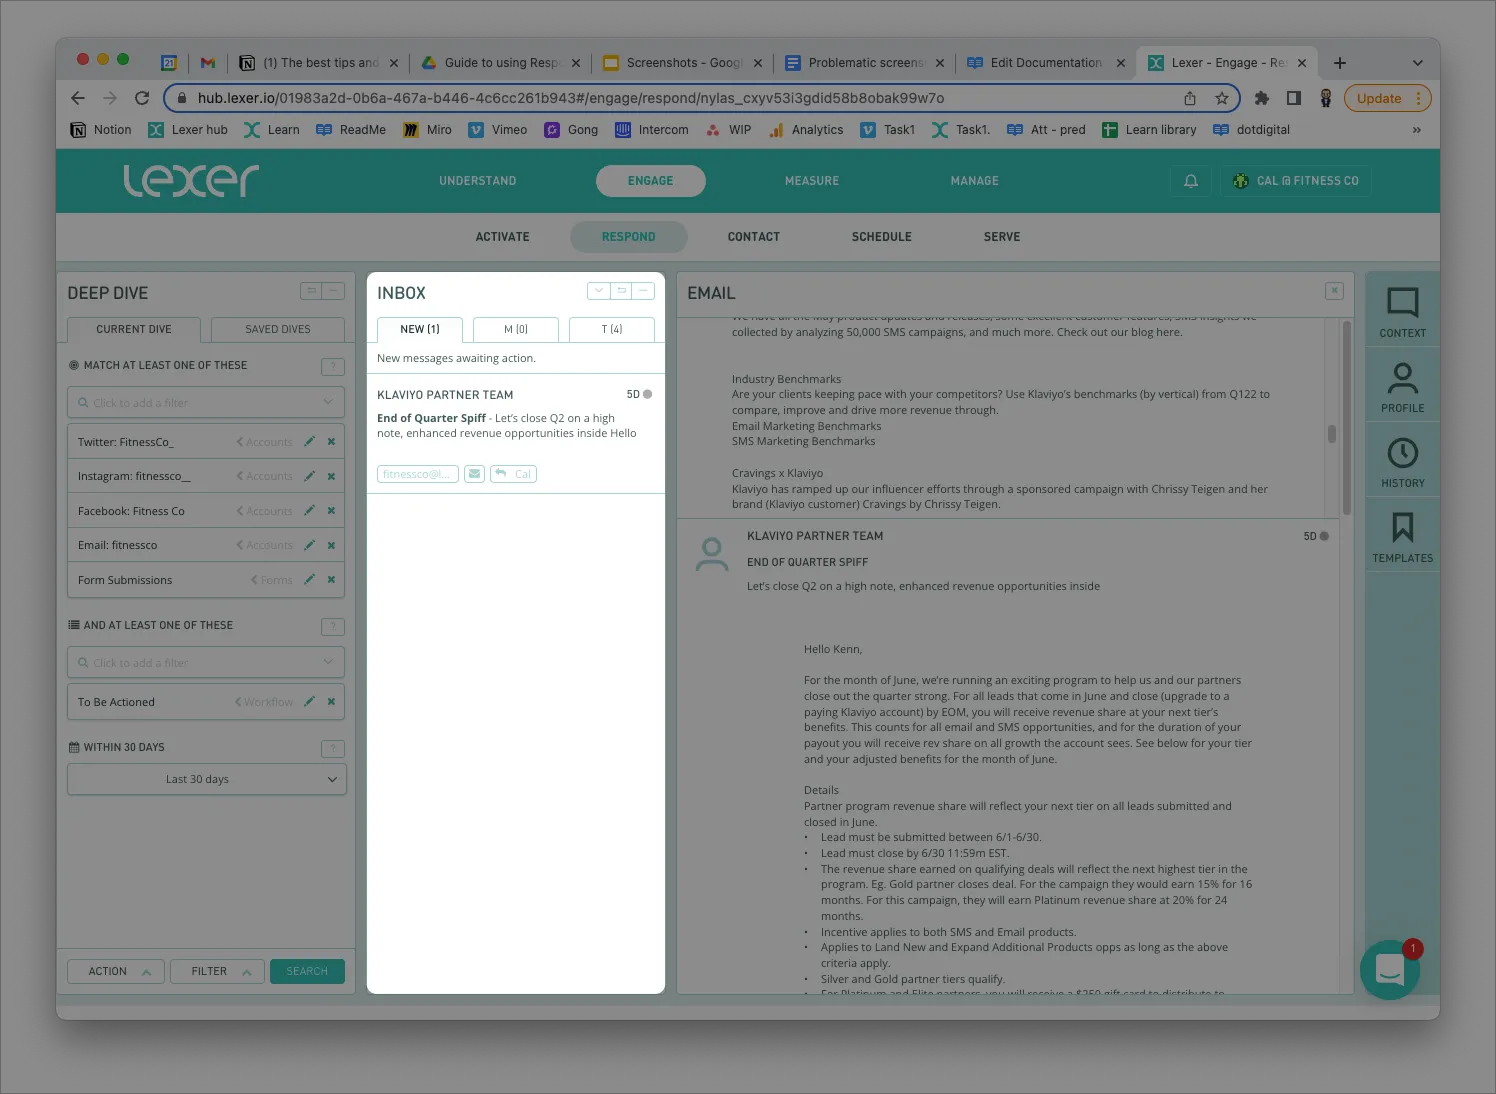
Sorting options for your inbox include:
- Waiting longest: messages sorted oldest to newest (default).
- Most recently active: messages sorted newest to oldest.
- Prioritize open cases: open conversations will be raised to the top of the queue, giving your team the option to finish these before starting a new one. Open conversations are sorted oldest to newest, and then New conversations are sorted oldest to newest.
Inbox is then divided into three sections based on message assignment and rerouting logic.
- New: new messages awaiting action.
- Mine: messages assigned and rerouted to you.
- Team: messages assigned and rerouted to team members.
Messages
Once you have claimed a message you can add classifications, write your response, submit for approval, leave notes and respond. On the right side of your message you can access the context thread, the customer identity profile, and the history of engagements with the customer.
Classifications
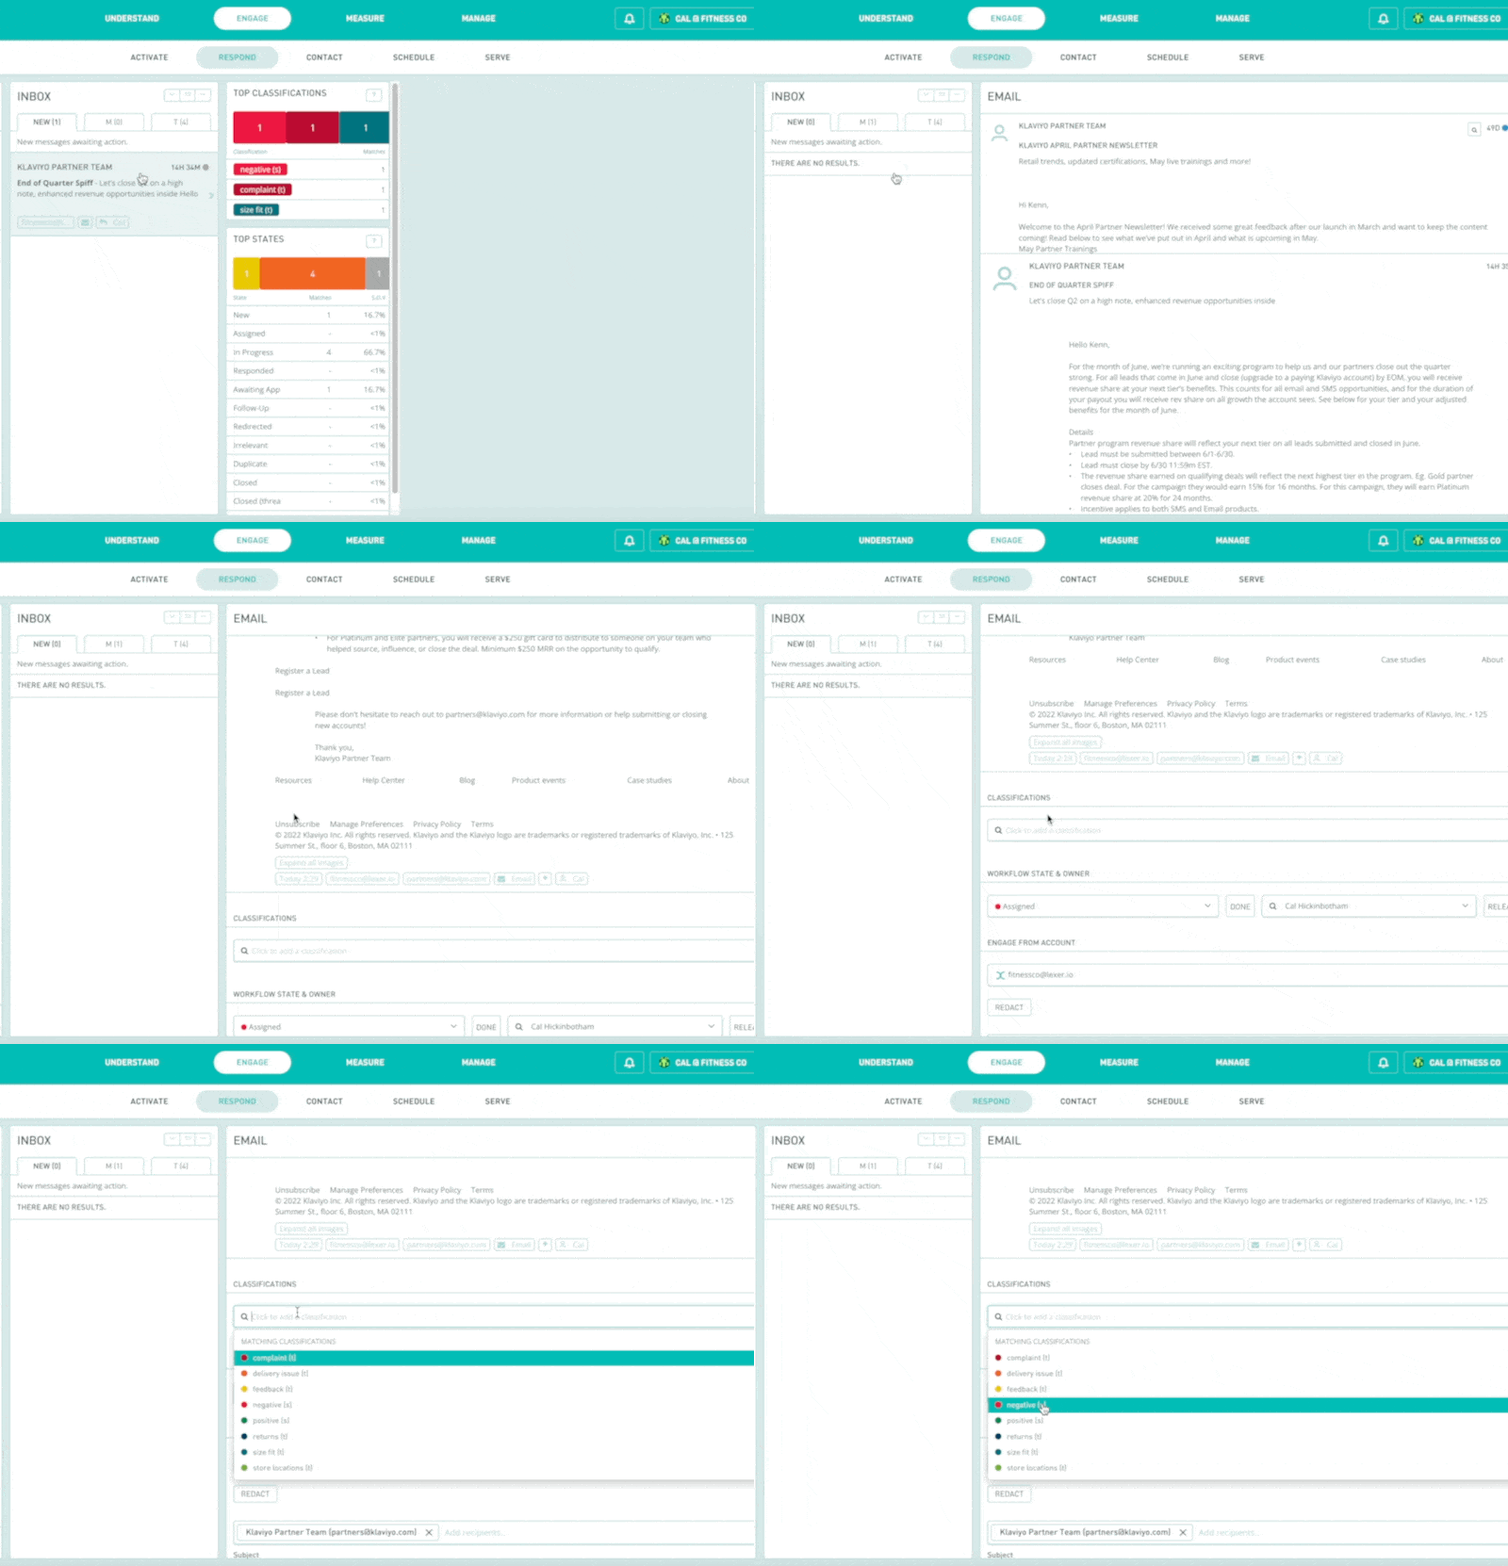
Classifying incoming messages helps your business understand why customers are reaching out for support. Every message you triage in Engage should be classified, so your team can analyze them in Activity or query them in Respond or Listen. Simply open the dropdown and add the classifications that are relevant. Typically we advise teams to classify for topics and sentiment.
Context, Profile, History
Responding to a customer takes more than just writing a message. First you need to understand their query, the context of the conversation, who the customer is in relation to your brand, and any previous engagements they have made. Customer Profiles unified from your Lexer CDP can be a powerful insight for your service team when crafting a reply.
Templates
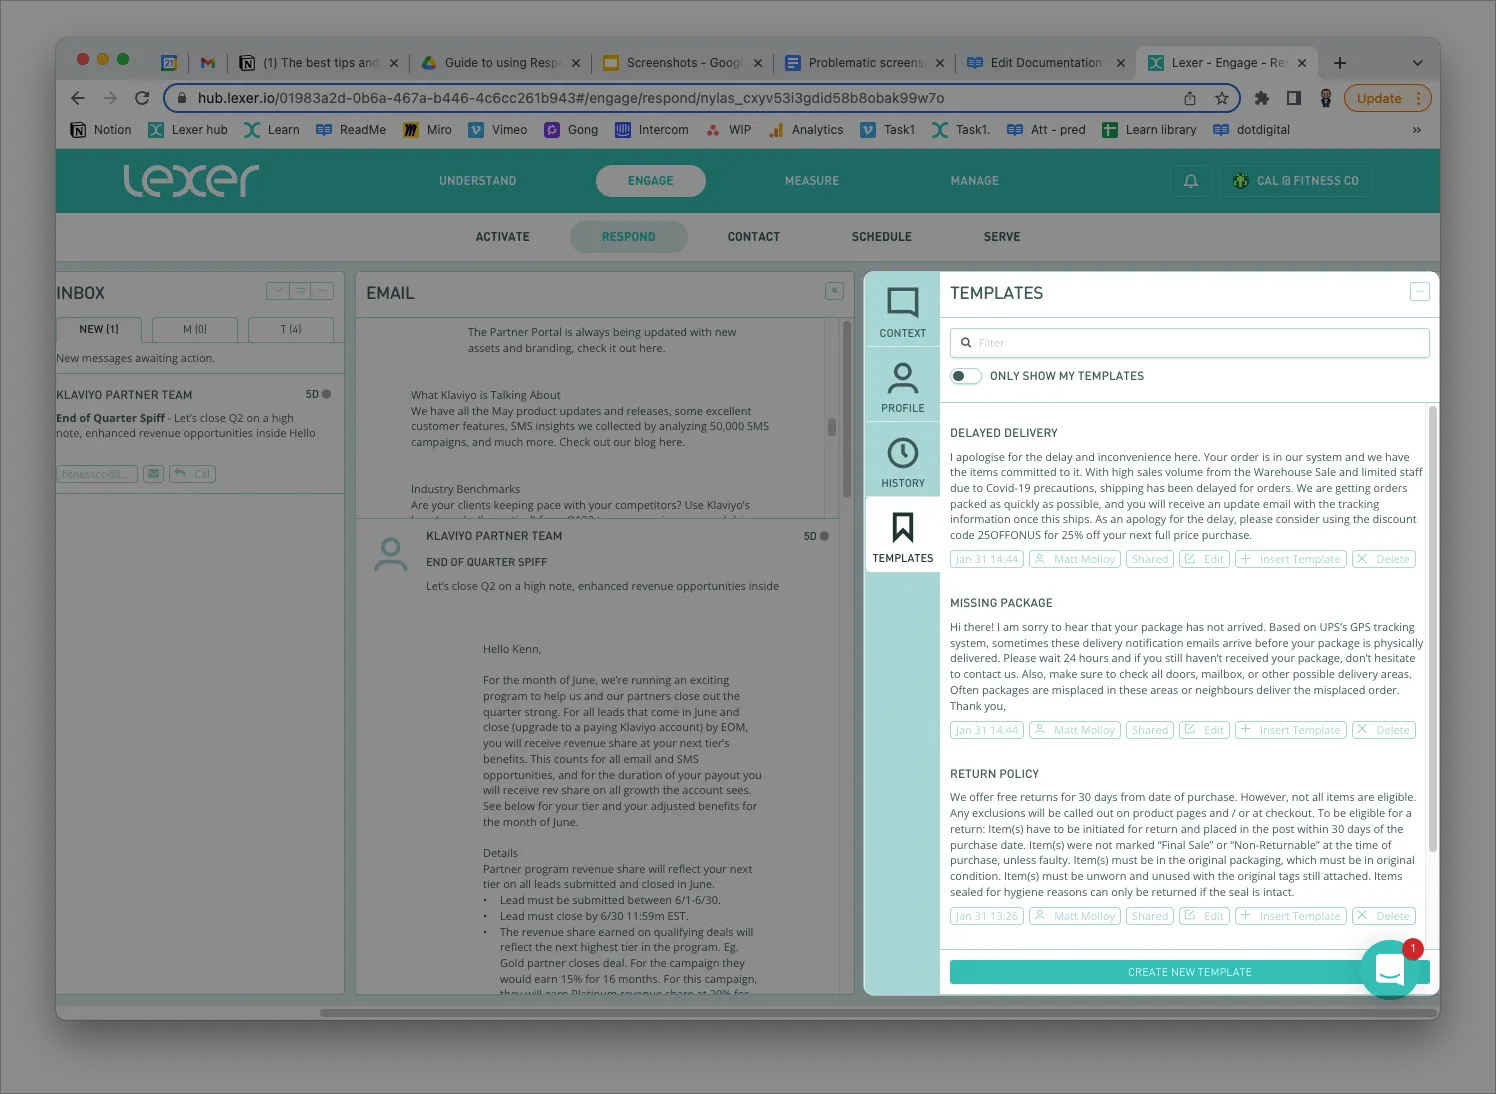
Your team are probably answering the same questions over and over again. Templates help shorten your response time, share well crafted replies written by your team, and allow you to quickly find great replies you’ve sent recently. If you’re managing a team, using saved replies in Lexer will give you a single source of truth to review and create official on-brand replies.
Approval workflow
Engage supports a trainee workflow whereby their permission only allows the ability to write a response and submit for approval. Approval requests will notify the relevant manager via email, and assign the message to their Mine tab. Approved messages will be published on behalf of the trainee in Activity.
Forms
Forms can be created to securely capture customer information in order to confirm their identity without sensitive personal information being shared on social. Alternatively, once the conversation is finished your team can send surveys to measure NPS feedback. Note: get in touch with your Lexer Success Manager to start using forms.
Using Respond
That's it for our tour! We've looked at our Respond tool and its Deep Dive, Inbox, and Message features to see how we can used it to consolidate all of your social channels into a single workflow. If you have any questions, please don’t hesitate to contact Lexer Support at support@lexer.io.

