Saved dives

Create and save a search to use again, and to power your reports

When you build a search in your Deep Dive in Lexer Listen or Lexer Respond, you can then save this search to use again. We call this a Saved Dive.

Saved Dives can be used to efficiently run the same search - day in, day out. This is particularly useful for customer service workflows, daily reporting, and easy access to the volume of content generated on things like campaigns, media releases, and important topics.

Where to find your Saved Dives

When you land in Lexer Listen, or Lexer Respond, the Deep Dive on the left of your screen will display your Current Dive. This will be compiled of your default Tier Filters, which are the search filters that you’ve chosen to appear by default when you set them up.

Check out our article on Tier Filters to learn more about how to create and edit them.

Searches you’ve previously saved now live in the tab next to the Current Dive, labelled “Saved Dives”. Click here to see your Saved Dives listed out by the categories you’ve saved them to, each in alphabetical order.

You can also pin Saved Dives you use often, so that they sit a the top of this column. Note that the pinned Saved Dives setting creates your own personal “favourites” - your team will not be able to see your pinned Saved Dives.

Building your search

Your search is compiled of at least one Tier 1 Filter, and one Tier 2 Filter.

To hone in further on the content you’re looking for, you can also include additional Tier 3 Filters.

Check out our guide to Searching in Listen to discover the best setup for your use case.

Saving your search as a Saved Dive

Once you’re happy with the search you’ve built, and the results make sense, it’s time to save.

3840

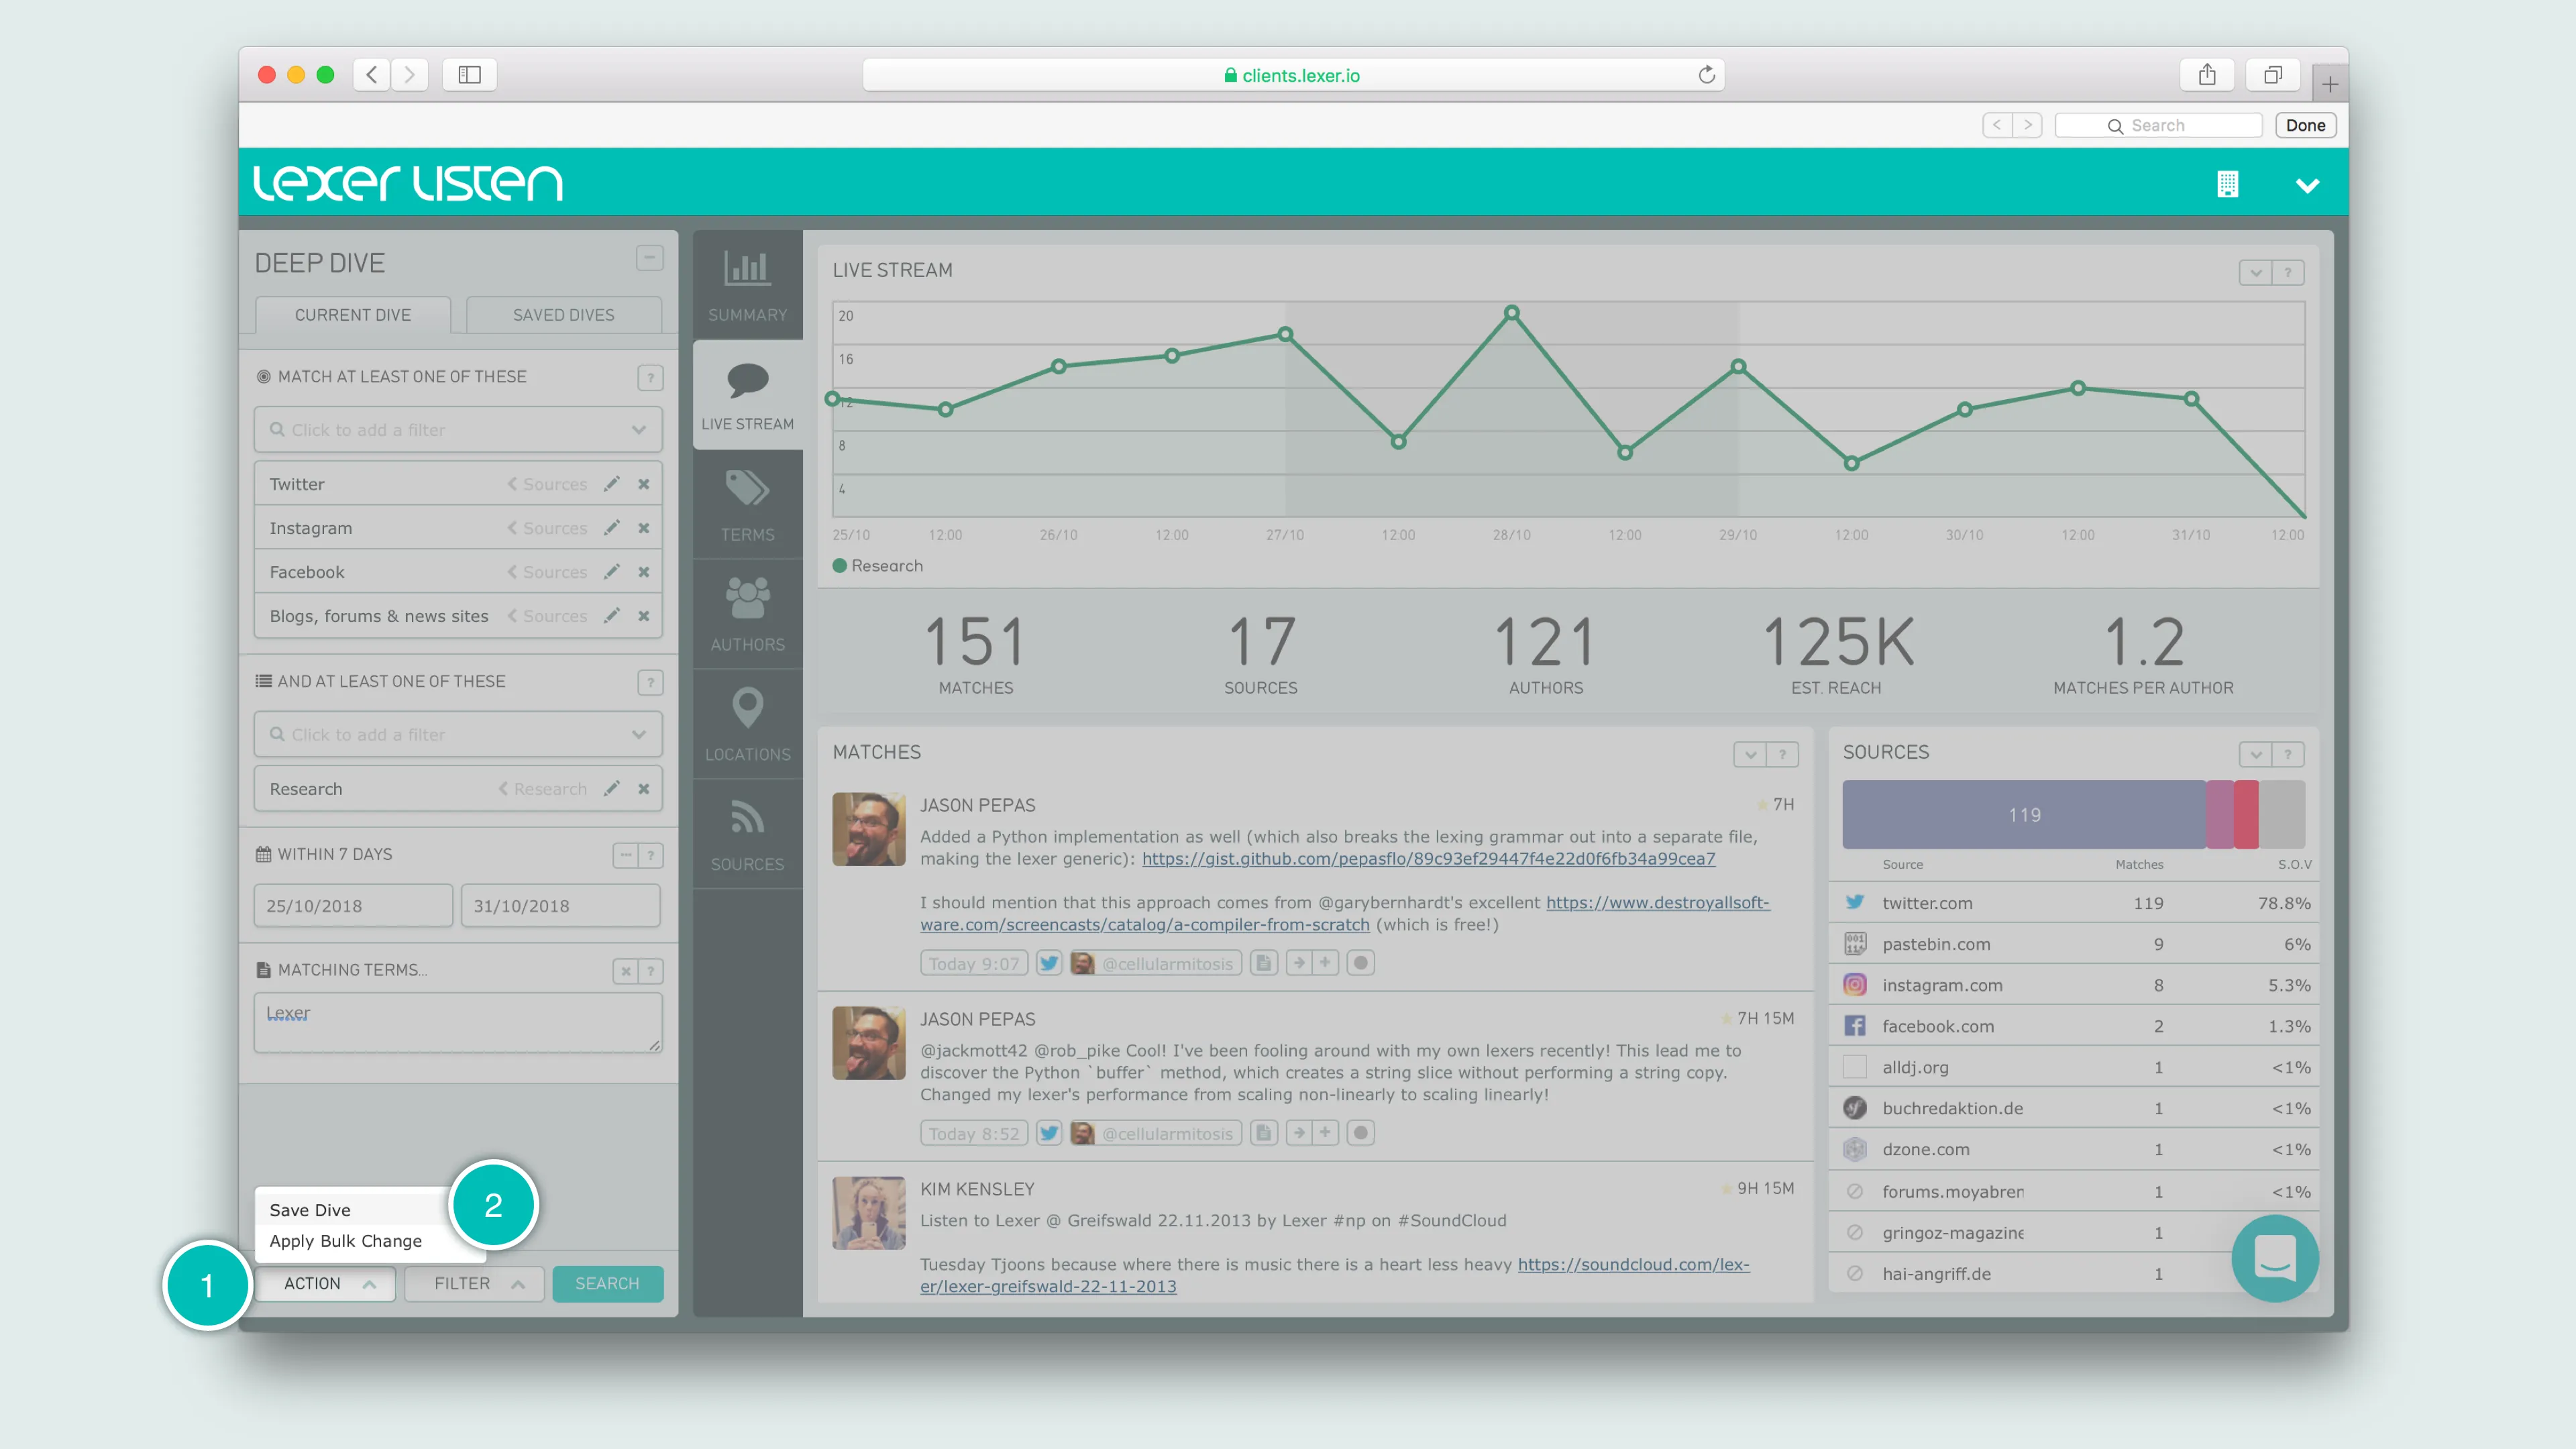
Click the Action button, then select Save Dive.

3840

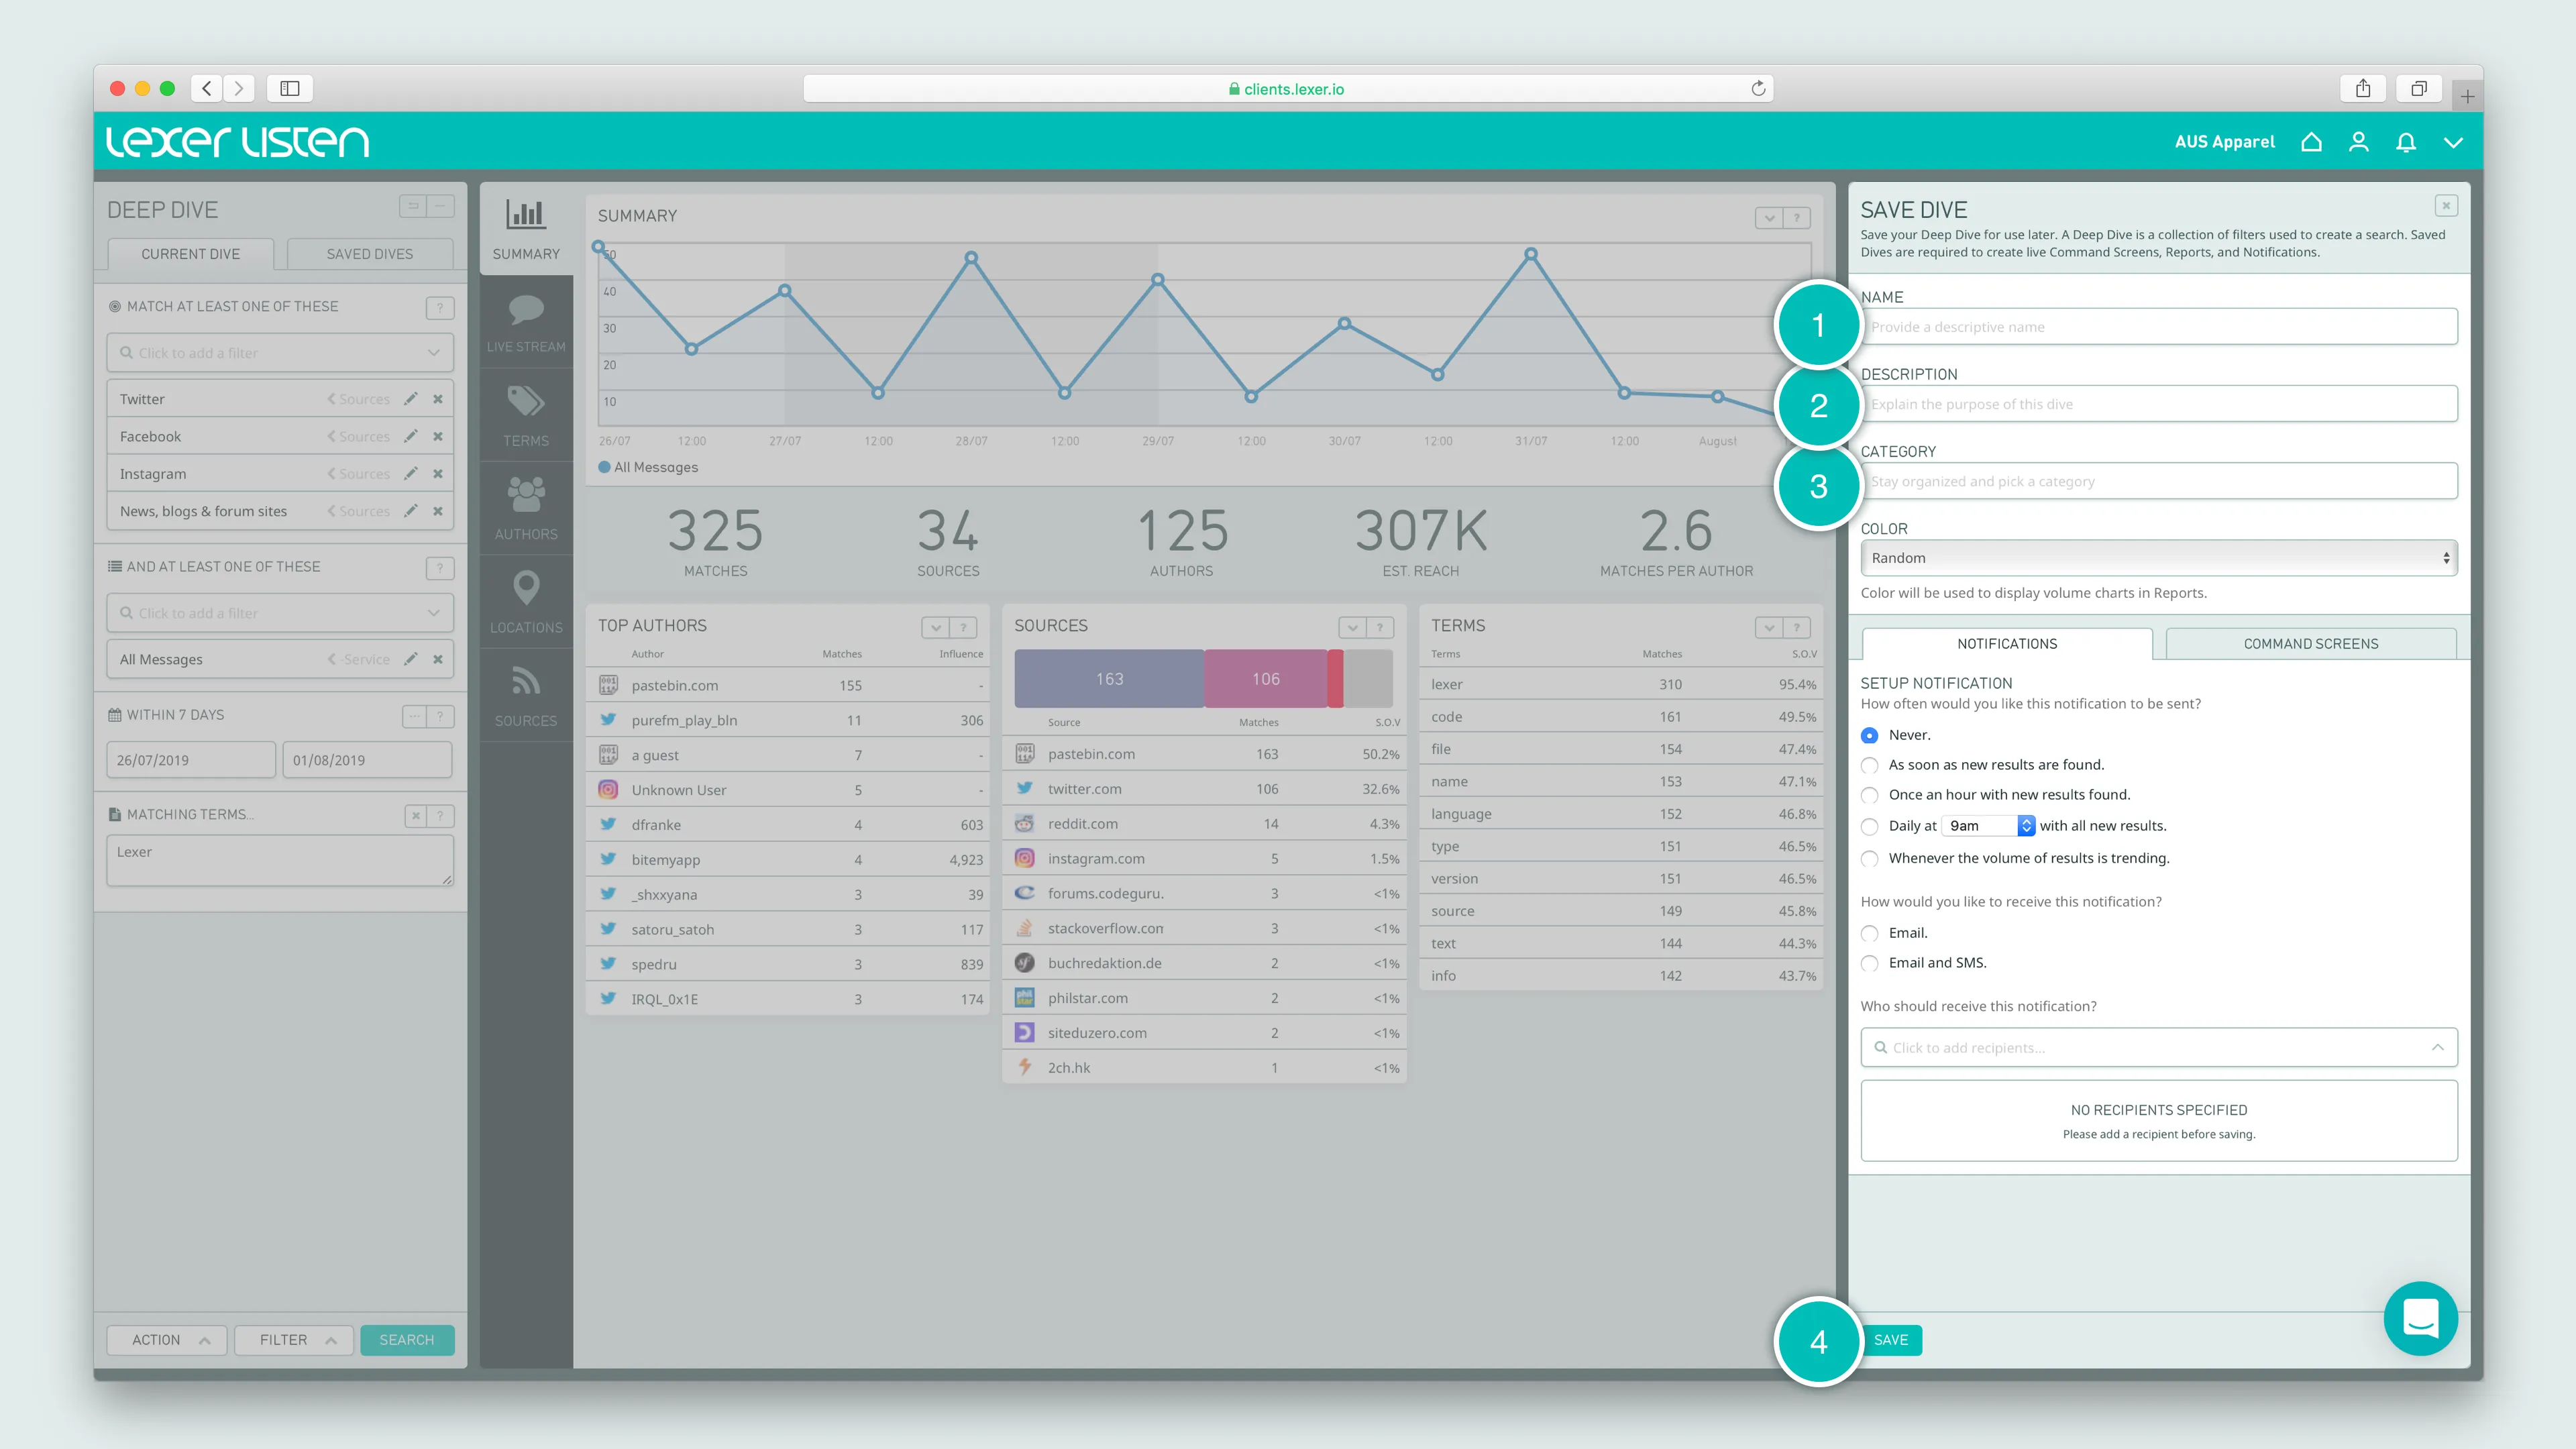
Give your search a Name, and add a Description to let others know what it’s used for. Then put it into a Category to keep your Saved Dives organized, and click Save.

Lexer tip!
You can opt to give your Saved Dive a color, if you wish. This color will then appear on any reports that use this Saved Dive).

Editing a Saved Dive

Caution!
Changes to Saved Dives cannot be undone once saved, and apply to anyone using them. We recommend checking if anyone else is using a Saved Dive before making these changes.

When editing your Saved Dive, we recommend re-running your search with each change you make. This will ensure your results are still relevant, and you can undo the change

Adding filters

To add a saved filter to your search, simply select your pre-saved Tier Filters from the Tier 1 (“match at least one of these”) and Tier 2 (“and at least one of these”) dropdown menus. If you can’t find the Tier Filter you’re looking for, head over to our guide on Creating Tier Filters to set these up now.

To add a new filter on the fly, select the Filter button at the bottom of your Deep Dive, and add your required filter. To find out more about the different filter types, and how to use them, check out our guide to Types of Tier Filters.

Removing filters

This one’s easy - just click on the X on the right of the filter. Just be aware that this action cannot be undone, though if you’ve removed a filter from an existing Saved Dive without re-saving, you can simply select the Saved Dive again from the Saved Dives tab, to re-populate the Deep Dive.

Saving over the existing Saved Dive

Caution!
Saving over a search cannot be undone, make sure you’re 100% confident with the change before confirming it.

To save changes, and override the existing Saved Dive, head to the top right-hand corner of your Deep Dive, and click on the floppy disk icon.

Saving as a new Saved Dive

If others are using the Saved Dive you’d like to change, your best bet is to save your changes as a new Saved Dive, so as to keep the existing Saved Dive, and not to disrupt anyone’s workflow.

To do this, make your changes, then select Action > Save Dive from the bottom of your Deep Dive. Then add the criteria to the form that appears on the right.

Using Saved Dives

Saved Dives are used for a whole variety of different purposes:

  • Listen: Run in Listen for instant and detailed insight on content relevant to your interests.
  • Respond: Pull in all social, email, and other web content relevant to your company, for customer service teams to work through one, easy to use workflow.
  • PDF reports: Share the results returned from your Saved Dives in PDF format.
  • Visualize screens: Power live dashboards, and share at scale.
Updated:
September 23, 2022
Did this page help you?
Thank you! Your feedback has been received!
Oops! Something went wrong while submitting the form, for assistance please contact support@lexer.io
Welcome to Lexer!
Fundamentals
Getting started
Our glossary
Fundamentals
Getting started
Integrations
Fundamentals
Setup
My account
Fundamentals
Setup
Manage team
Fundamentals
Setup
Group permissions
Fundamentals
Setup
Classifications
Fundamentals
Setup
Out of the box segments
Fundamentals
Setup
Browser guide
Fundamentals
Security
Corporate networks
Fundamentals
Security
Emergency contact
Fundamentals
Security
Multi-factor authentication
Fundamentals
Security
Single sign-on
Fundamentals
Security
Trust and compliance
Fundamentals
Security
Lexer's Identity Resolution
Fundamentals
Identity Resolution
Troubleshooting tech issues
Fundamentals
Troubleshooting
Error code: 503 Service Unavailable
Fundamentals
Troubleshooting
Error code: 401 Unauthorized
Fundamentals
Troubleshooting
Error code: 403 Forbidden
Fundamentals
Troubleshooting
Troubleshooting Activate
Fundamentals
Troubleshooting
Troubleshooting Respond
Fundamentals
Troubleshooting
Help! My data is missing from the Hub
Fundamentals
Troubleshooting
Understanding APIs at Lexer
Data
Data Onboarding
Providing JSON data to Lexer
Data
Data Onboarding
Providing CSV data to Lexer
Data
Data Onboarding
Upload using SFTP
Data
Data Onboarding
Upload using S3
Data
Data Onboarding
Lexer data specification
Data
Lexer Data Specification
Customer data specification
Data
Lexer Data Specification
Commerce data specification
Data
Lexer Data Specification
Marketing data specification
Data
Lexer Data Specification
Compliance data specification
Data
Lexer Data Specification
Data Formatting and Validation
Data
Getting Started with APIs
Authentication and API token creation
Data
Getting Started with APIs
Rate Limits
Data
Getting Started with APIs
Response codes and common errors
Data
Getting Started with APIs
Product imagery
Data
Getting Started with APIs
Currency conversion
Data
Getting Started with APIs
Lexer’s APIs overview
Data
Lexer’s APIs
Dataset management in the Hub
Data
Dataset management
Chatbox user API
Data
Lexer’s APIs
Activity API
Data
Lexer’s APIs
Visualize API
Hidden from nav
Profile Read API
Data
Lexer’s APIs
Lexer Javascript Tag basics
Data
Lexer Javascript Tag
Lexer Javascript Tag technical guide
Data
Lexer Javascript Tag
Lexer Javascript Tag use cases
Data
Lexer Javascript Tag
dataLayer configuration: Shopify
Data
Lexer Javascript Tag
Customer segment CSV export
Data
Data off-boarding
Export to CSV
Data
Data off-boarding
Data in Lexer's CDXP
Understand
Customer Data
Lexer's attributes
Understand
Customer Data
Attribute value types
Understand
Customer Data
Data source - CRM
Understand
Customer Data
Data source - Transactions
Understand
Customer Data
Data source - Email
Understand
Customer Data
Partner data - Experian
Understand
Customer Data
Partner data - Mastercard
Understand
Customer Data
Partner data - Roy Morgan
Understand
Customer Data
GDPR and CCPA requests
Understand
Customer Data
Upload data files
Understand
Customer Data
File upload API
Understand
Customer Data
Data provision and schemas
Understand
Customer Data
Segment overview
Understand
Segment
Creating segments
Understand
Segment
Smart Search
Understand
Segment
Export attribute results
Understand
Segment
Contact a customer
Understand
Segment
Fixing a disabled segment
Understand
Segment
Profile tab
Understand
Segment
Compare segments
Understand
Compare
Compare attributes
Understand
Compare
Activate overview
Engage
Activate
Ongoing activations
Engage
Activate
Audience splits
Engage
Activate
A/B splits
Engage
Activate
Control group splits
Engage
Activate
Inbox filtering
Engage
Respond
Ignored Senders
Engage
Respond
Forms for service
Engage
Respond
Workflow states
Engage
Respond
Bulk changes
Engage
Respond
Scheduled replies
Engage
Respond
Message templates
Engage
Respond
Customer profiles
Engage
Respond
Grouped messages
Engage
Respond
Automation rules
Engage
Respond
Redact messages
Engage
Respond
Track overview
Measure
Track
Activity overview
Measure
Activity
Team report
Measure
Activity
Cases report
Measure
Activity
Listen overview
Measure
Listen
Searching in Listen
Measure
Listen
Tier filters
Measure
Listen
Boolean search
Measure
Listen
Saved dives
Measure
Listen
Email notifications
Measure
Listen
Twitter data
Measure
Listen
Facebook data
Measure
Listen
Instagram data
Measure
Listen
Visualize overview
Measure
Visualize
Curate feed
Measure
Visualize
Report overview
Measure
Report