
Lexer Forms overview
Capture zero-party data directly from your customers
Lexer’s Form Builder is the quickest and easiest way to capture zero-party data directly from your customers.
Using Forms, you will be able to create entirely customizable forms that you can send to your customers, and then integrate the data you receive directly into Lexer. You have the ability to create competition entries, customer surveys, feedback forms, and much more!
When a customer responds to one of your forms you will immediately have access to their full response, and you will be able to see this data in their chat history and context history, so you can personalize your customer communications. Plus, you can even use this data in Segment for deeper customer service analysis, or activations.
To learn more about access and pricing read our blog post here. If you would like to talk about getting Forms in your Hub, reach out via the chatbot in the bottom right hand side of the page.
Form Builder in your Hub
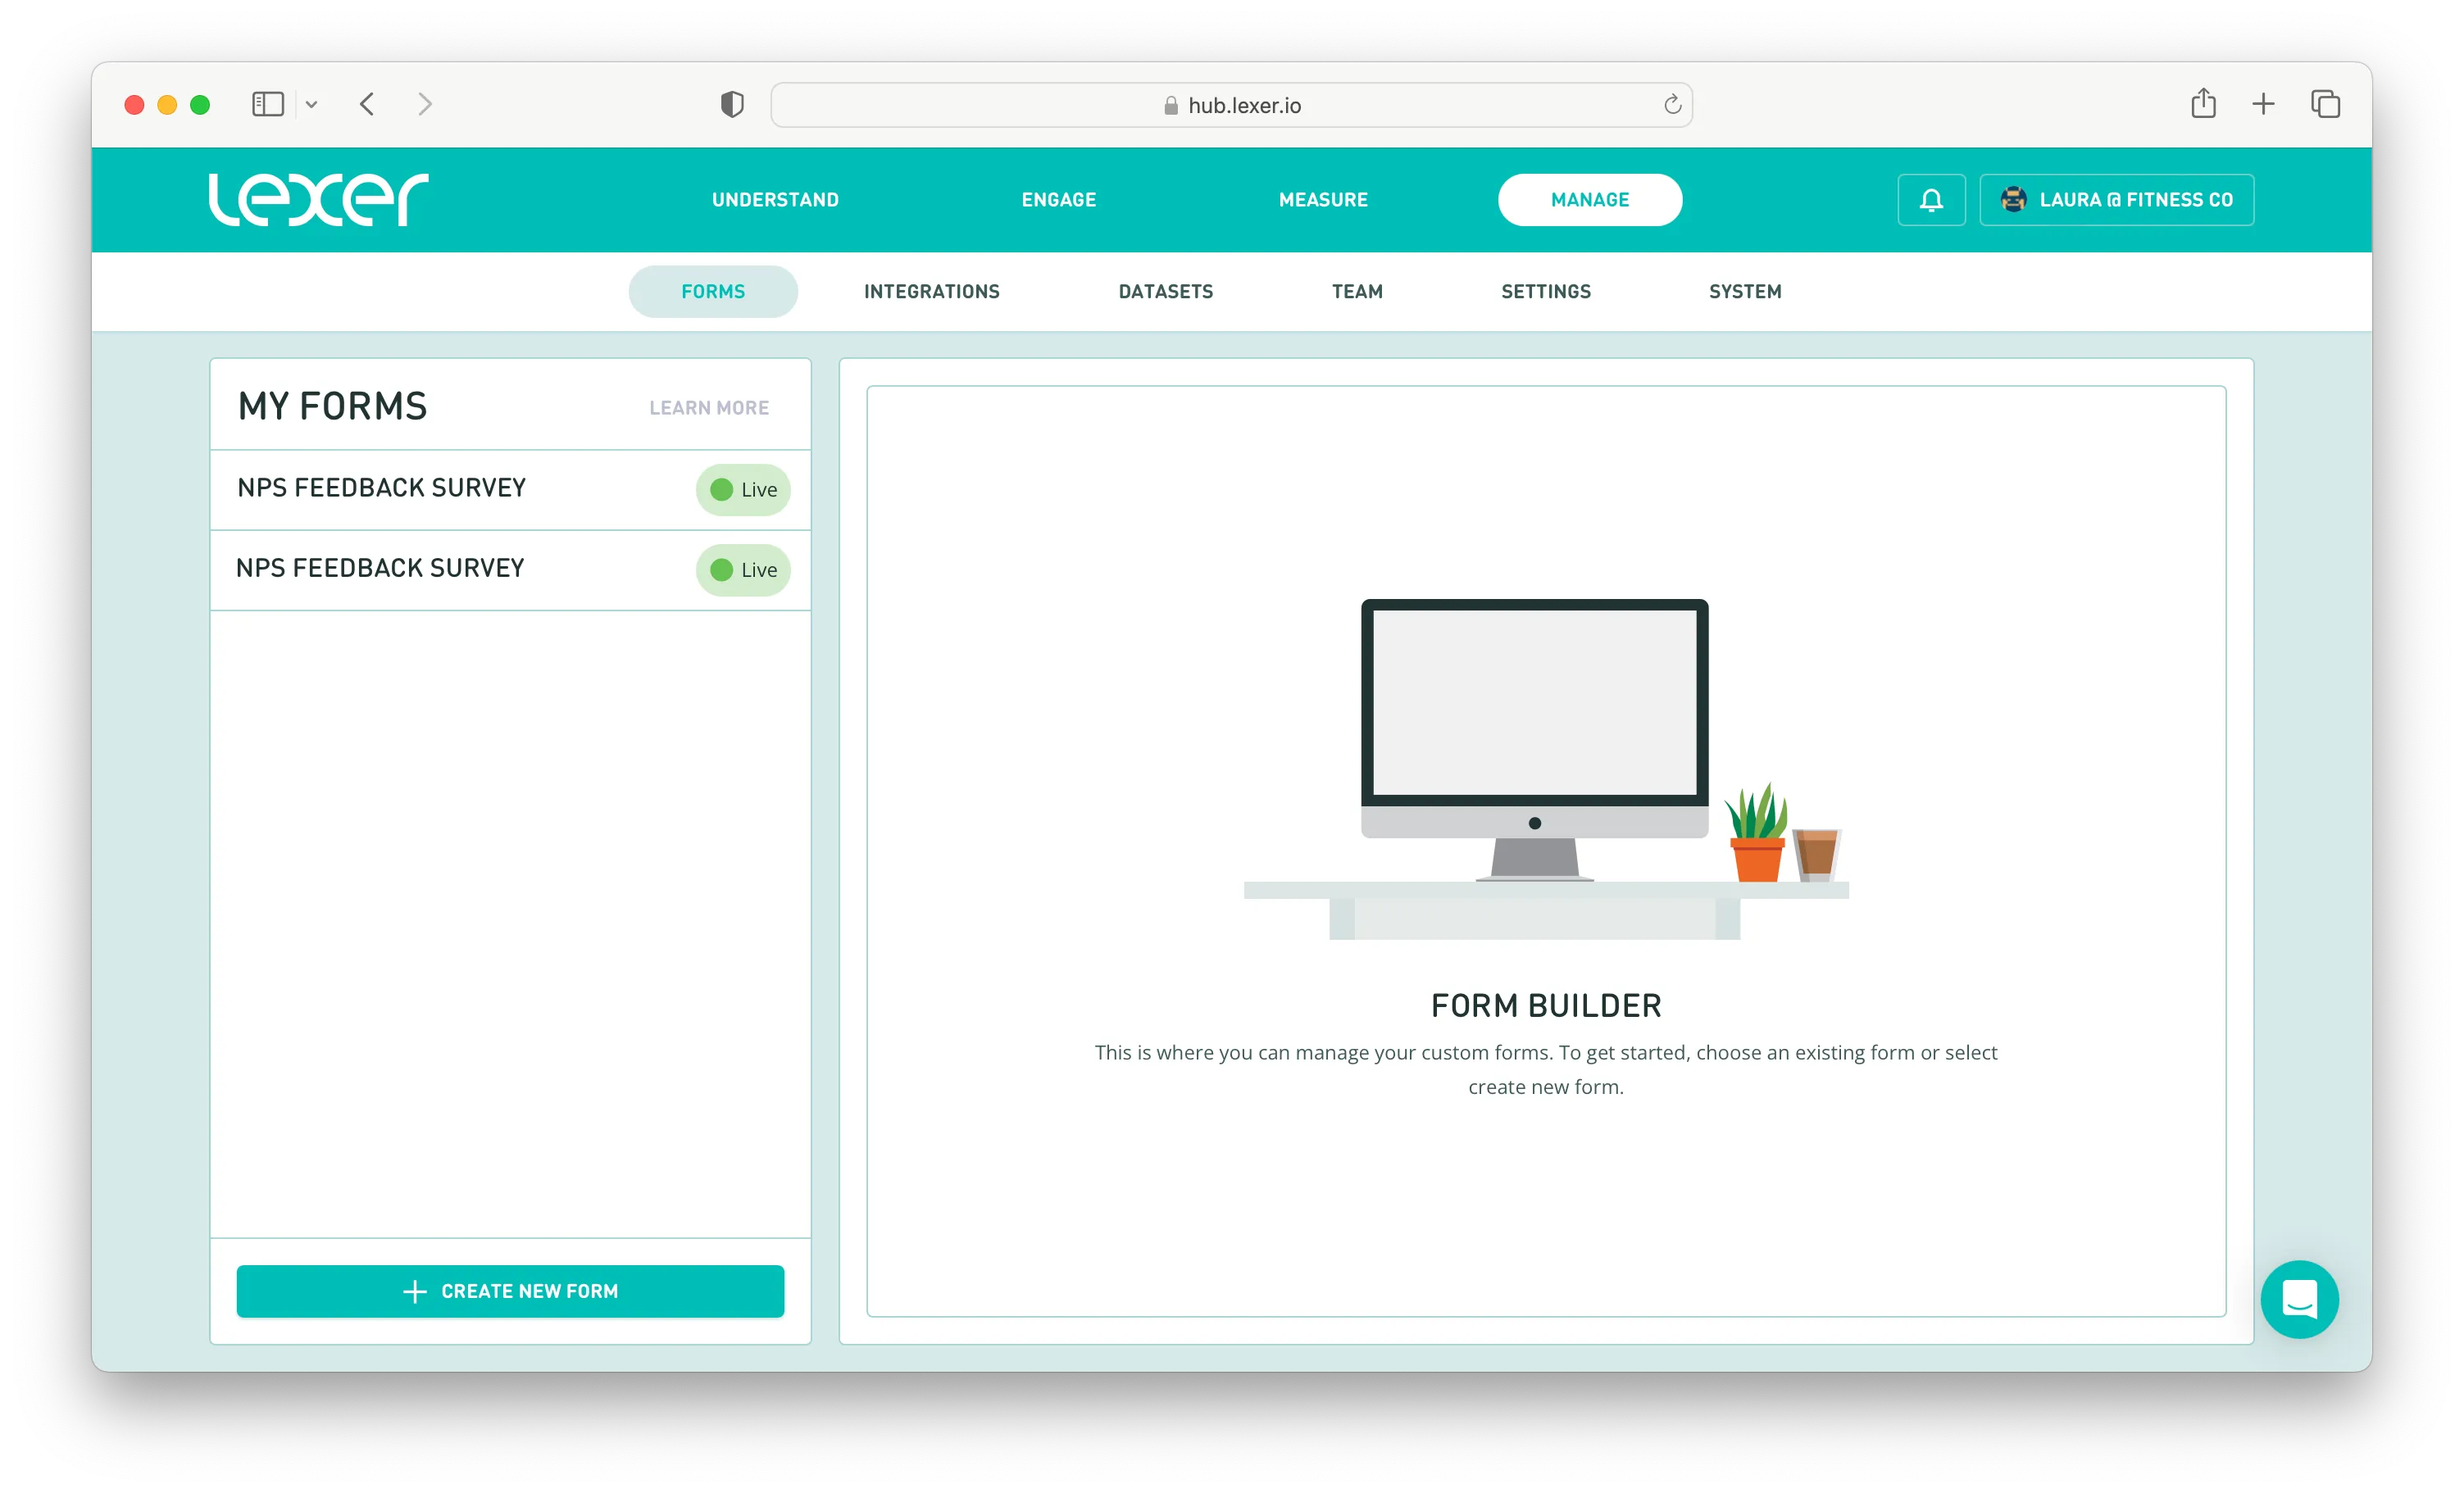
To find Forms in your Hub, navigate to Manage > Forms in the top navigation bar. This will take you to the Form Builder tool.
All existing forms (plus their current status) will be listed to the left of the page under the My Forms heading, and any draft form you’re currently working on will be displayed on the right.
To learn more about forms, how to create and customize them, you can see the full list of Forms content here.
- Create, build and design forms
- Using conditional logic and validation for forms
- Accessing Form Builder settings
- Using Form Builder insights in the Hub
- Analyzing forms with the Summary tab
- Pre-fill form details with hidden fields
What's next?
Lexer’s Form Builder is the ultimate way to create forms and surveys to capture zero-party data directly from your customers. We have heaps more content that showcases Lexer's Form Builder. You can see the full list of Forms content here. If you need any help with Forms, please reach out via the chatbot in the bottom right hand side of the page.
