
Event activations
Lexer Activate enables you to connect your customer data to marketing tools for more personalized messaging. Event activations are triggered when specific customer actions—like purchases or visits—are detected in your data. These activations send individual event records to your chosen platform, making it easier to respond to key customer behaviors.
In this article, we'll show you how to create a new activation to sync events with your integrated destinations.
- Video tutorial
- Step 1. Select your goal
- Step 2. Select event trigger
- Step 3. Select destination
- Step 4. Configure settings
- Step 5. Configure data mapping
Video tutorial
Step 1. Select your goal
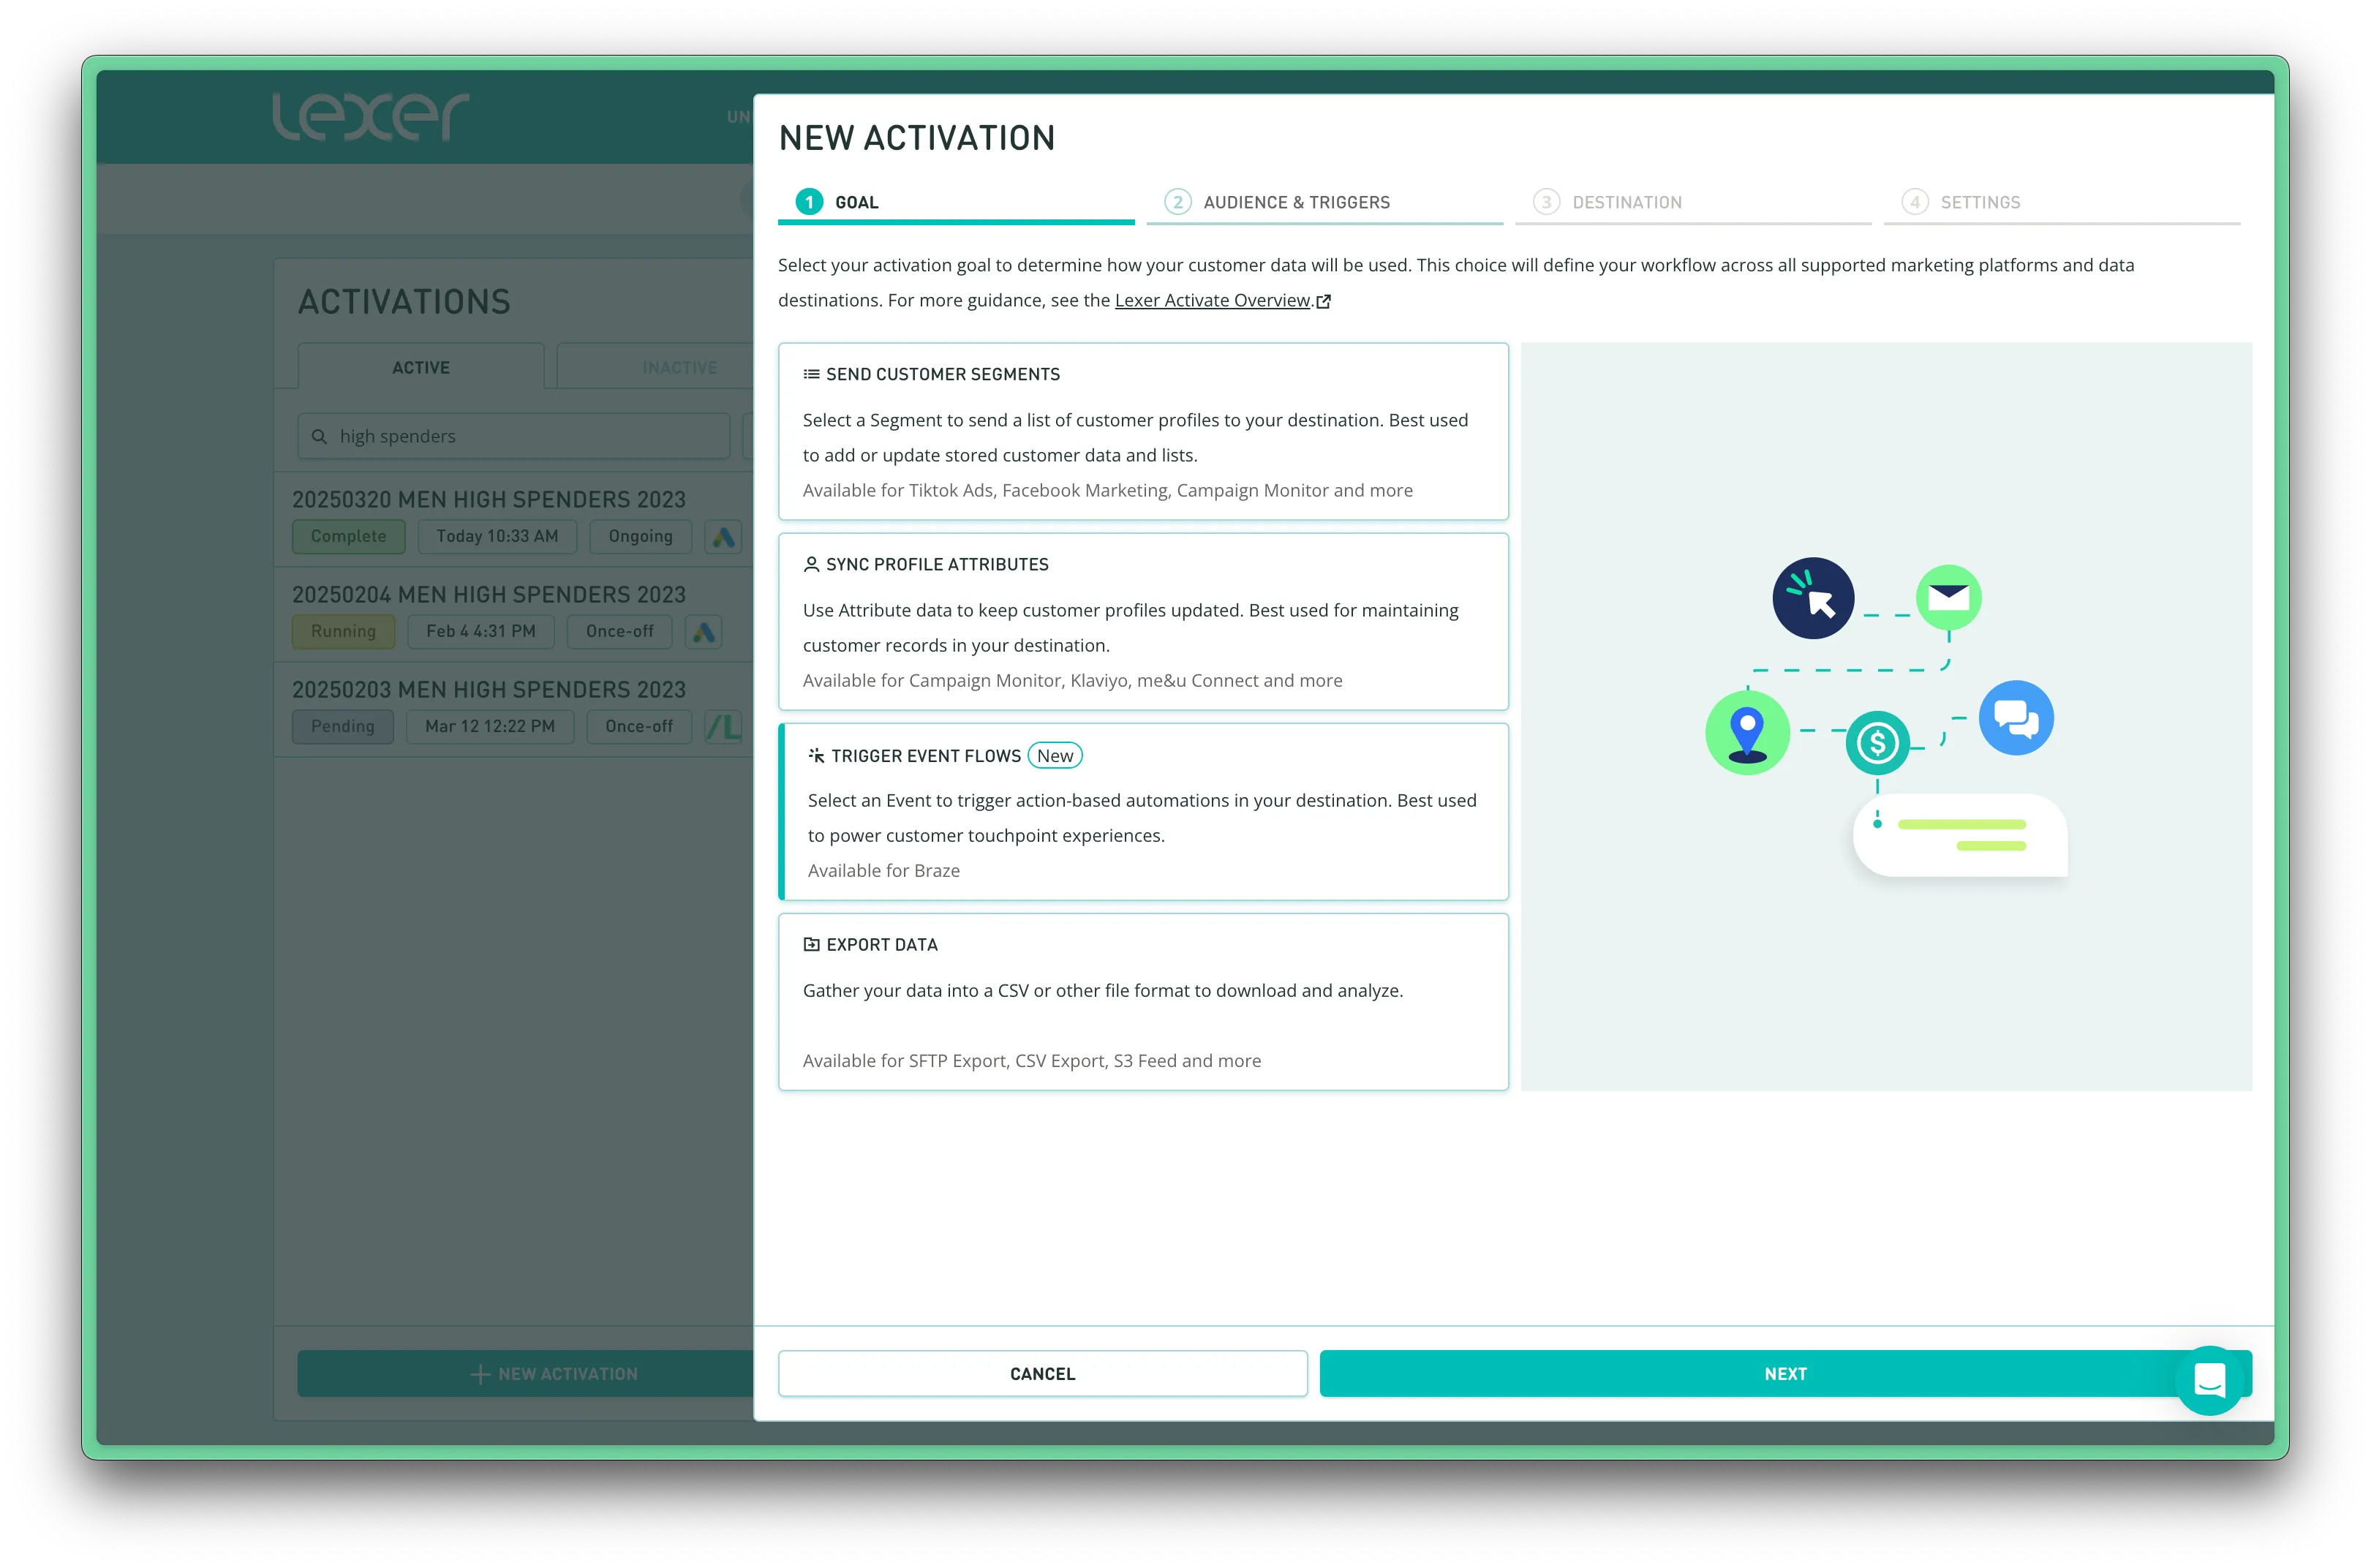
Navigate to Engage > Activate and click the + New Activation button. Select Trigger Event Flows and click Next.
Step 2. Select event trigger
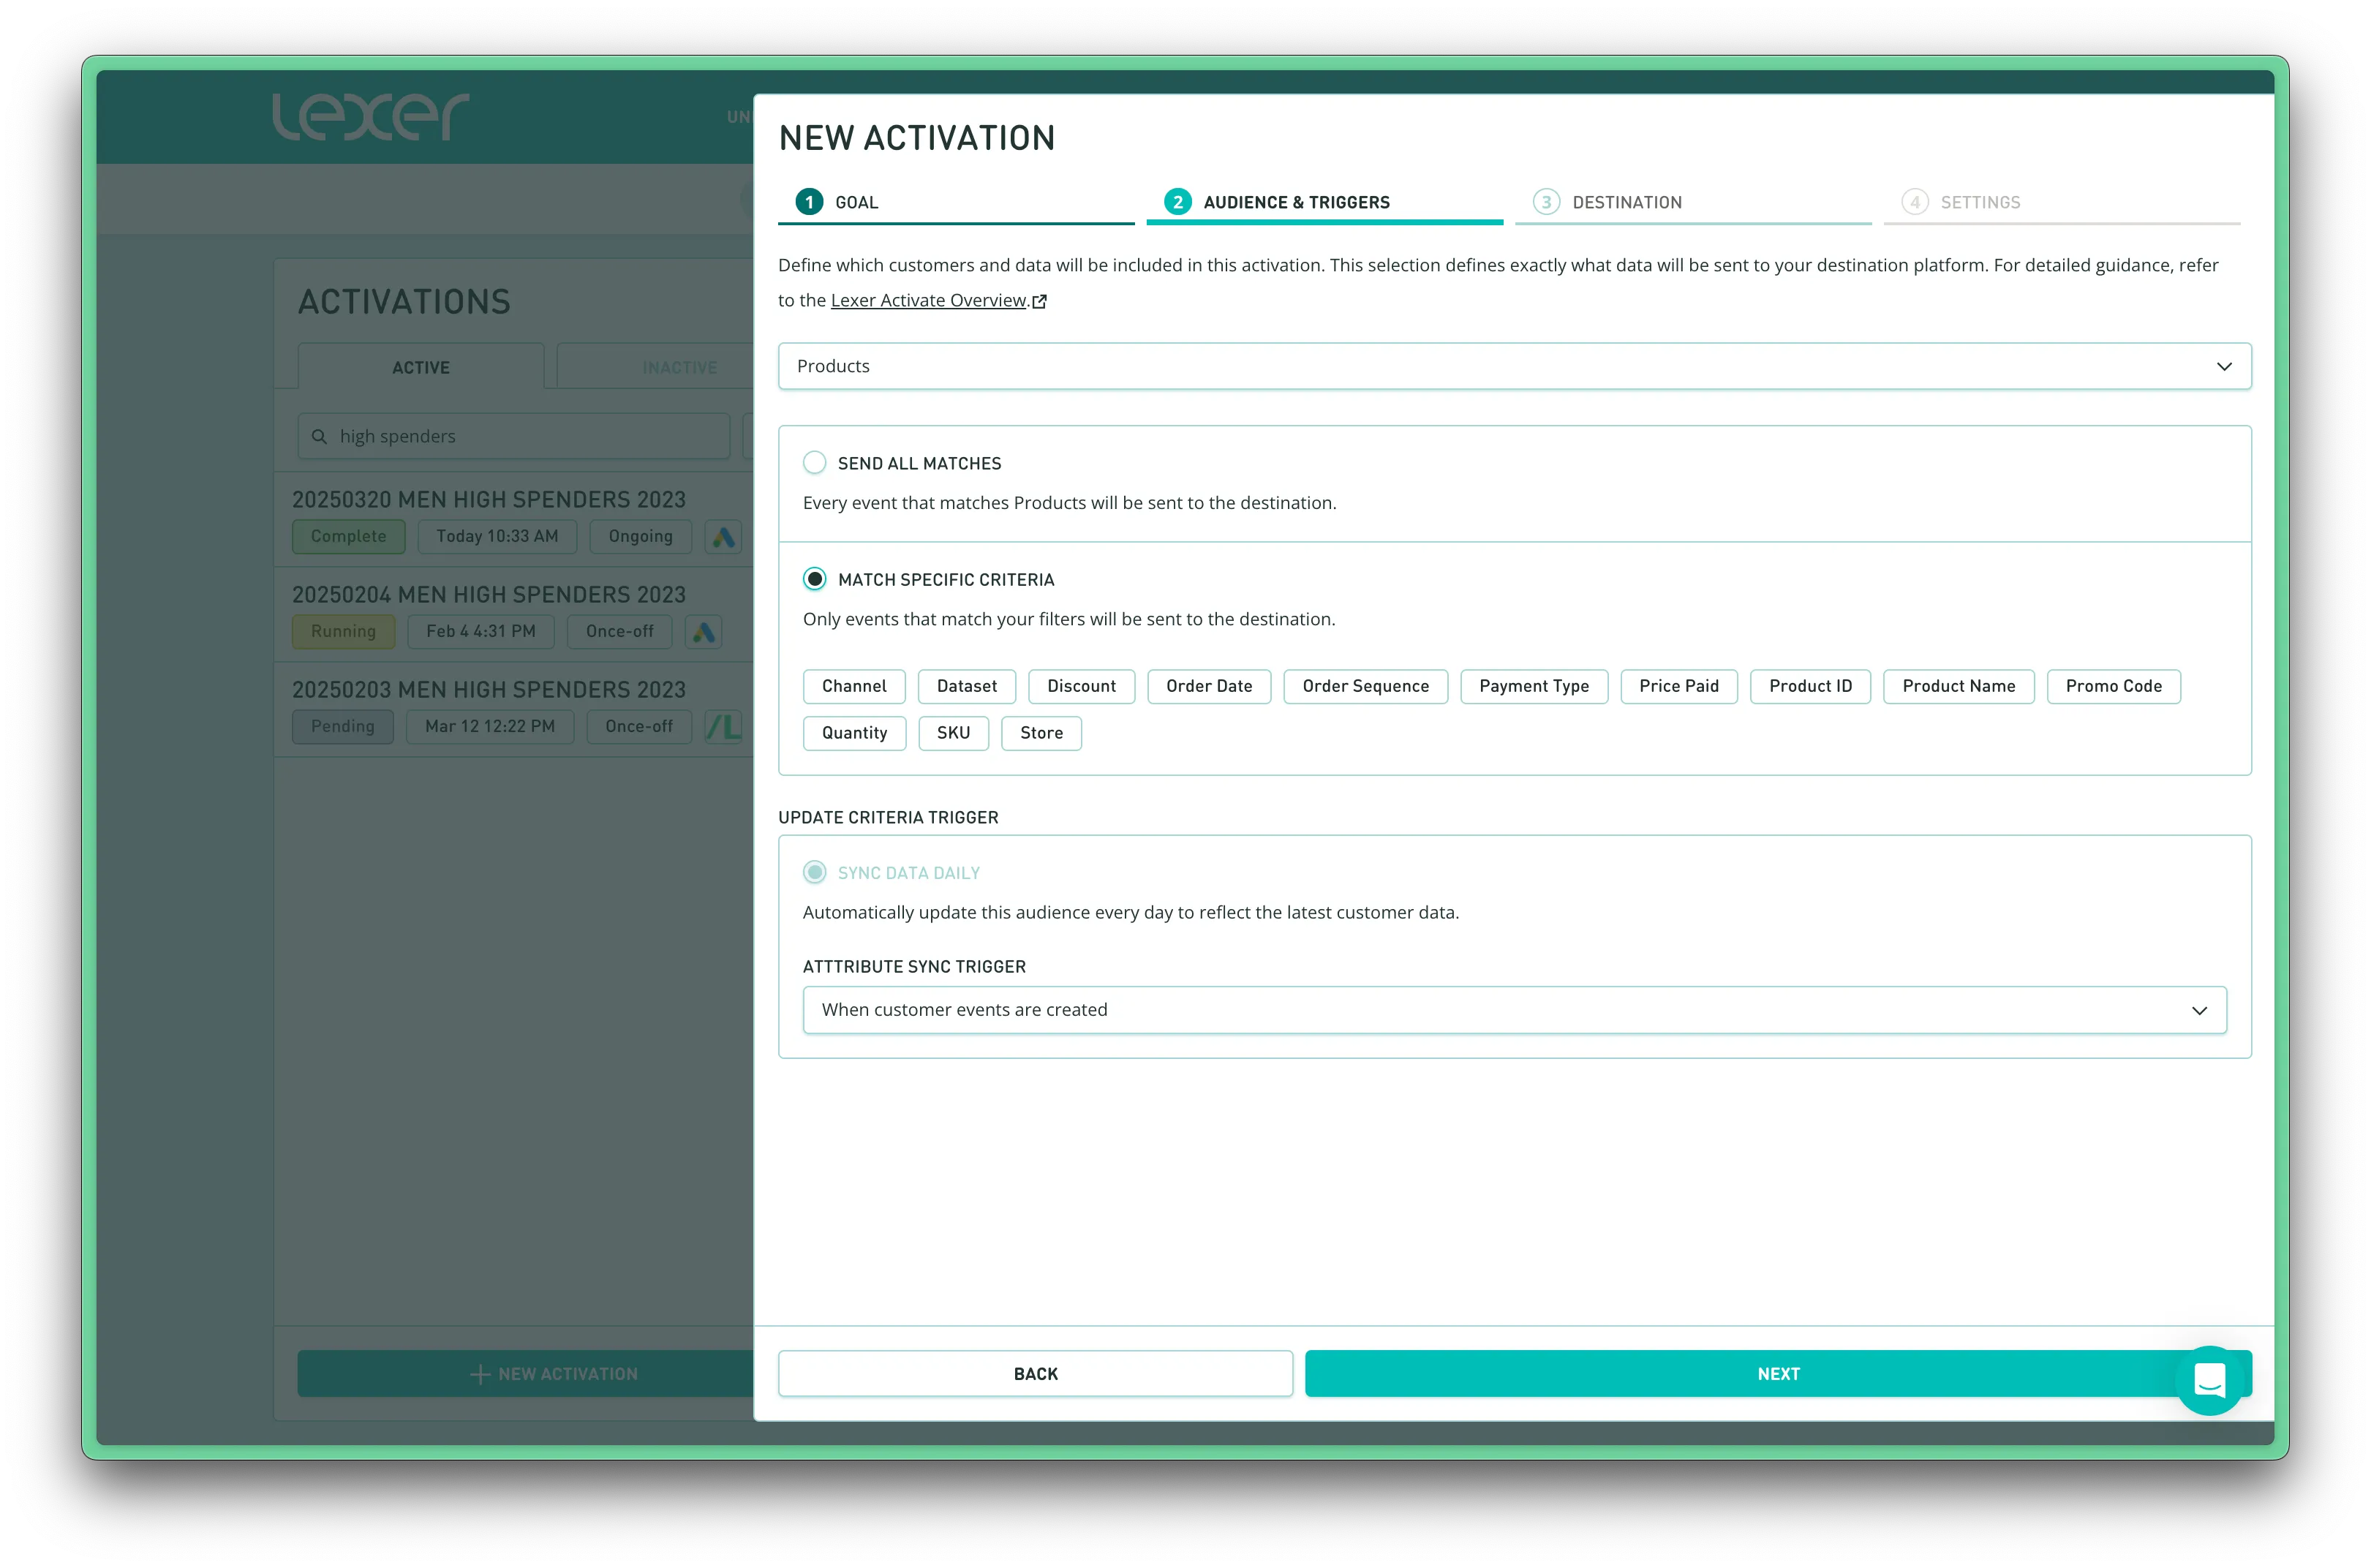
Select the event that should trigger this activation to send data to your destination (eg. product purchase or store visit). You can send all matches or filter to specific event criteria.
Attribute sync trigger options explained:
- When events are created: syncs event data to your destination when we create a new matching event.
- When events are created or modified: sync events data to your destination when we create or modify a matching event. Note: you should only use this option if you are using event triggers to sync attributes.
Step 3. Select destination
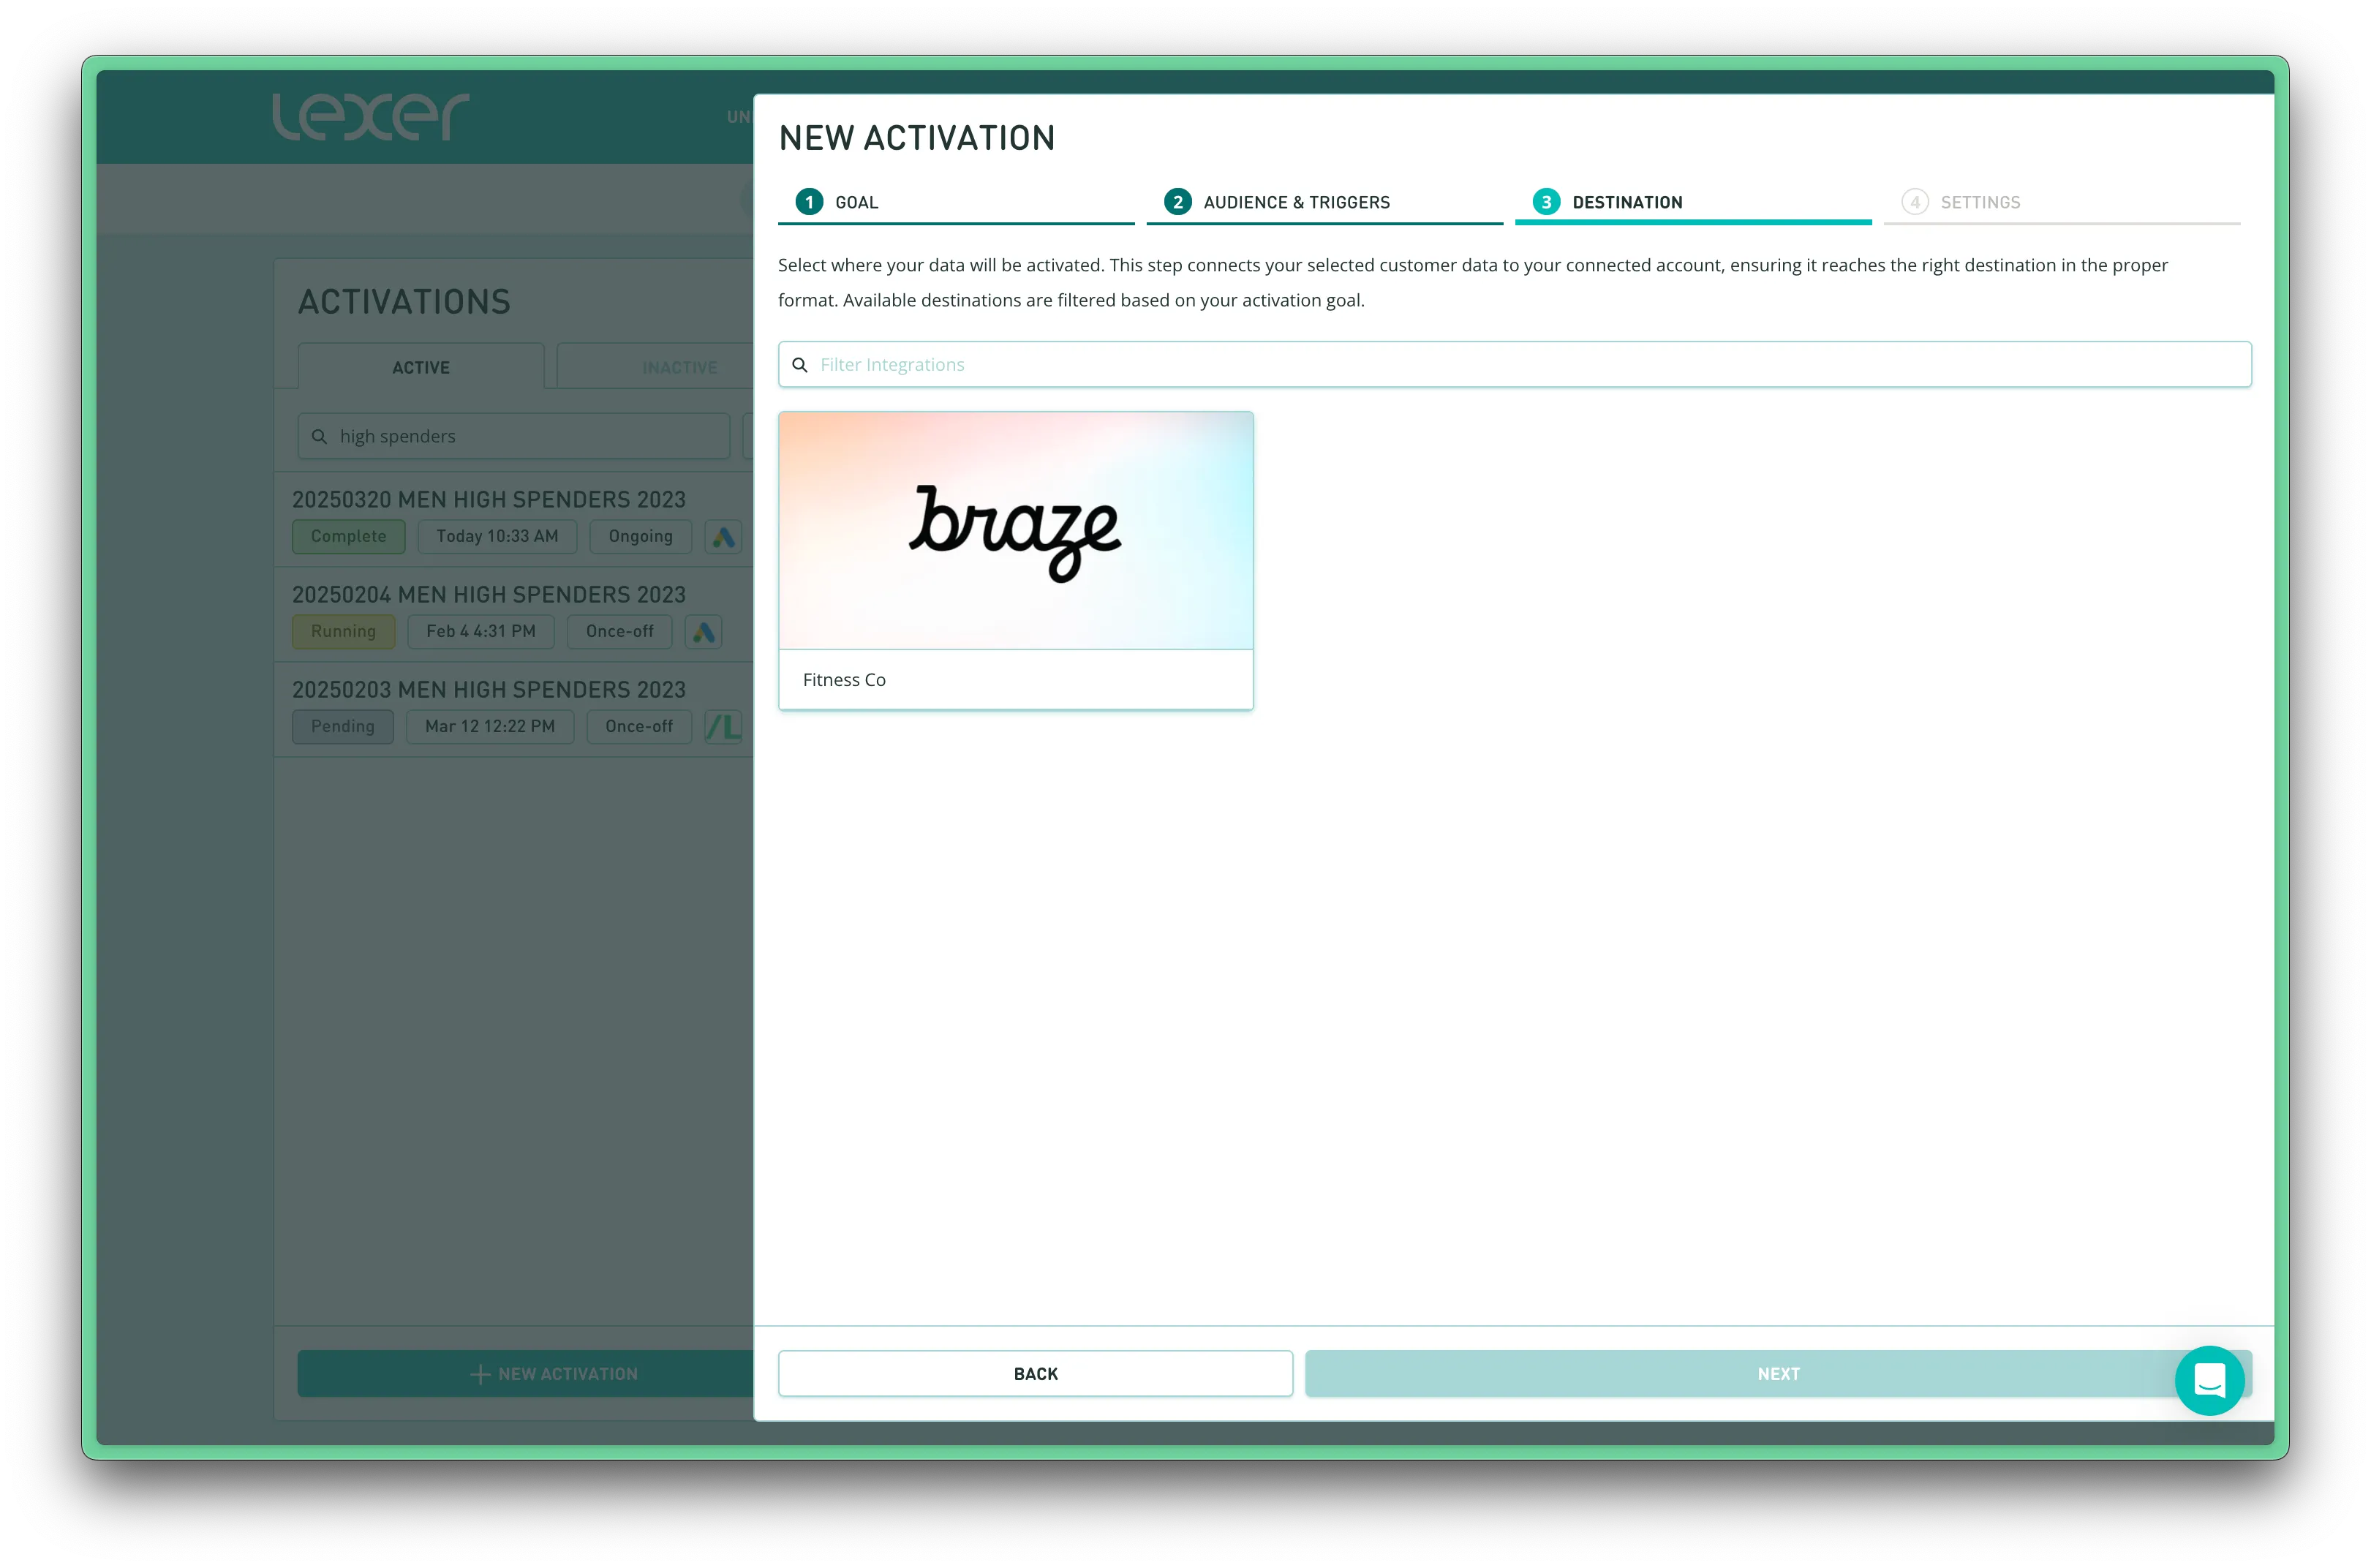
All of your owned and paid activation configurations will appear listed here. Select the desired destination and the estimated audience size will adjust based on how many of your segment match the criteria. All available integrations can be viewed here.
Step 4. Configure settings
Configure how the activation will be received by the destination.
- Notify me when this activation is run. This will notify you via email when your audience is delivered. If your activation is set to update daily, you will be notified each time.
- Append activation name to included profiles. All customer profiles in this activation will appended with the ‘Included in Audience’ attribute and will receive the Activation name value.
- Create new profiles: Lexer will create new profiles in the destination platform if they do not already exist.
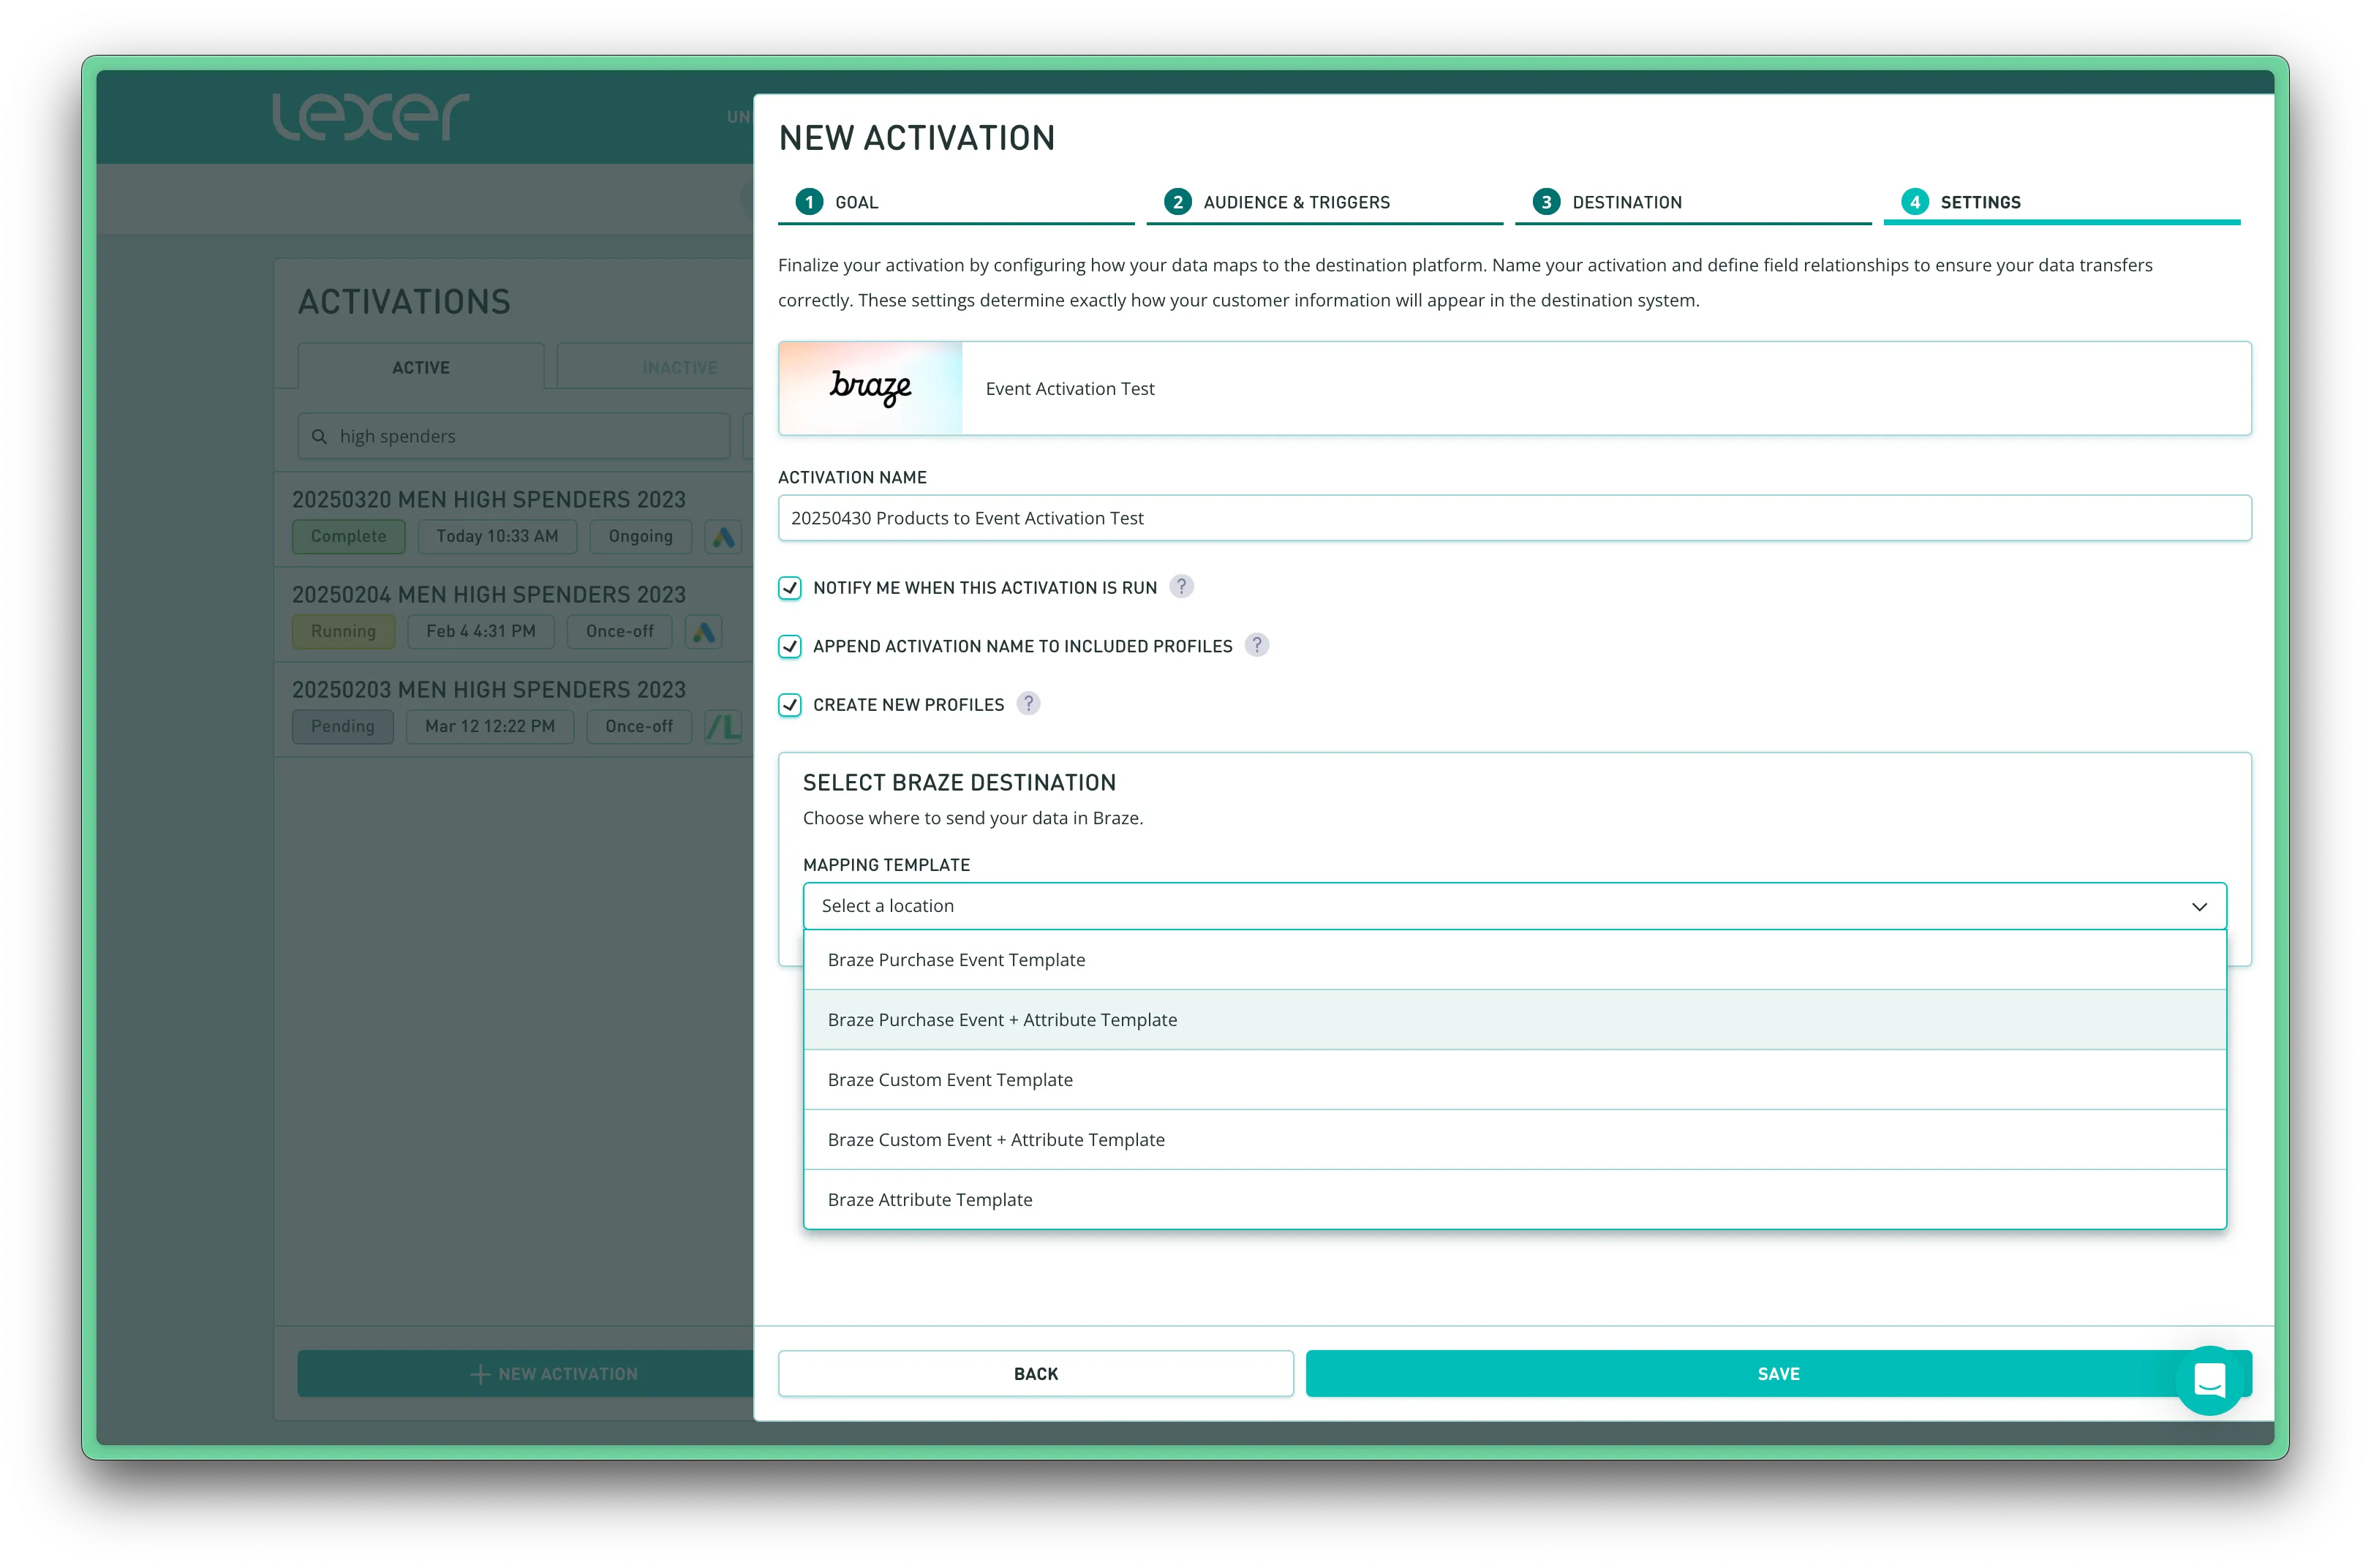
Step 5. Configure data mapping
Decide which fields in Lexer should be mapped to the corresponding field in Braze. You can select any event or attribute fields in Lexer as your data source.
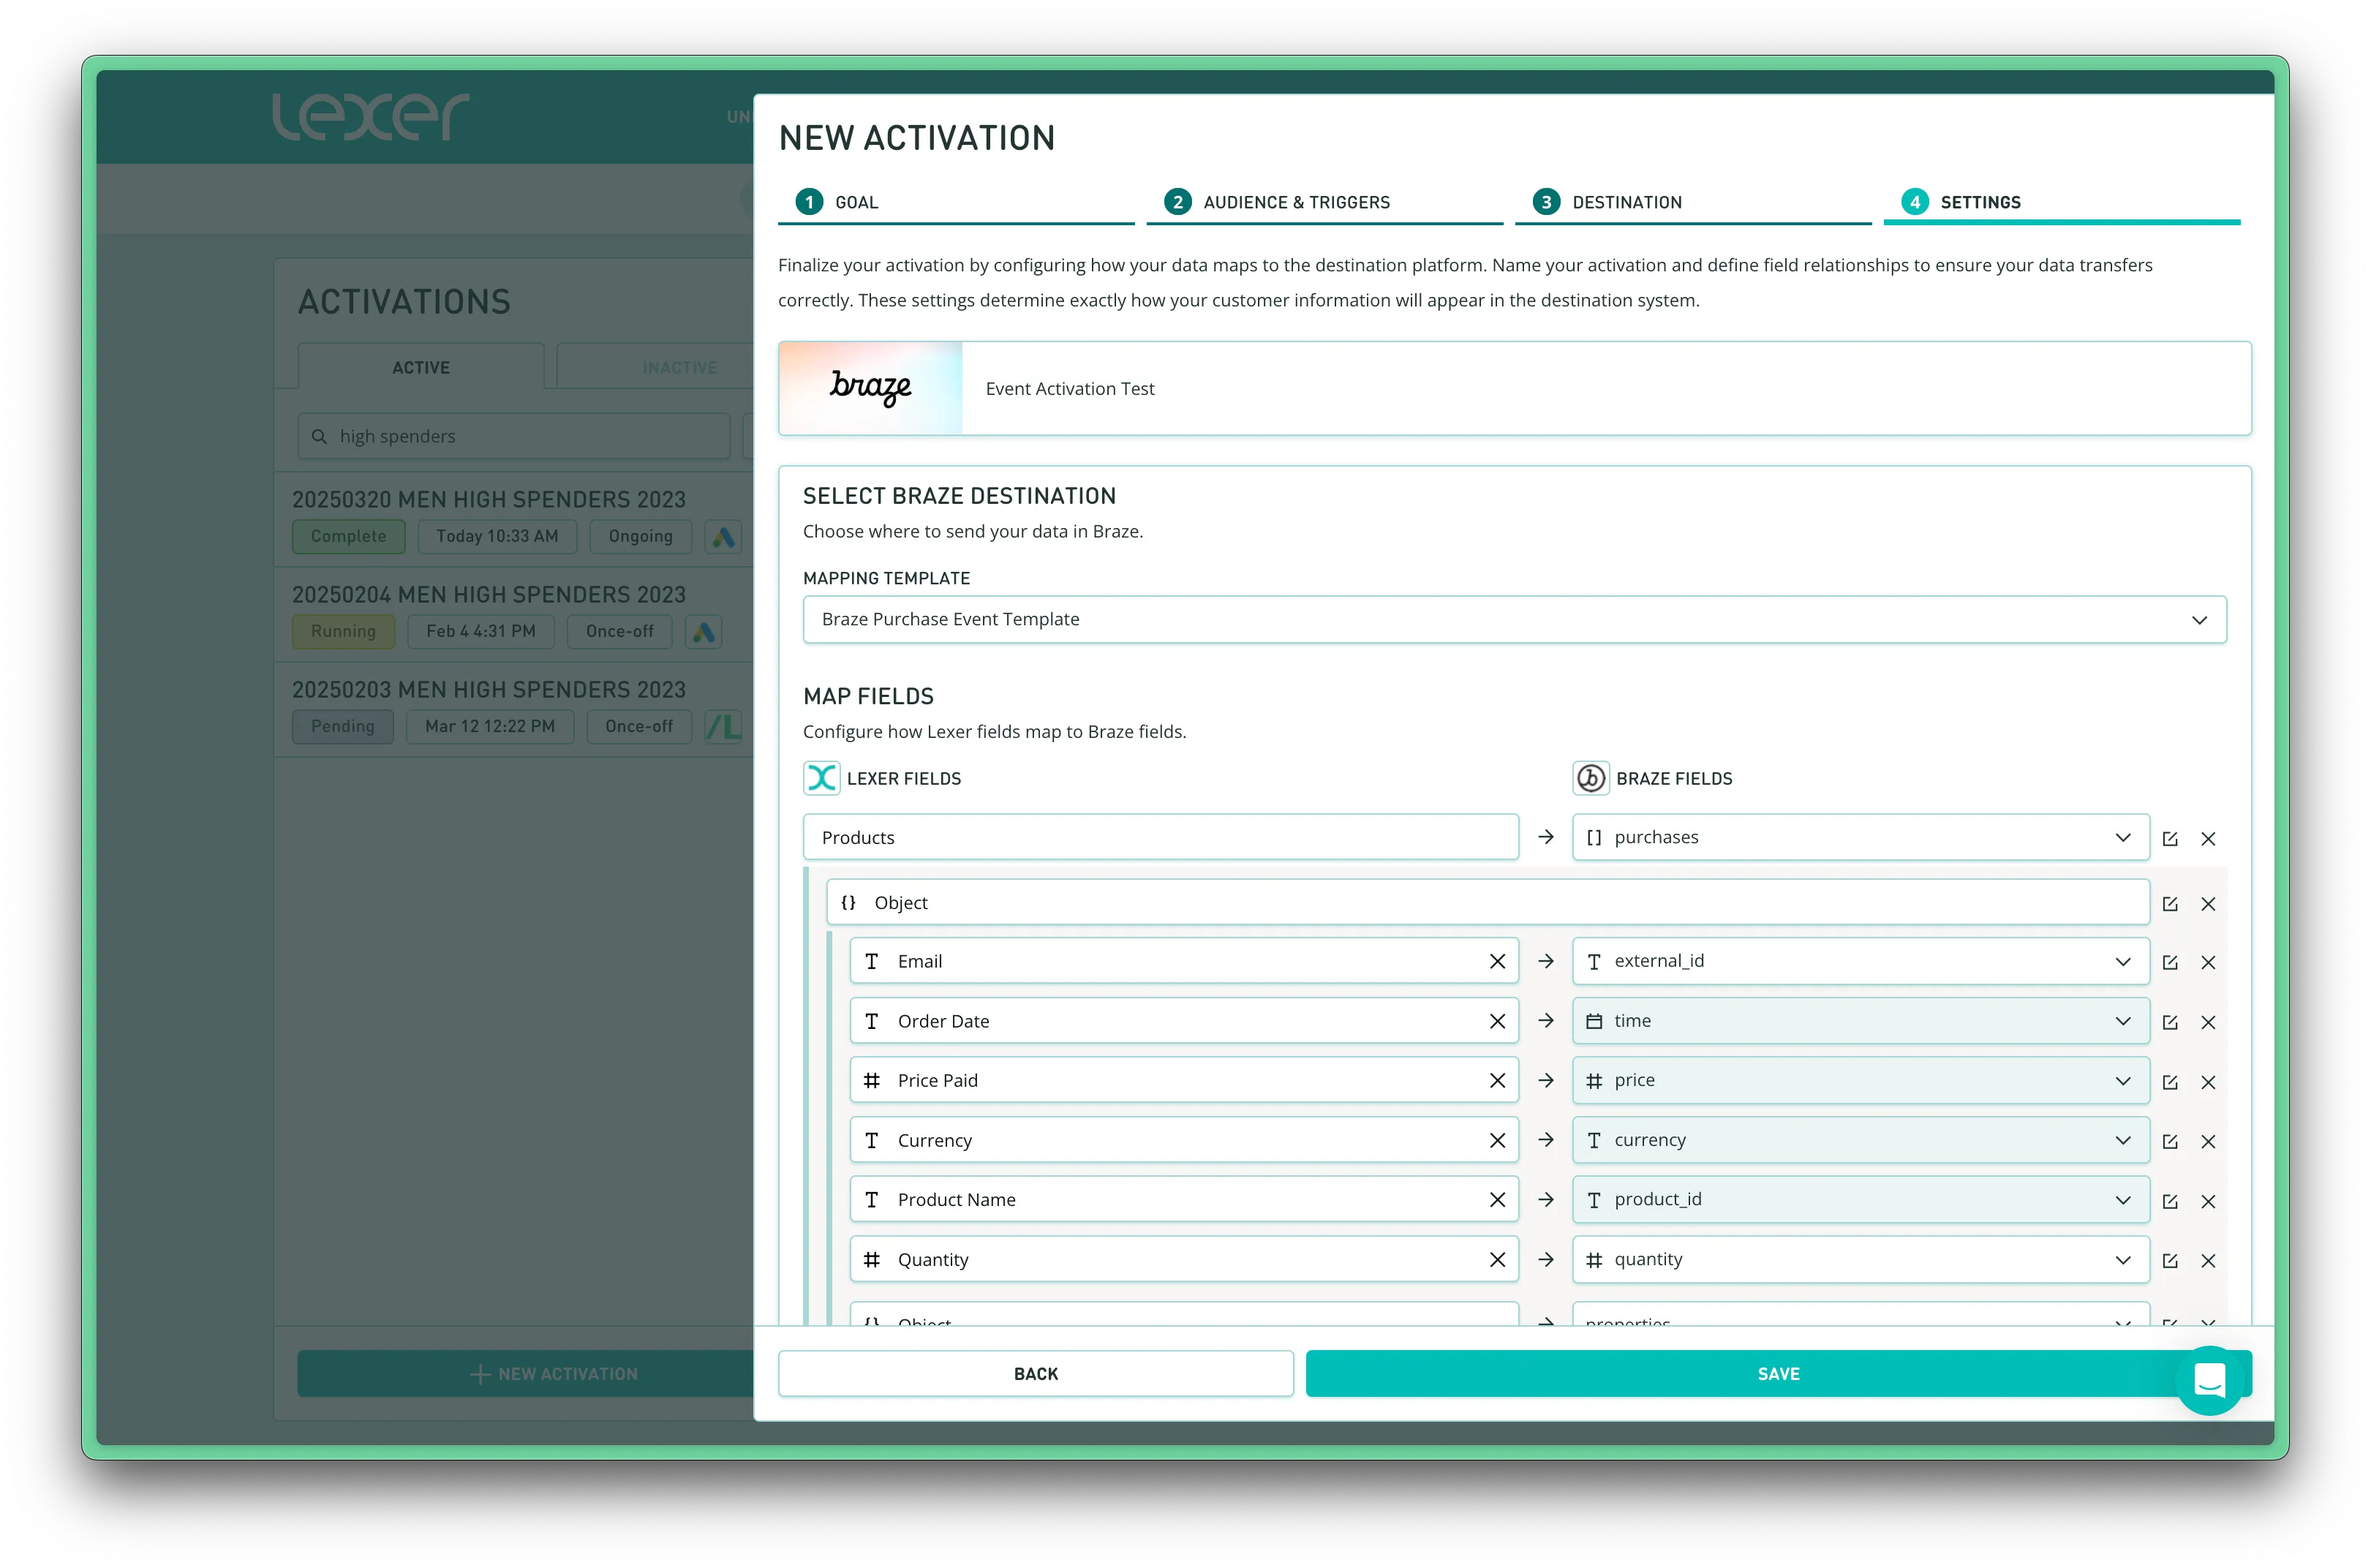
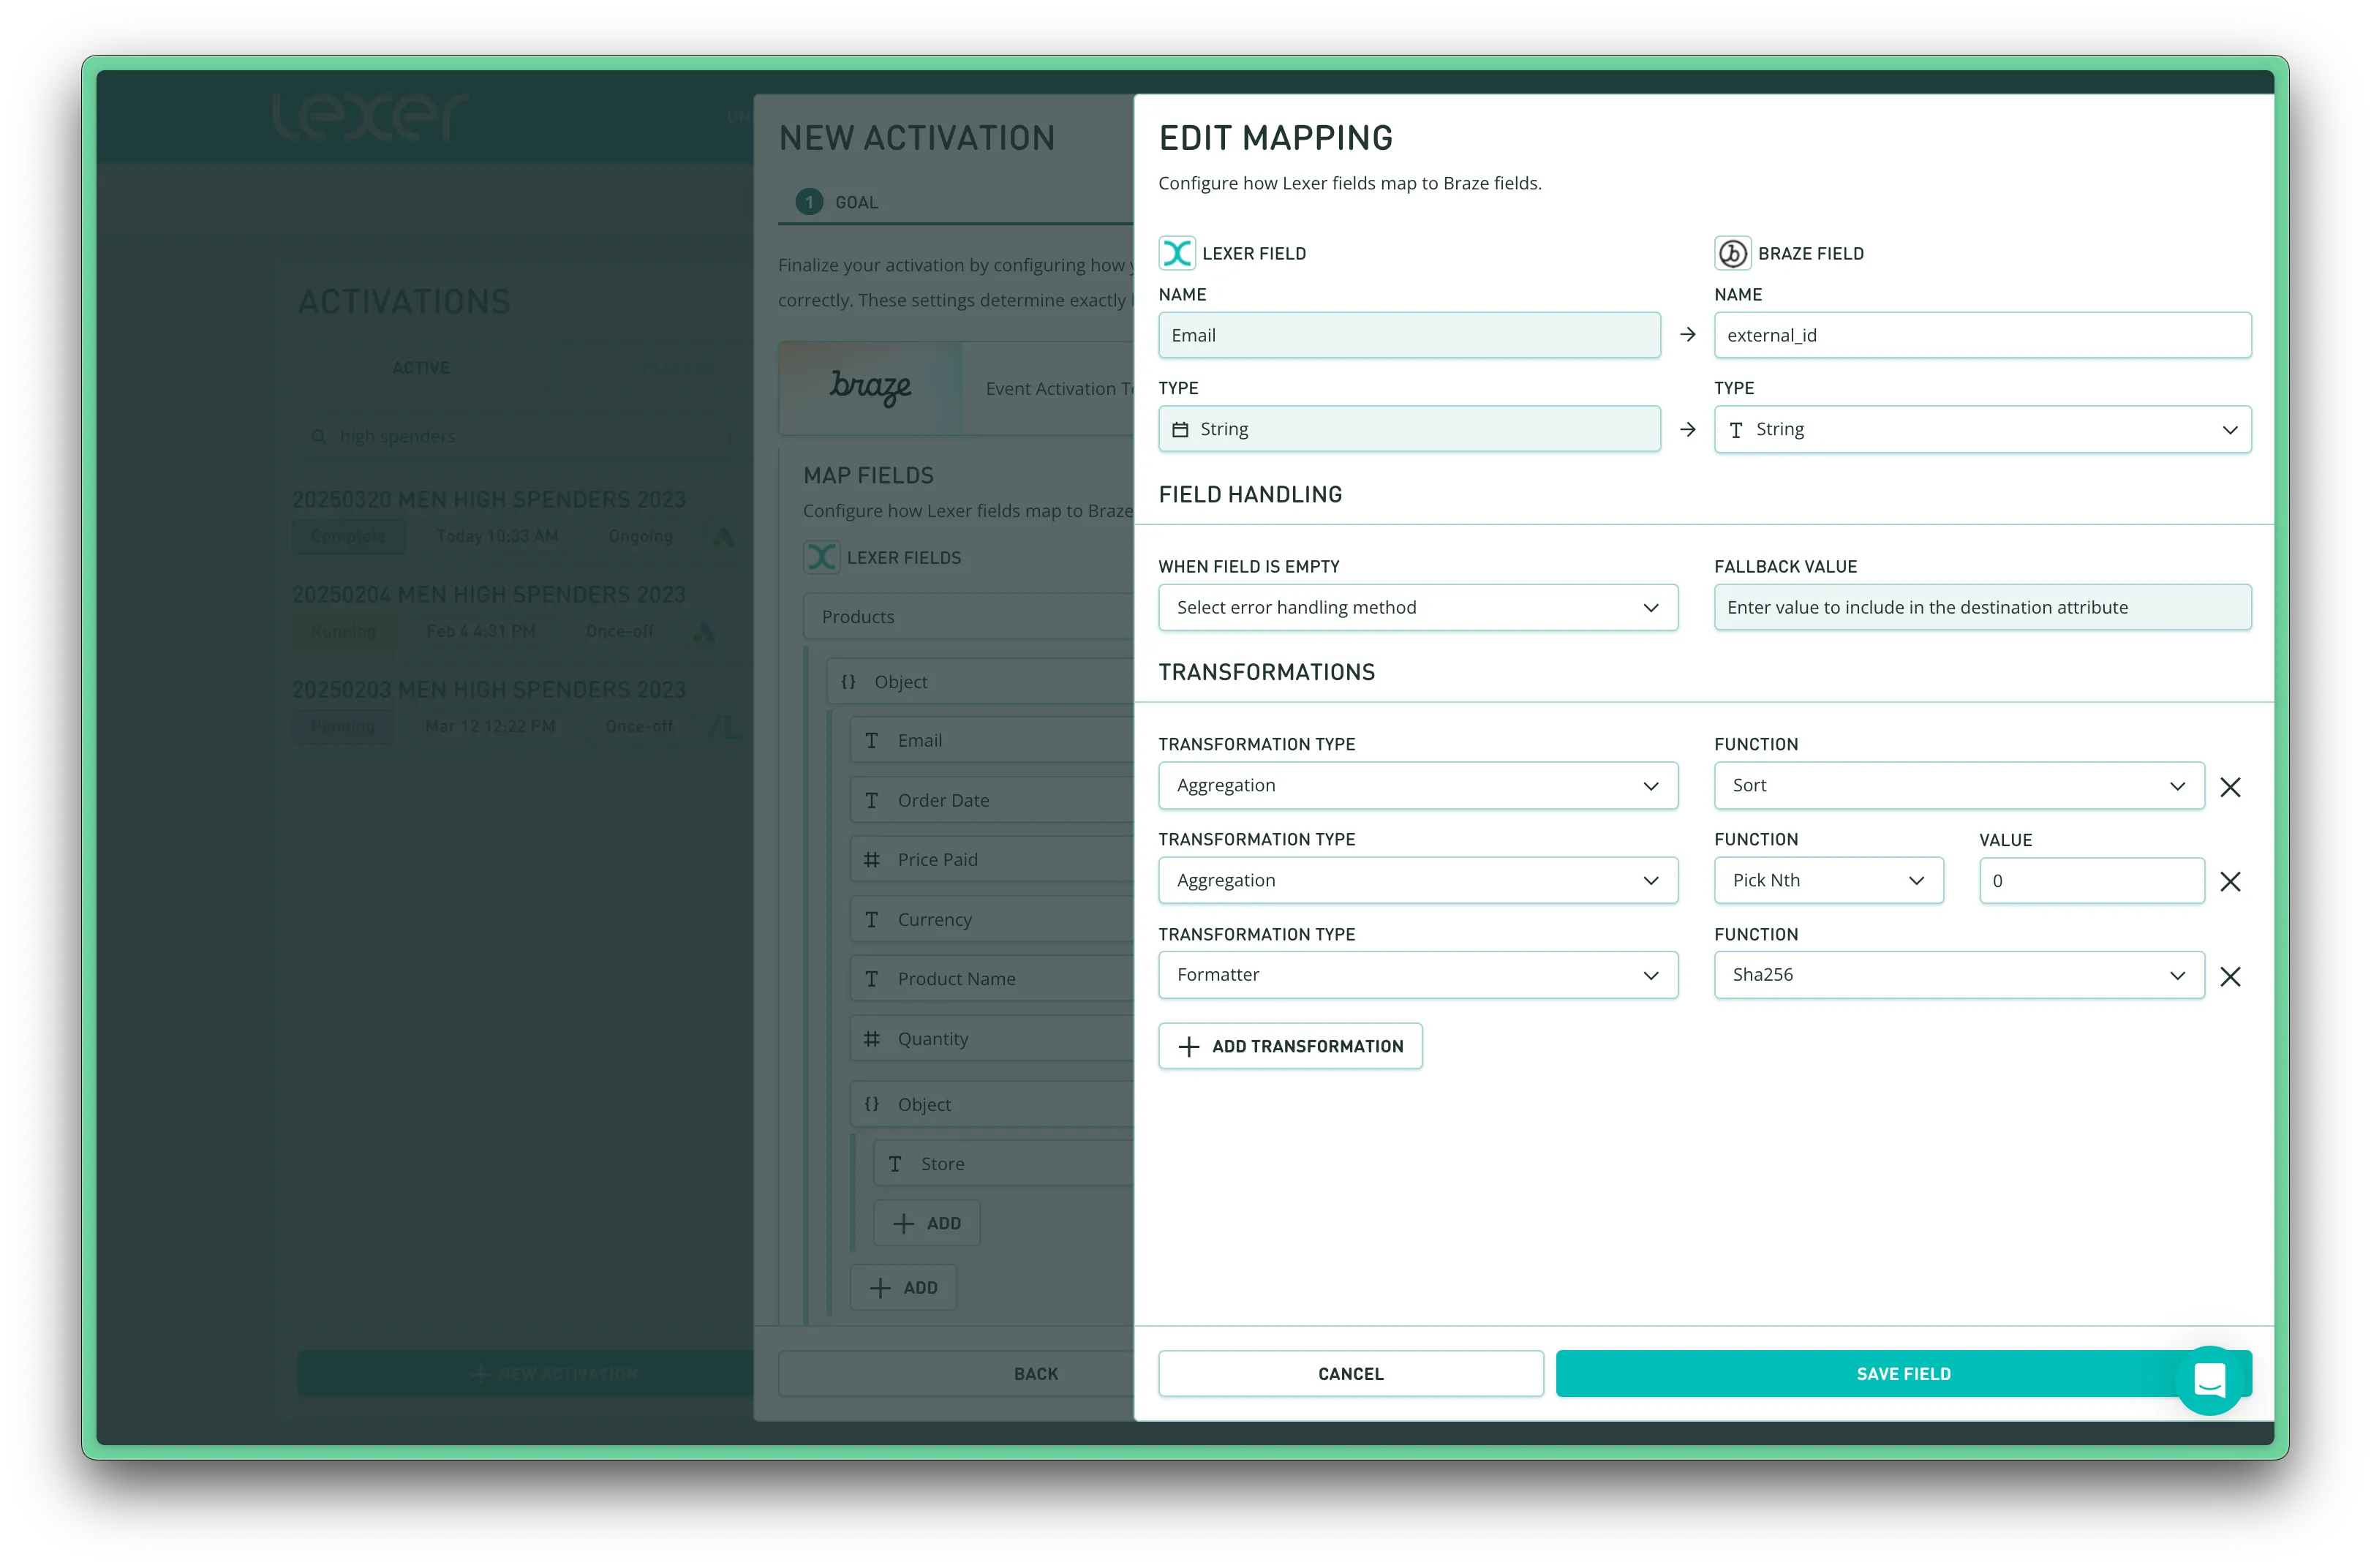
Each destination field can have unique field handling and transformation rules as data is sent from Lexer. Learn more about field mapping options here.
Simply click Save and your activation will now run and present the summary page.
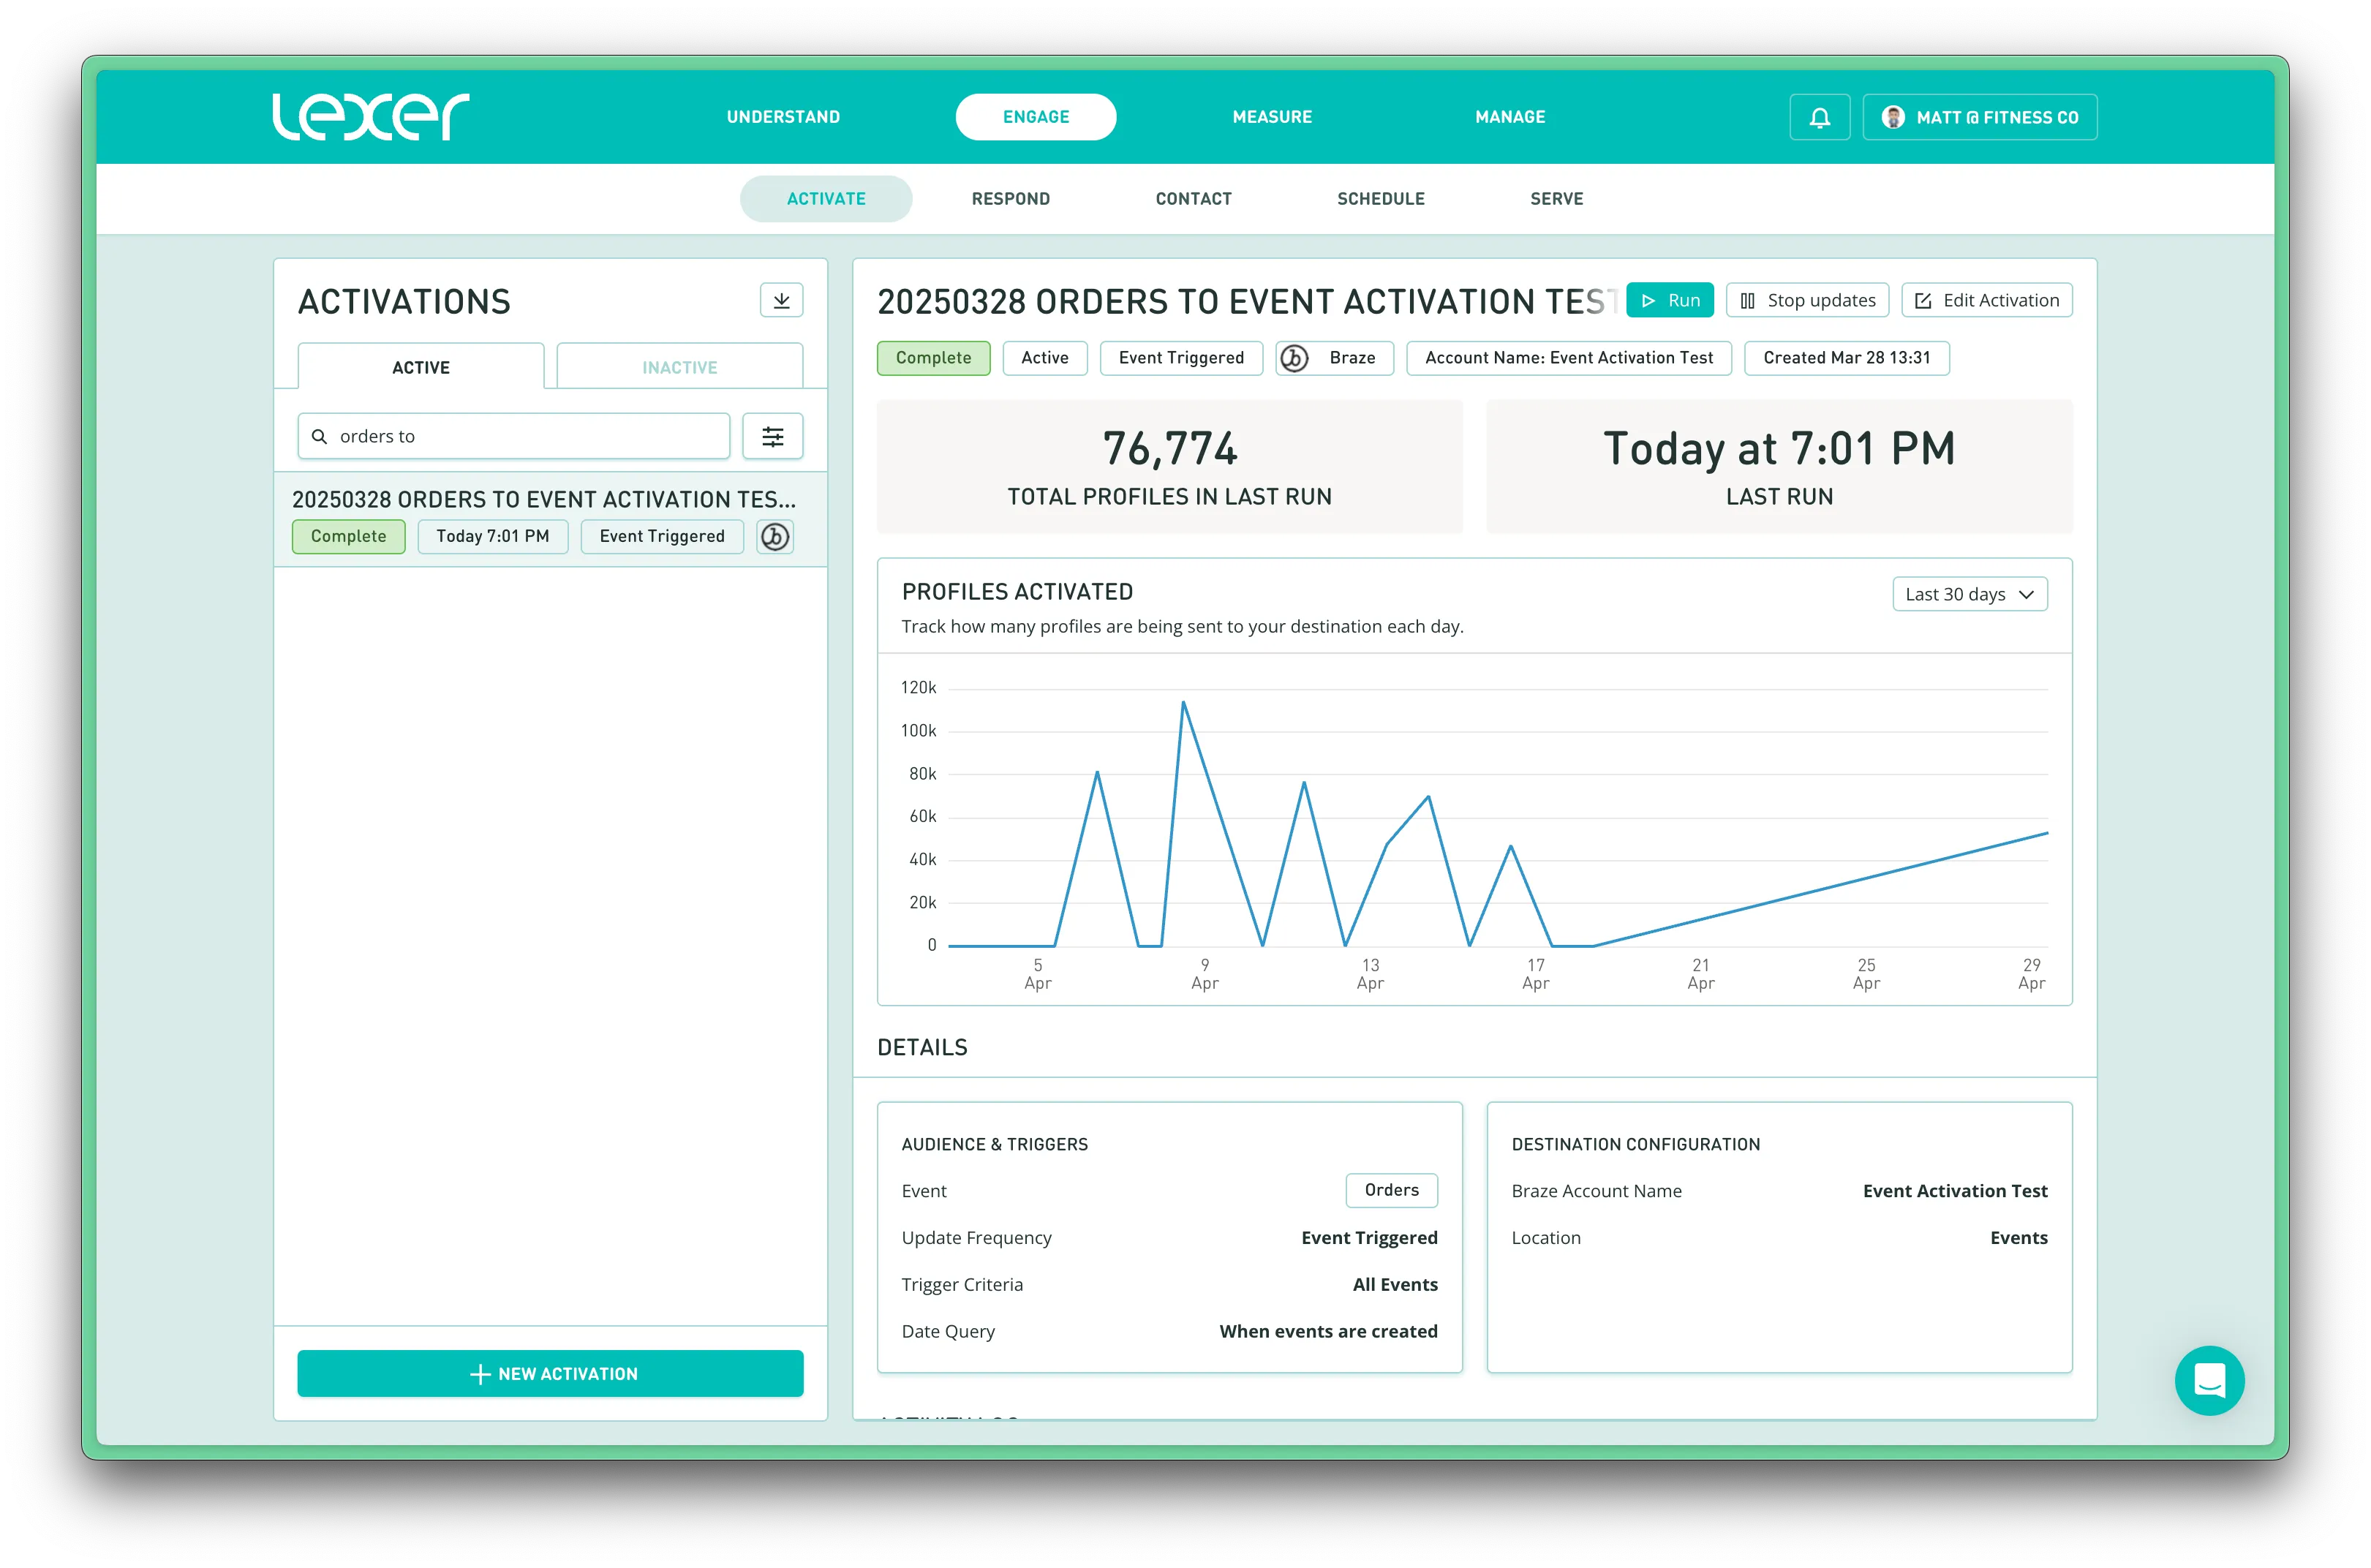
Additional options are available in the summary view:
- Run. Re-run now, this will send any new or updated data since it last ran.
- Stop Updates. Turn off recurring daily updates.
- Delete. This removes the activation from the list.
- Edit Activation. Update the activation type, audience, or settings.
