
Braze
This integration is in beta
As with all beta tests, not everything will be perfect. If you run into any issues, please submit a support ticket.
Connecting your Braze account with Lexer
Braze is a customer engagement platform that helps brands deliver personalized, cross-channel experiences in real time. The Lexer-Braze integration enables bidirectional data flow to enhance your customer engagement capabilities.
In this article, we'll take you through:
- Integration Benefits
- Setup Requirements
- Step 1: Obtain Braze API Credentials
- Step 2: Create Braze Segments
- Step 3: Configure AWS S3 Bucket
- Step 4: Configure Braze Currents
- Step 5: Complete integration in Lexer
- Syncing data from Lexer to Braze
Integration benefits
What this integration does:
- Import Braze customer profiles and engagement data into Lexer to enrich customer profiles
- Sync enriched customer segments from Lexer to Braze for more targeted campaigns
- Send custom attributes and events from Lexer to Braze
Our Braze integration at a glance:
Direction
What direction does the data flow?
✅ Data source: enrich profiles in Lexer
✅ Data destination: send Lexer segments, events, and attributes to Braze
Type
Lexer loads these types of data
Source method
How Lexer loads data from this source.
✅ API
✅ File (S3)
Destination method
How Lexer sends data to this source.
✅ API
Status
What is the status of the integration?
Full Release
Lexer product compatibility
What Lexer products is the integration compatible with?
✅ Activate
✅ Compare
✅ Segment
✅ Track
Attributes
No attributes will be created as part of this integration.
Attributes
This integration allows for some flexibility, the output of the integration depends on your available data and what you send through to Lexer. In addition, your attributes could be named in a different way to other clients. If you would like a list of attributes related to this integration, please email your Success Manager.
Attributes
What attributes are created when integrated with Lexer?
Attributes
These are the standard attributes that Lexer can create from the data received via this integration. The exact attributes will depend on what data is made available and sent into Lexer. Keep in mind, your attribute names may vary slightly. If you have any questions or would like to explore custom options, please contact your Success Manager.
Customer attributes
Email address
Email sha256
Mobile
First Name
Last Name
Full Name
Gender
Braze ID
Customer ID
Date of Birth
Country
City
Email engagement attributes
Campaigns clicked (excludes Canvas clicks)
Campaigns opened (excludes Canvas opens)
Campaigns sent (excludes Canvas sends)
Click dates
Email click rate
Email deliverability status
Email engagement category
Email open date
Email open rate
Email opt-in status / subscription status
Email subscribe date
Last email click date
Last email open date
Number of emails sent
SMS event attributes
Transactional attributes
Product attributes
Setup Requirements
Before starting the integration, ensure you have:
- Braze Account: Admin access to your Braze dashboard
- Lexer Account: Access to Lexer with integration permissions
- AWS S3 Access: Either use Lexer's managed S3 bucket (recommended) or your own AWS S3 bucket
Step 1: Obtain Braze API Credentials
You will need to obtain your Braze API Key and Braze REST Endpoint to complete your integration in Step 5.
1.1 Create your Braze API Key
- Log into your Braze account
- Navigate to Settings > APIs and Identifiers
- Click "Create API Key"
- Configure the API key:
- Name: "Lexer Integration"
- IP Addresses: Leave disabled
- Permissions: Check all permissions ✅
- Click "Create API Key"
- Copy the API Key Identifier to use in Step 5.
1.2 Find your Braze API URL
Visit the Braze Endpoints guide reference the Endpoints table to find your REST endpoint. For example, if your dashboard URL is https://dashboard-01.braze.com then your REST endpoint is: https://rest.iad-01.braze.com.
Copy your REST endpoint URL to use in Step 5.
Step 2: Create Braze Segments
You need to create two segments in Braze for Lexer to sync data effectively.
2.1 All Users Segment (Historical Sync)
Lexer uses this Segment to perform a historical sync of your Braze profiles. Learn how to create segments in Braze. Create a segment with the following details:
- Segment Name: "Lexer - All Users"
- Segment Description: "Segment created for Lexer integration"
- Apps and websites targeted: "Users from all apps"
- Segment Builder > Filter Group: Leave this blank to include all users
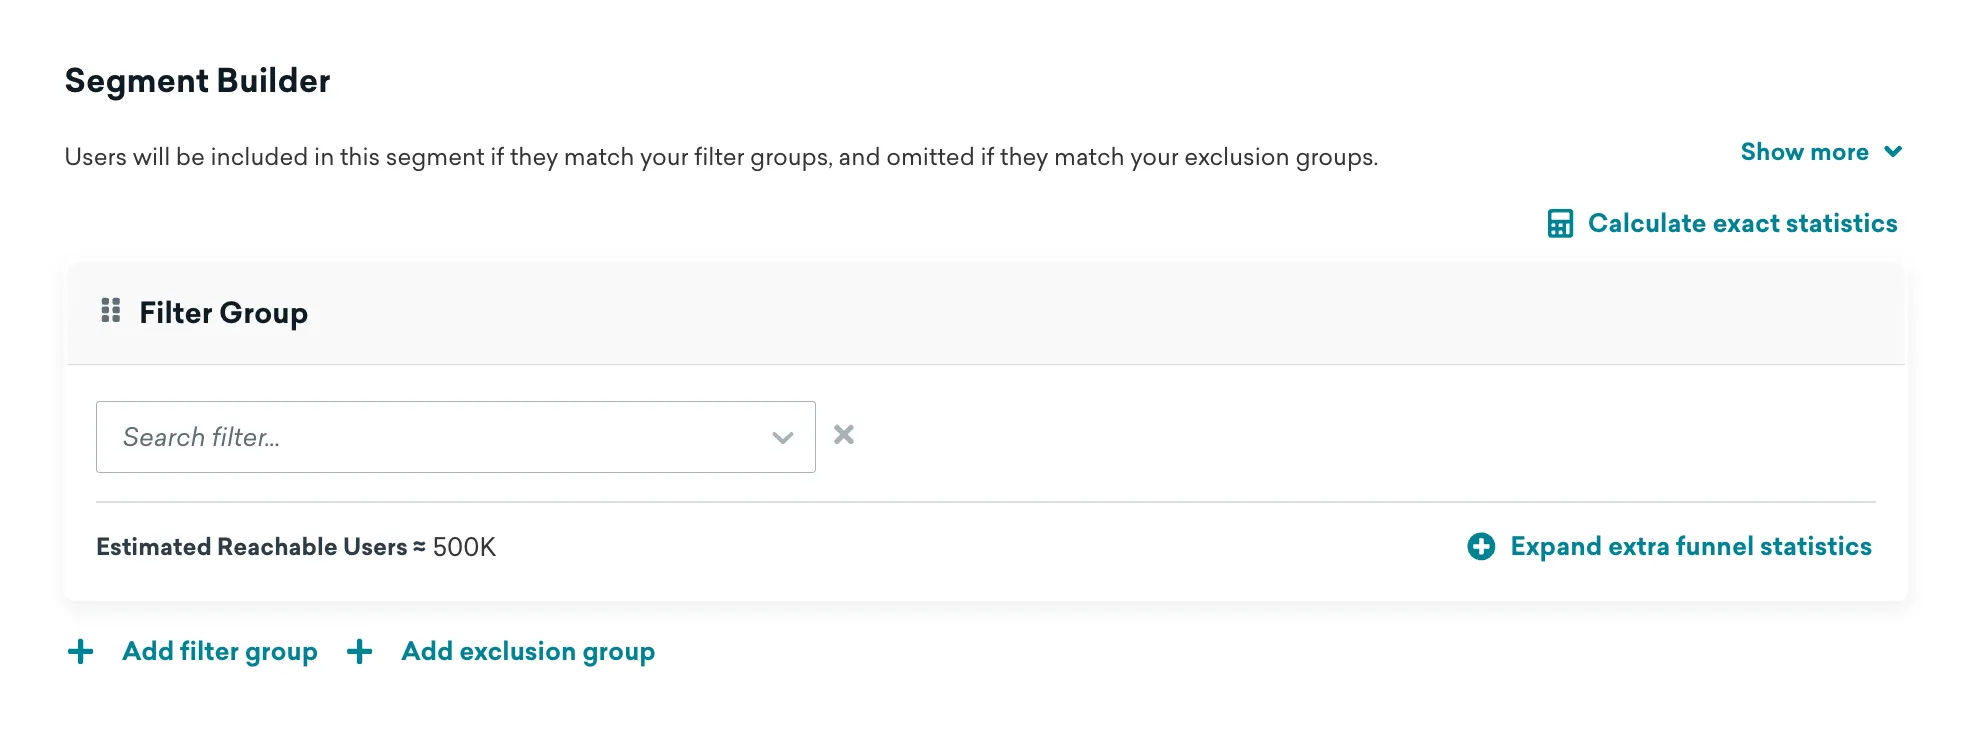
Once the segment is created you can find the Segment API Identifier at the bottom. Copy this value.
2.2 Updated Users (Daily Sync)
Lexer uses this Segment to perform a daily sync of your recently updated Braze profiles. Learn how to create segments in Braze. Create a segment with the following details:
- Segment Name: "Lexer - Updated Users"
- Segment Description: "Segment created for Lexer integration"
- Apps and websites targeted: "Users from all apps"
- Segment Builder > Filter Group: Apply the filters demonstrated in the screenshot below
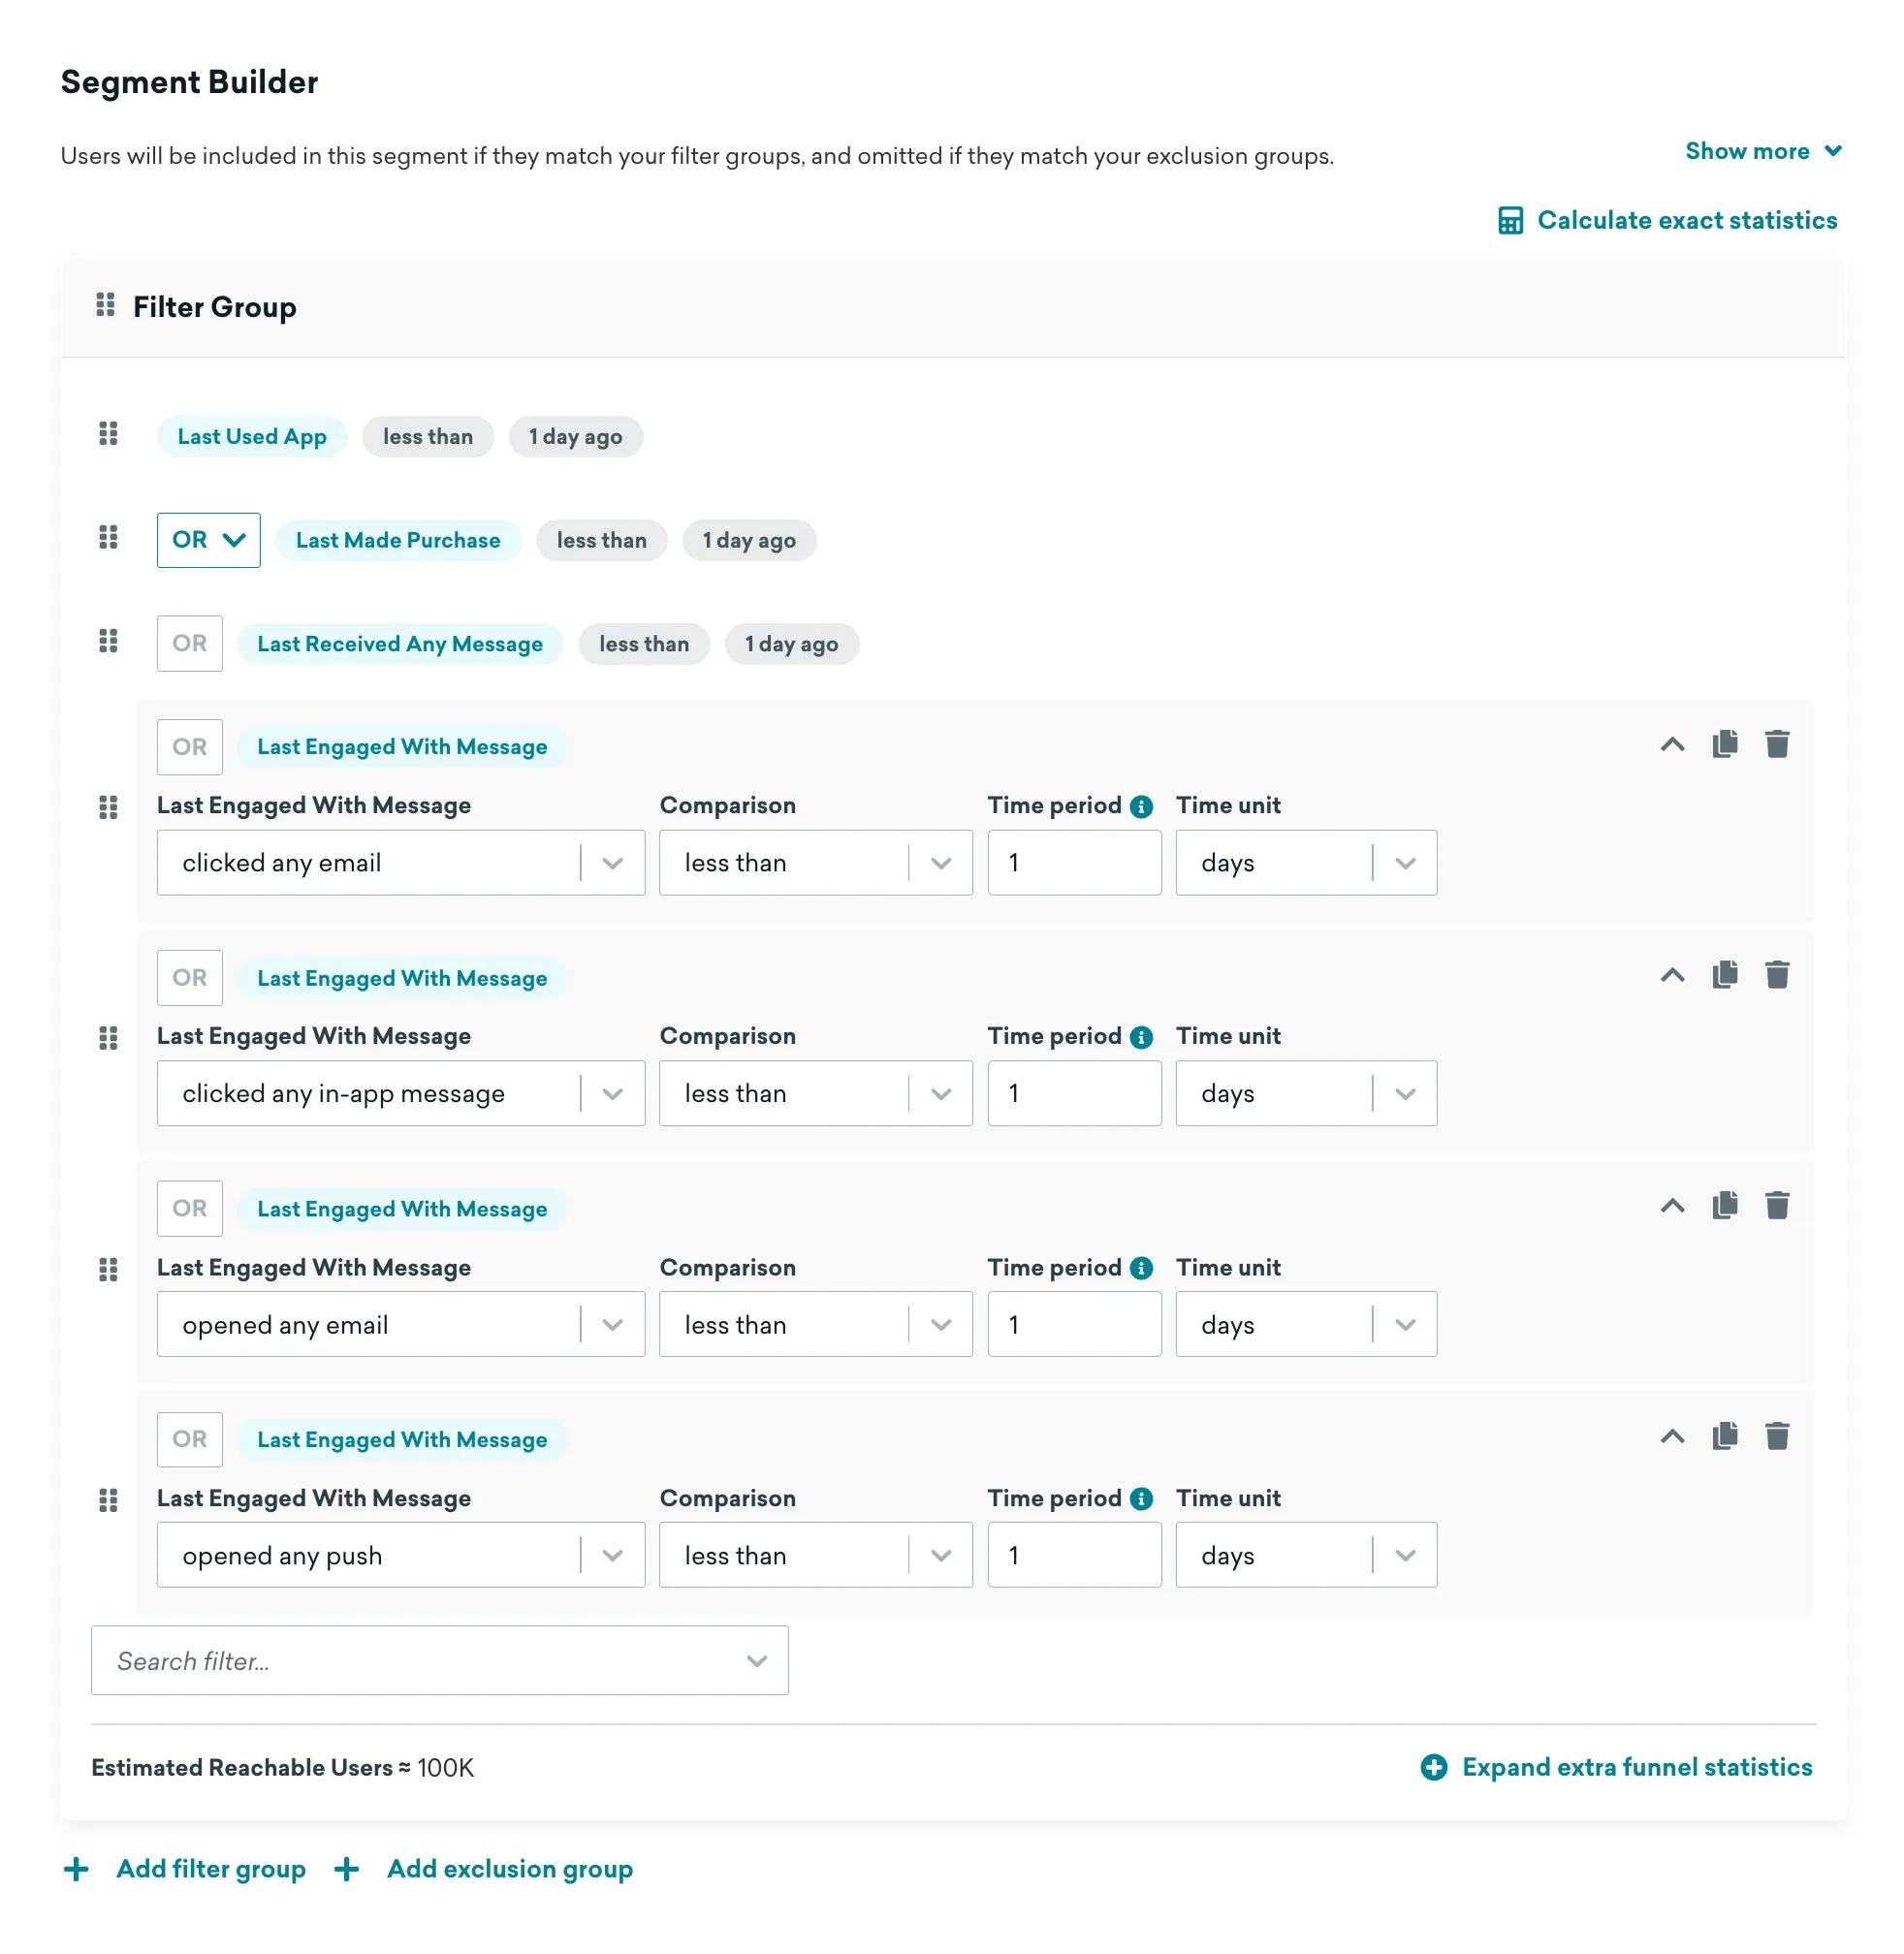
Once the segment is created you can find the Segment API Identifier at the bottom. Copy this value.
Step 3: Configure AWS S3 Bucket
Lexer requires an AWS S3 bucket to import user data from Braze. You have two options:
Option A: Use Lexer's Managed S3 Bucket (Recommended)
- Lexer provides and managed the S3 bucket for you
- We'll send you the bucket details via email during setup
- No additional configuration required
Option B: Use Your Own S3 Bucket
If you prefer to self-manage:
- Follow this AWS guide to create access credentials
- Note your:
- Bucket Name
- Region
- Access Key ID
- Secret Access Key
- Bucket Path (if applicable)
Configure S3 Bucket in Braze
- In Braze, navigate to Partner Integrations > Technology Partners
- Scroll down and click "AWS Cloud Storage"
- Enter your S3 credentials:
- AWS Access ID
- AWS Secret Access Key
- AWS S3 Bucket Name
- AWS S3 Bucket Folder
- Check "Make this the default data export destination ✅
- Click "Test Credentials" to verify
- If successful, click "Save"
- Refresh the page to confirm your settings were saved
Step 4: Configure Braze Currents
Lexer requires Braze Currents to import email engagement events from Braze.
- In Braze, navigate to Partner Integrations > Currents
- Click "Create New Current"
- Use the same AWS S3 details as Step 3.
- Click "Select All Message Engagement Events"
- Click "Save Current"
Step 5: Complete integration in Lexer
Now you'll connect everything in Lexer:
- In Lexer, navigate to Manage > Integrations
- Find and open the Braze integration
- Click "Integrate Braze"
- Fill in the configuration details and click Save Integration.
Syncing data from Lexer to Braze
Once your integration is set up, you can send customer segments, attributes, and events from Lexer to Braze.
- Learn more about Lexer Activations
- Sync customer segments from Lexer to Braze
- Sync customer events from Lexer to Braze
Finding Lexer data in Braze
What to expect:
- Initial sync: Data begins updating immediately after activation
- Complete sync: Profiles are fully updated once you receive Lexer's confirmation email
- Data location: Lexer segments appear as Custom Attributes or Custom Events in Braze user profiles
Viewing your data:
- In Braze, navigate to Users > User Search
- Search for a customer you know is in your Lexer segment
- Look for your segment name as a Custom Attribute
Braze Custom Attribute Limit: Braze supports only 100 custom attributes per workspace. Learn more about Braze custom attribute limits.
If you have any questions or need assistance, don’t hesitate to reach out to Lexer Support (support@lexer.io)—we’re here to help!